Have you ever been camping in your RV when it’s not quite level, causing cupboards to open, or forcing you to lean uncomfortably in one direction? That’s not a fun way to camp. RV leveling blocks keep your RV or trailer in an even position on the ground to ensure a comfortable camping experience. Most RV parks have pre-leveled spaces, but if you are an adventurer and enjoy boondocking or generally camp in more remote areas, RV blocks are incredibly useful.
Your Complete Guide to RV Leveling Blocks
If you’re new to RVing, RV leveling blocks may be foreign to you as well, so we’ll send some advice your way to make the process a little easier. Check out these tips for RV leveling blocks.
Use Stick on Levels for Assistance
Before you begin the process of leveling your RV, it’s helpful to have stick-on levels on the outside of your vehicle to check if you’re RV is level initially and if not, to ensure that your RV is level after you’ve used the blocks. This will keep you from guessing if it is even simply based on feel or look. It will also save you from getting in and out of your vehicle. Just have a friend or partner check out the level after you’ve used the blocks.
Decide Which Blocks Are Right For You
Plastic leveling blocks are lightweight and can be easily stored. There are a plethora of brands that make RV leveling blocks, so when deciding which is right for you, consider size, weight, strength, and cost. Even if your RV has an automatic leveling system, blocks can serve you in cases of emergency.
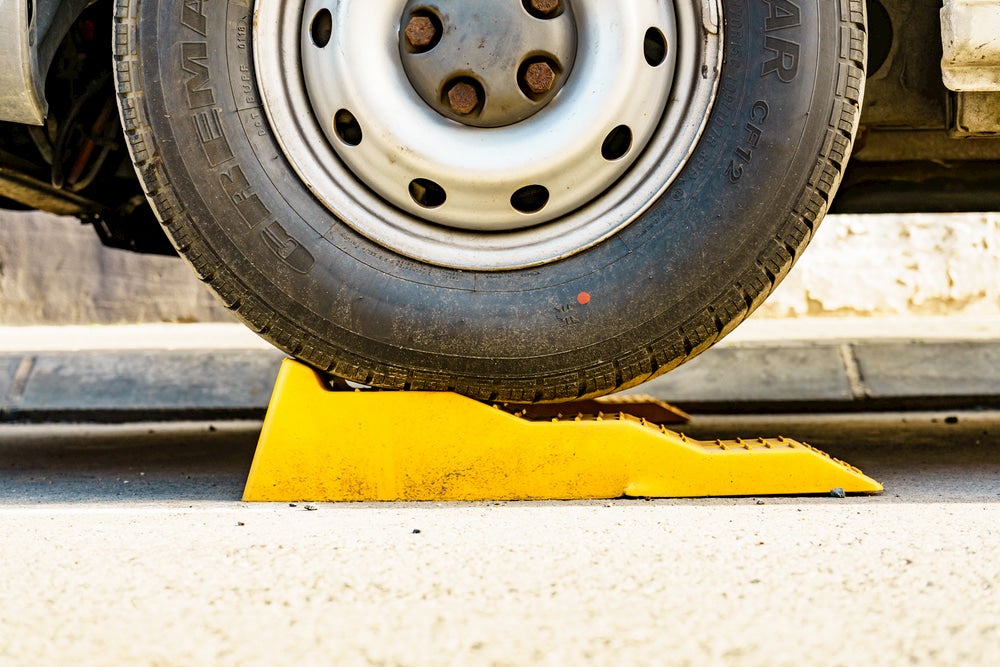
The Andersen Camper Leveler, for example, are known for their simple design and easy use. This leveler uses a ramp system to easily adjust the level of your RV. The company also guarantees a lifetime warranty, but they are one of the pricier options.
The Lynx Leveler is another great option. These RV leveling blocks are light, easy to use, stackable, and cost effective. They are known to crack sometimes, but the company guarantees a 10 year warranty.
Another favorite is Camco. These blocks are affordable and easy to use, but you’ll be guessing how many blocks to stack to make your RV even.
How to Use RV Leveling Blocks

Once you’ve decided which leveling blocks are right for you, it’s time to figure out how to use them.
- Start by parking your RV 2-3 feet in front of the area that you want your RV to end up. Make sure your RV is in park and the emergency break is on.
- Step outside and examine your RV to determine the number of blocks you’ll need to make it even. Take the time to think through the process and decide which sides need to be lifted.
- Put your RV leveling blocks up against the tires you intend to raise. If you are stacking blocks, make sure to keep them together.
- Start your RV, release the breaks and slowly drive onto or back up to the blocks. If possible, have someone guide you, as it will make the process easier. Place a chock at the rear wheel of your vehicle.
- Get out of the car and evaluate if it is level. You may need to make some adjustments.
- Then, place your other chock in the front wheel and you’re ready to go!
Popular Articles:
Articles on The Dyrt Magazine may contain links to affiliate websites. The Dyrt receives an affiliate commission for any purchases made by using such links at no additional cost to you the consumer.