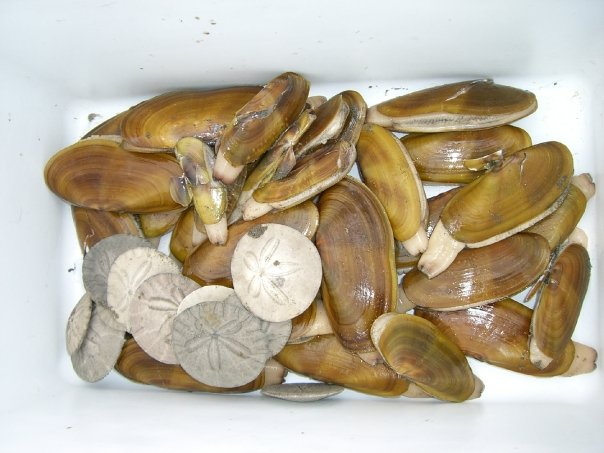
I’ve always loved clams; fried, in chowder, steamed in butter—it’s all good! But when I was introduced to Washington clam digging, I discovered the freshest, best-tasting razor clams on the planet.
Clam Digging on Washington’s Long Beach Peninsula

The Long Beach Peninsula on the southern Washington coast is just a short road trip from the neighboring metropolitan areas of Portland, Oregon and Seattle, Washington. Not only is it a favorite beach play and camping hotspot, it arguably boasts the best razor clamming in the Pacific Northwest with the biggest yields and largest sized clams.
When and Where to Go Clam Digging on Long Beach Peninsula
In order to maintain a healthy population and mitigate the risk of marine toxins, The Washington Department of Fish and Wildlife highly regulates Washington clam digging times. Peak clamming season generally runs late fall through early spring. When planning your trip be sure to check their website for updated dates, locations, and tide levels.
Insider tip: If they confirm the dates, go for the Long Beach Razor Clam Festival on Saturday, April 20. With clam digging lessons, vendor booths, contests, taste-offs, and more, it’s fun for the whole family!
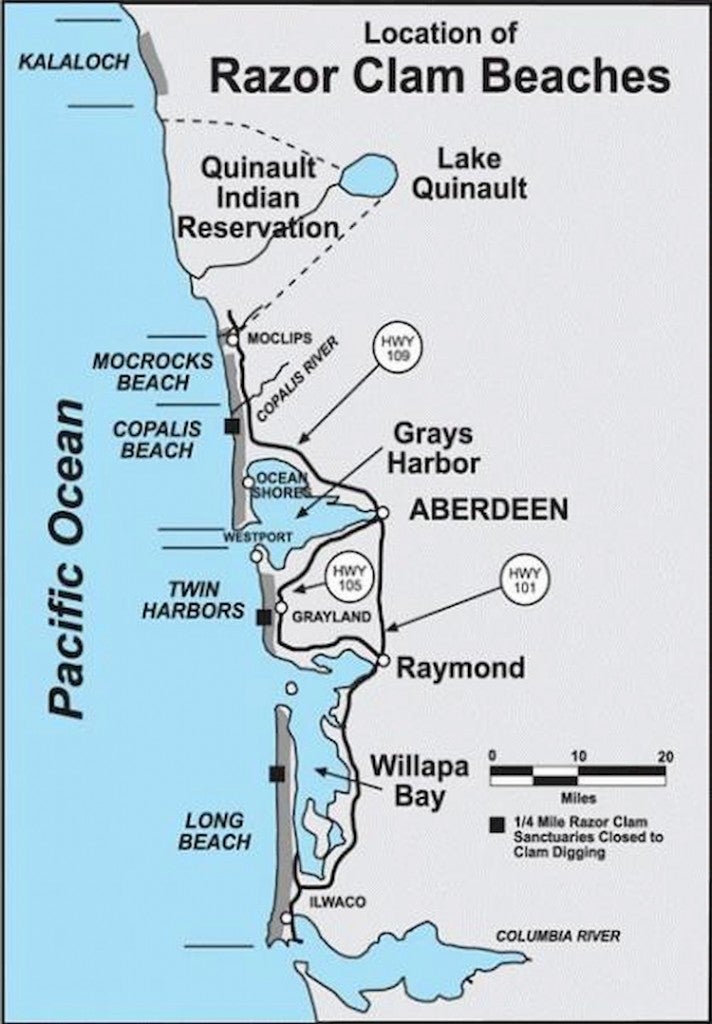
The best Long Beach Peninsula beaches for Washington clam digging include Ilwaco and Willapa Bay, but you can also clam farther north into Twin Harbors, Copalis, Mockrocks, and even all the way up to Kalaloch Beach above the Quinault Indian Reservation. Every seasoned clam digger has their own opinions on the best place to find the biggest razor clams and the fewest crowds, and I am no exception. Our family prefers the northern shore of Long Beach, and I’ve dug my biggest clam at Twin Harbors.
Regardless of the beach, the most important factor for a successful clam dig is the tide, so understanding how to read the tide tables is a necessity. You’ll want to dig at low tide; lower tides (e.g. -1.6, -2.8, etc.) make for easier clam digging because the clams are closer to the surface. During the fall and winter, most of these low tides are at night (hardcore clammers head out with lanterns). Winter clamming crowds are much lighter than the spring when low tides are during the day.
Insider tip: start digging one to two hours before the tide reaches its lowest point and keep digging for several hours.
What to Bring for Clam Digging in Washington
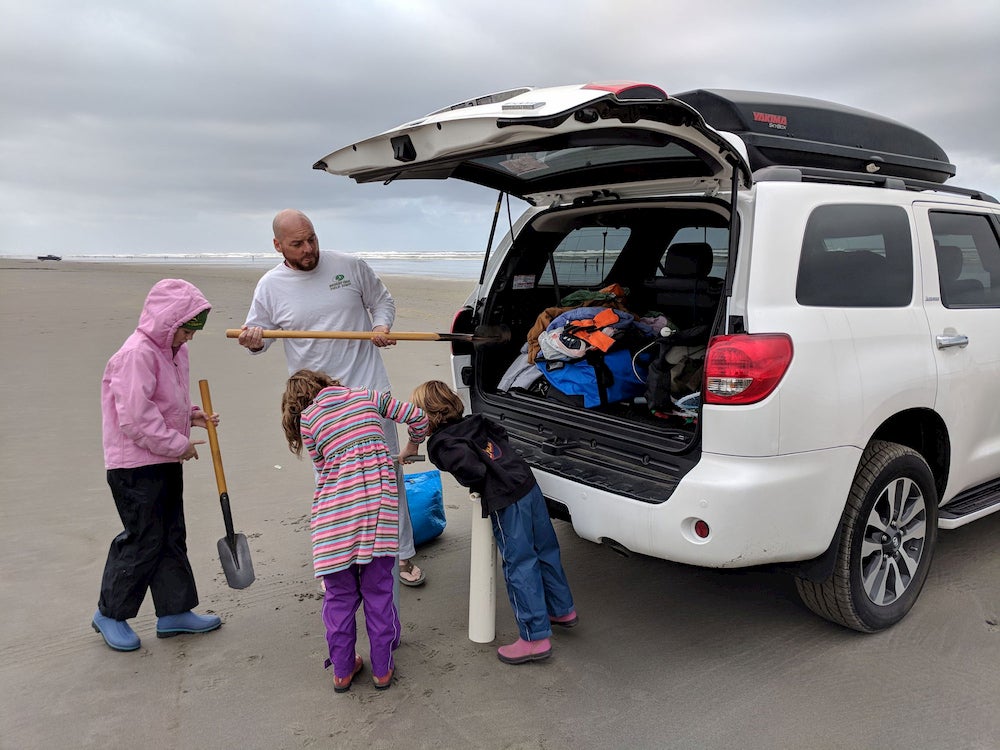
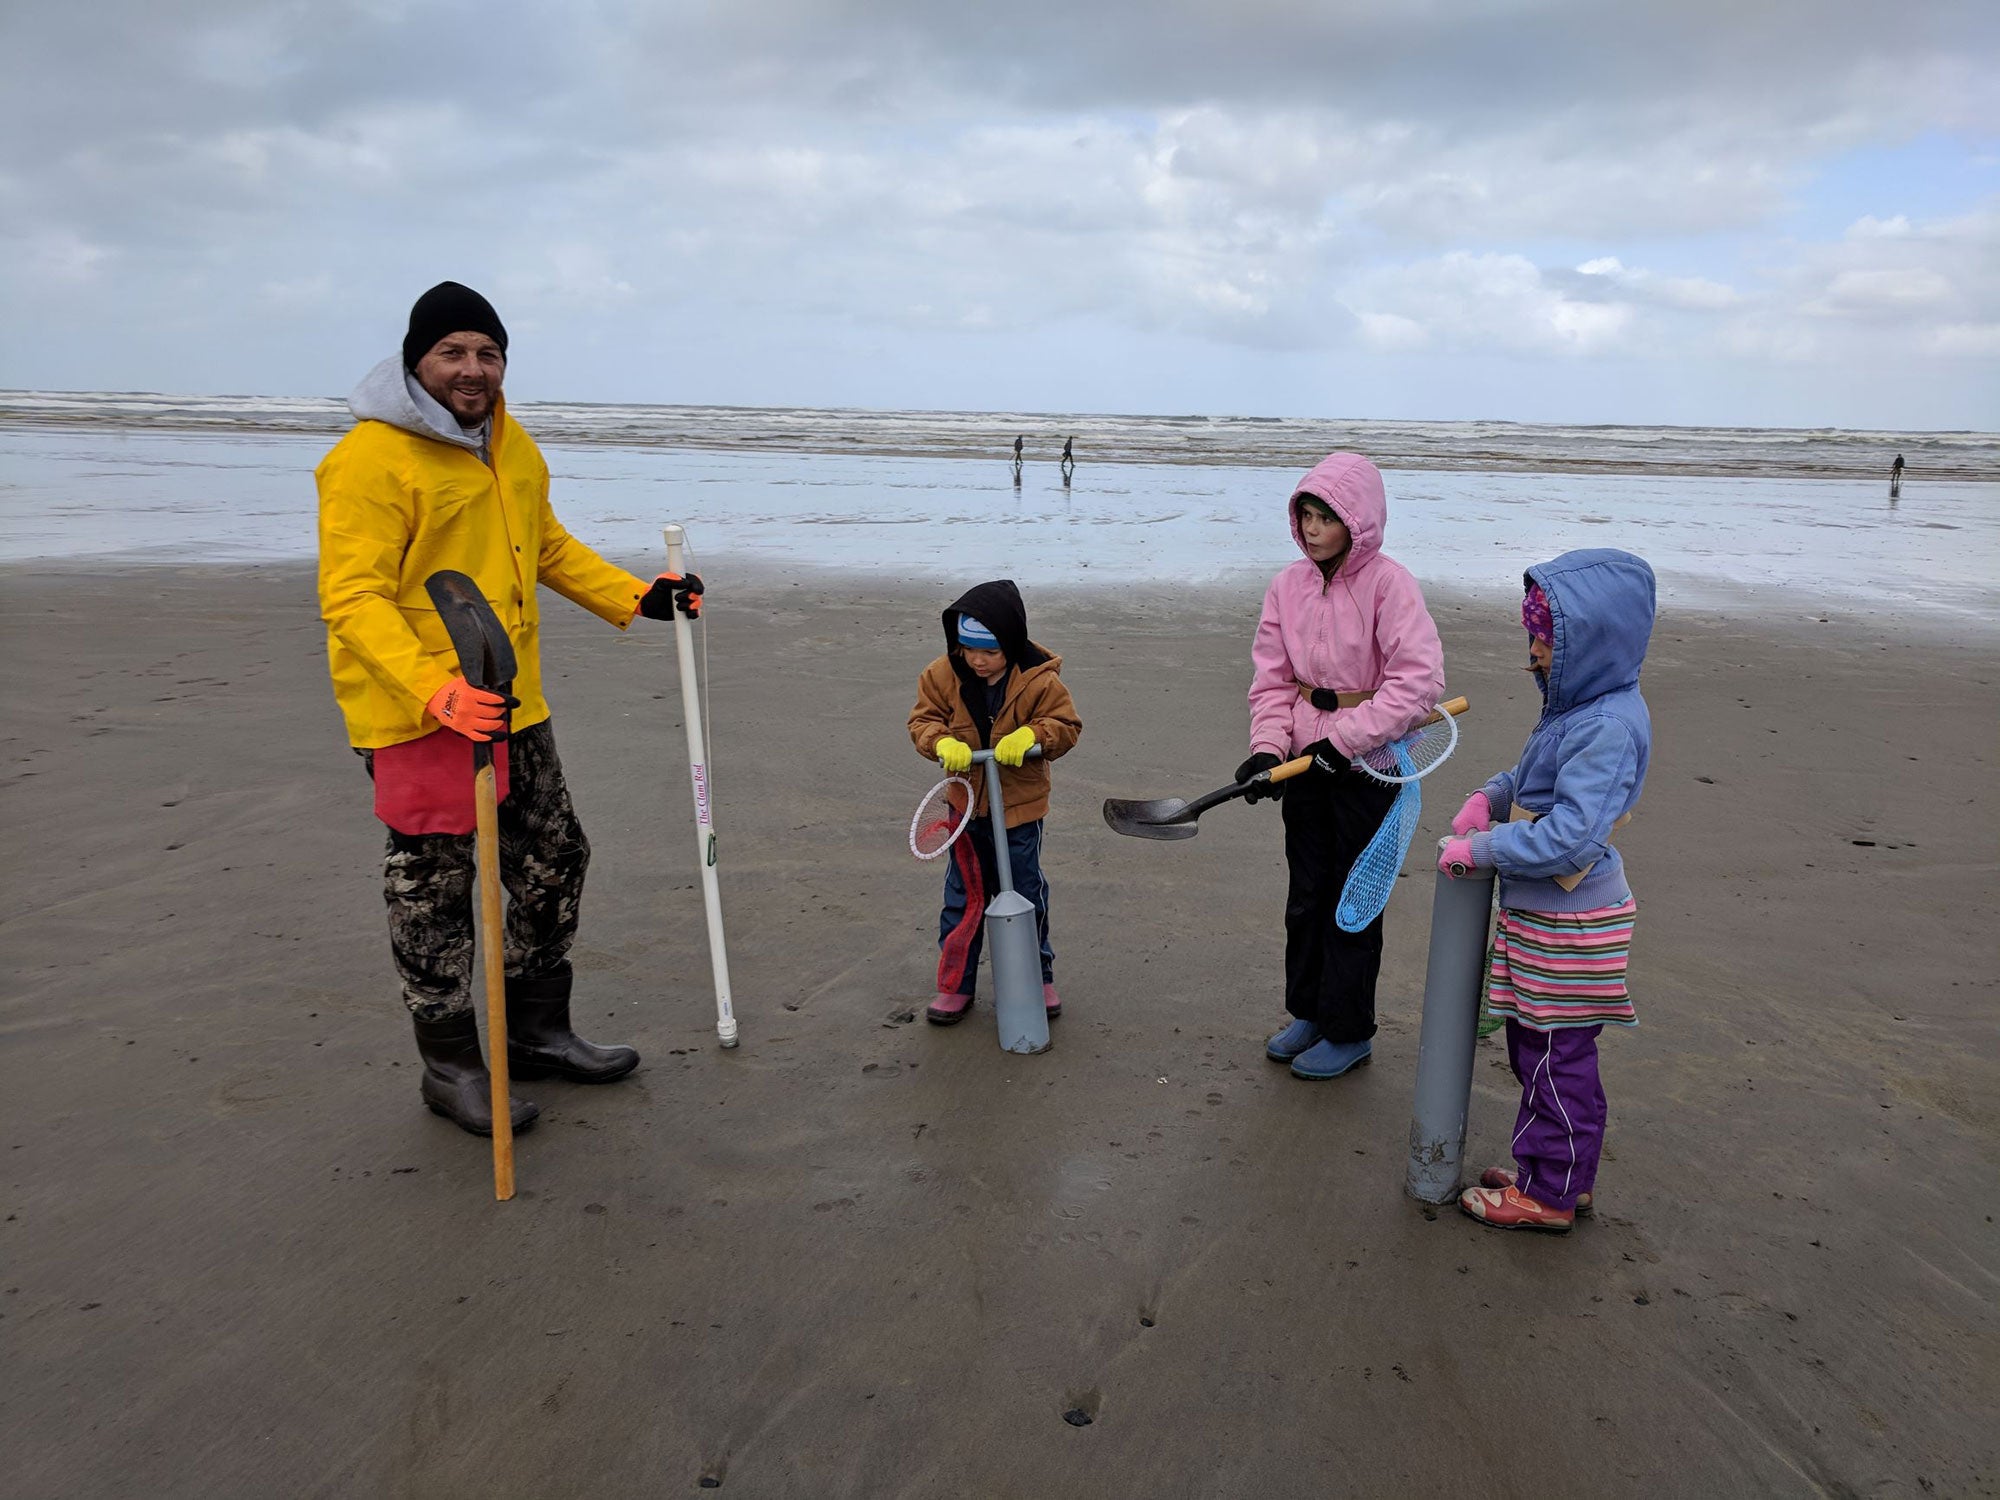
The Pacific Northwest coast is infamous for its year-round chilly and wet weather, so no matter when you go Washington clam digging—in the wet and frigid winter or the drizzly late spring—you’ll want to bundle up!
Insider tip: We wear lots of layers, neoprene waders, insulated gloves, beanies, and (hello, rain!) waterproof jackets.
Razor clams can be found just under the surface of the sand, several feet down, or anywhere in between. They also move FAST so you’ll need more than just your hands to dig them out. There are different schools of thought on what is best: clam shovel or clam gun. Why not try them both and see which you prefer?
You will also need a place to collect the clams you dig up. Washington state laws require each clammer keep their hauls separate, so make sure each person digging has their own bucket, bag, or clam net.
Insider tip: We use mesh clam nets and strap them to our waist with belts so we don’t have to lug heavy buckets.
The most important thing to remember for Washington clam digging is to purchase a current shellfish license. Everyone aged 15 and older must have and visibly display their license while digging. You can purchase them online or in one of the many local beach town stores. If you are digging with children under 15, they must have separate containers and dig their own clams with “limited help.”
Other rules to remember include a limit of 15 razor clams per digger per day, and they must be the first 15 you dig. In other words, no throwing ‘em back, even if they are tiny and/or you smash them to bits while digging them up. It’s okay, we’ve all been there!
More Insider Tips and Tricks for the Best Washington Clam Dig
One of the best things about Washington beaches is that cars are allowed on the sand! So whether you’re going clamming early in the morning, late at night, or in the middle of the day, you can drive yourself, fellow clammers, and all your gear right up to where you dig.
Okay, so you’re bundled up for the cold, wet weather, you’ve got your shellfish license, and all your gear. You picked a time based on the tide tables, drove out on the beach, and found your spot.
Now what? Do you just walk towards the receding waves and start digging? Well, yes, you can do that—but you probably won’t find much.
What you want to look for is called a “clam show,” a hole or bump in the sand (called dimples, doughnuts, or keyholes) caused by the clam moving under the surface (usually retreating farther down). The general rule is the larger the hole, the larger the clam, but I’ve noticed that’s not always the case. Sometimes it indicates how close the clam is to the surface, and if they are really close, you might even see them squirt water!

Insider tip: double up with a partner and have one person stomp the sand with their feet or pound with the end of their shovel or clam gun, while the other person walks a little behind, watching for the “show.”
Once you spot a clam show, position your clam gun around the hole and plunge it into the sand, as straight as possible. (You’ll know you’ve hit one if you feel a CRUNCH!) Vigorously twist the gun back and forth, pressing down deep with all your weight. Plug the hole on the gun with a finger, lift, and drop a tube of sand onto the beach—then search through it for your clam. But be quick; razor clams dig fast! If you’re lucky and the little bugger was in that first clump, drop him in your bag or bucket. If not, you can try the gun again or hand dig from the hole and maybe you can grab him before he digs down farther.
If you’re using a shovel, push it into the sand at a hard angle no less than four inches from the clam show, and pull the shovel with all your weight back and up, scooping out a plug of sand to search through. If you don’t see a clam, repeat with another plug or hand dig in the hole.
Check out this great resource with detailed tutorials on spotting clam shows and digging with guns or shovels (plus some yummy clam recipes at the end!). Don’t forget, Washington clam digging laws require you take every razor you dig up, regardless of size and damage, and you must not take more than your 15 per person per day limit.
Storing, Cleaning, and Preserving Your Washington Razor Clams
Razor clams should keep just fine stored in your bag or bucket for the few hours you’re digging, but when you get them back to camp or wherever you’re staying, keep them in an open container in a cold cooler or refrigerator. Whether you bring home your full limit or just one or two from your Washington clam digging escapade, they should be cleaned and cooked or properly preserved within 24-48 hours to keep them at peak freshness.
To prepare your razor clams for cooking or preserving, rinse them well by soaking them in a large bowl of cold water, then running them under the tap. You want to clean off as much sand as possible. To remove the meat from the shell, hold the clam in one palm and slide your thumb under the edge of the shell on both sides to remove and discard the outer membrane. Carefully pry the shell open, and using a sharp paring knife, gently sever the adductor muscles connecting the meat to the shell hinges. If your knife skills are on par, you should be able to separate the entire clam from the shell in one, large piece.
Cut off the dark, tough tip of the siphon with your knife or kitchen shears, then butterfly the razor clam open by snipping from the siphon down the neck and to the foot, opening it flat. Trim away the gills, stomach, and intestines (very dark and easy to spot) and remove the crystalline style, a clear, thin rod. Rinse again under the tap to remove the last of the sand and keep them in a clean bowl of ice water. Cook them immediately, refrigerate in Ziplocs for up to a week, or vacuum seal and freeze for months.
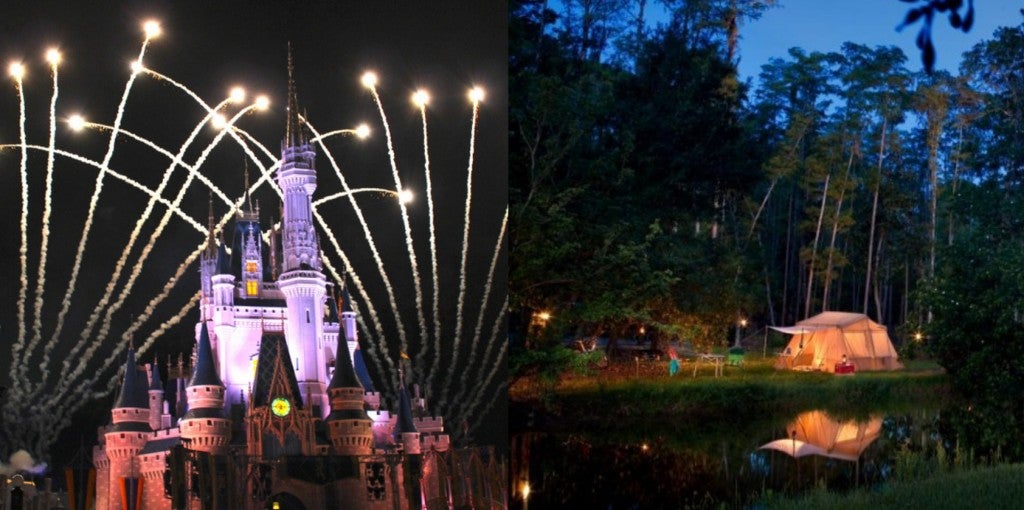
Where to Camp and Stay for Clam Digging in Washington
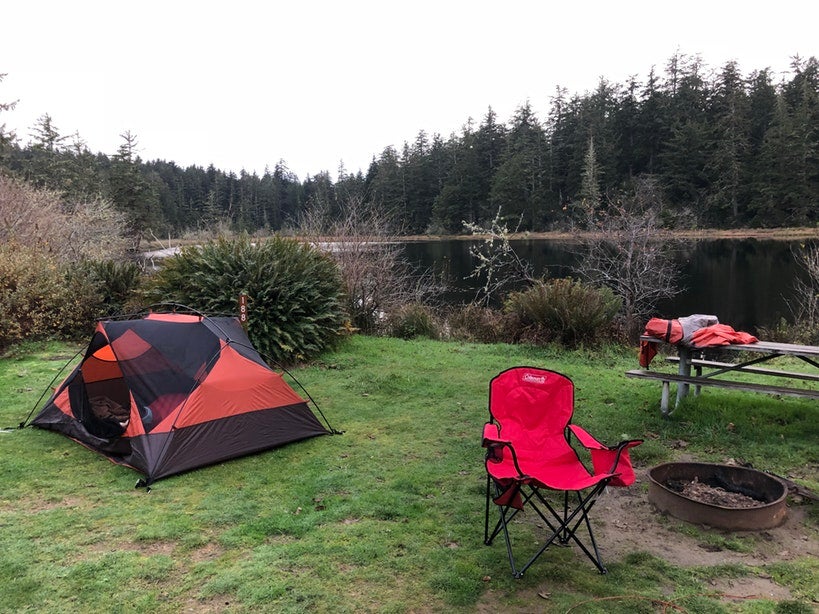
Image of Cape Disappointment State Park from The Dyrt camper Tom K.
After digging through the sand for clams, camping in Washington is a great way to keep the fun going. From Long Beach to Kalaloch, primitive to glamping, there is no shortage of great RV and tent camping spots, so I’ll break it down by area:
Long Beach
- Cape Disappointment State Park
- Eagles Nest Resort
- Wildwood Campground and RV Park
- Cranberry RV Park
- The Lamp Camp
- Oceanic RV and Camping Resort
Twin Harbors
Copalis/Mockrocks
Pacific Beach State Park
Now, if you’re like me and want the clams, but not wet and cold camping, or (if I’m honest) don’t want to deal with three children at the cold campground, there are lots of other places to stay on your Washington clam digging vacation. From hotels and cabins to B&B’s and rental houses, this area suits every tourist’s fancy!
Related Campgrounds:
- South Beach Campground, Forks, WA
- Olympia Campground, Olympia, WA
- Mossyrock Campground
- Birch Bay Camping, Birch Bay, WA
- Camano Island Camping, Camano, WA
Popular Articles:
Articles on The Dyrt Magazine may contain links to affiliate websites. The Dyrt receives an affiliate commission for any purchases made by using such links at no additional cost to you the consumer.