This article is brought to you by Liquid IV, which is the perfect addition to your pre- or post- workout routine. Get all the hydration you need after a pickleball session with Liquid IV’s convenient and effective electrolyte drink mix.
Pickleball was invented by a Washington State politician named Joel Pritchard in just one afternoon, during the summer of 1965. Two years later, he named the family dog “Pickles” in honor of his new sport.
More than 5 decades later, it’s now receiving headlines like “Pickleball: The fastest growing sport you’ve never heard of.” And the USA Pickleball Association (USAPA) is touting a 650% increase in pickleball players over just the past six years.
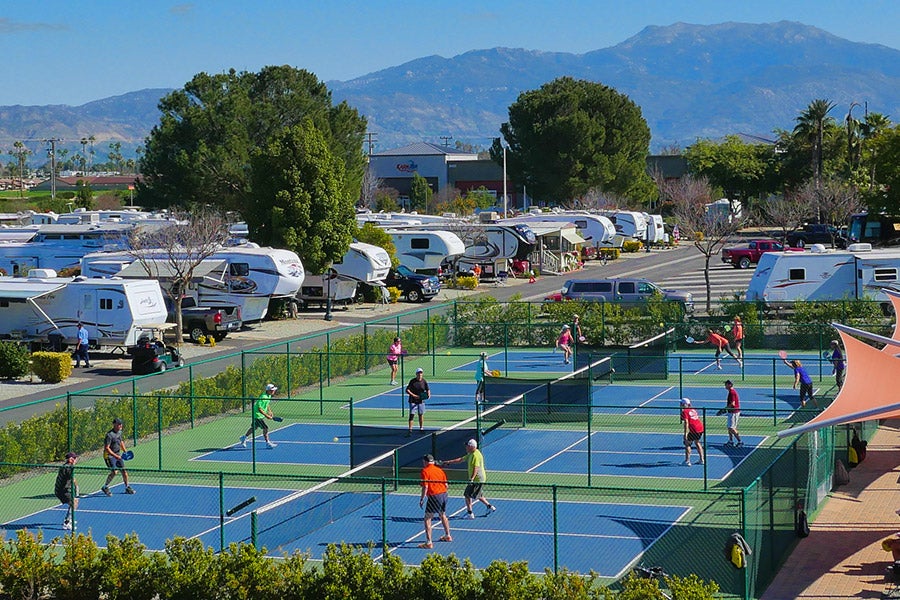
The game’s recent boom in popularity is thanks in large part to the RV community. It was at RV parks, as well as 55-and-over communities, that pickleball found it’s most loyal fanbase. The word spread from there, and now parks and recreation facilities are filled with people who play pickleball across the country.
The flexibility of pickleball as an indoor or outdoor game that can be played on converted tennis courts or badminton courts, makes it a great on-the-go sport. And with the right travel-ready equipment, you’ll know how to play pickleball wherever pavement is found.
How to Play Pickleball: The Rules
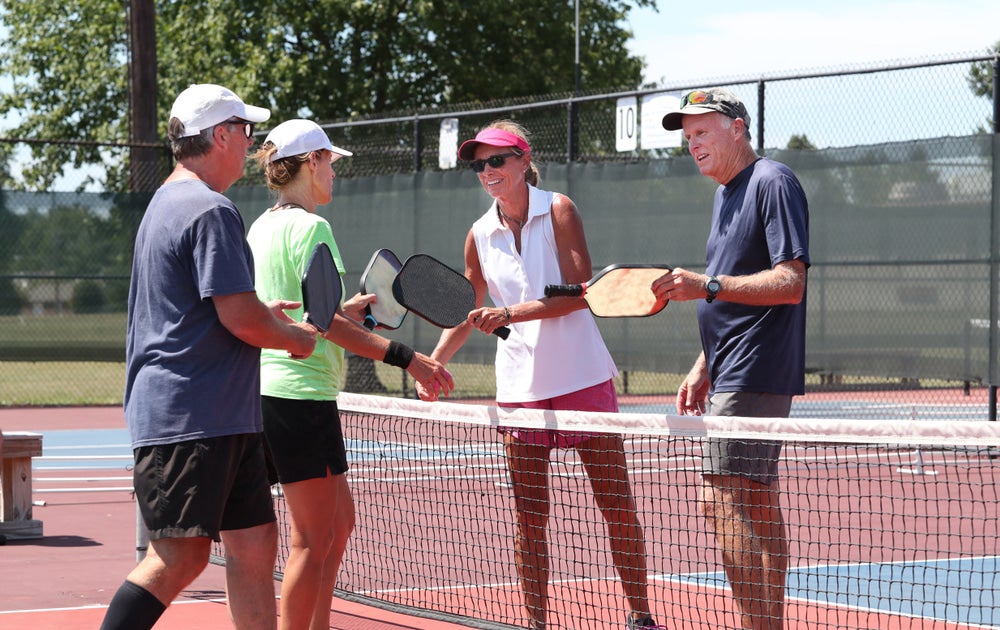
For those of you who haven’t played pickleball already, let’s start with a quick overview of the rules. Welcome to Pickleball 101:
- Pickleball is a hybrid of ping-pong and tennis
- Play begins in familiar racket-sport fashion, with an underhand serve from behind the baseline, on the right side of the court. The ball must travel diagonally over the net and land within the left side of the court.
- The serve must be allowed to bounce once before the receiving team can return it.
- That initial return must also be allowed to bounce once before the serving team can hit their return shot.
- From then on, either team can hit the ball before or after it has bounced.
- Important to note is the designated “non-volley” zone (NVZ) where, you guessed it, you’re not allowed to hit the ball without letting it bounce first.
- The non-volley zone is unique to pickleball. The addition of the NVZ prevents players from standing close to the net and smashing their return shot before it bounces.
- Players are allowed to stand in the non-volley zone, and play a ball within the NVZ that has already bounced. However, they must exit the zone completely before playing a volley.
- Only the serving team is able to score a point. If the non-serving team wins a rally, they don’t receive a point but they do take control of the next serve.
- A game is won when a team scores eleven points and is leading by at least two points. (A score of 11-10 would mean you continue to play until one team reaches a two point lead).
How To Make Your Own Temporary Pickleball Court
There are two main material options for marking out your court: tape or chalk.
Tape will provide more durability, weather resistance, and precision. Chalk is the cheaper option and it makes your court easier to clean up. (Or just leave it for the rain to wash away.) A 20-pack of jumbo washable sidewalk chalk is just under $7 and is sure to easily last you a full year of makeshift pickleball excursions.
If you decide on tape for your court creation; we recommend using gaffer or duct tape. Both options will hold tight to rough and uneven surfaces. For the environmentally conscious folks, gaffer tape should leave behind less adhesive residue than duct tape.
- Gaffer tape, 90ft, residue free & 5 color options—$8.95 on Amazon
- Duct tape, 180ft, several different color options—$6 to $7 on Amazon
Now it’s setup time.
Ideally, you could buy or get your hands on three tape measures to use during the setup. This way you’ll be able to lay all three tape measures out at once and get all of your boundary lines aligned and marked out.
A pro tip to take your temporary outdoor court to the next level is to use one color for all the outermost boundary lines, a second color to divide the court down the middle, and a third color to designate the no-volley zone.
For my fellow visual learners out there, click here to watch a 3-minute video tutorial that does a great job of showing the whole measuring and marking process from start to finish.
You should also refer to the diagram & court dimensions below to make sure you have everything nailed down before you start any taping or chalking.
Court Dimensions:
- Length = 44 ft
- Width = 20 ft
- Non-Volley Zone = 7 ft on either side of the net
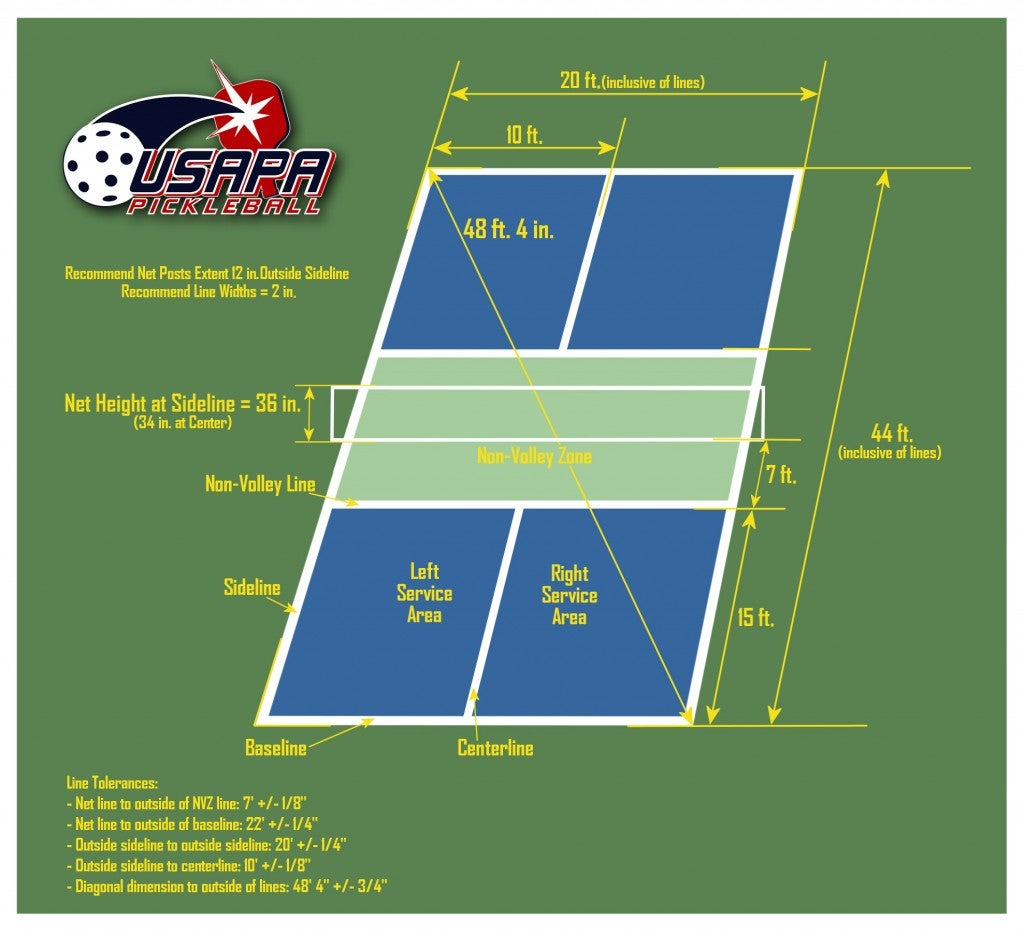
Image from USAPA
This diagram gives you a more detailed look at the official pickleball court measurements. (FYI—other than the non-volley zone, a pickleball court has the exact same dimensions as a badminton court.)
Travel-Ready Pickleball Equipment
Now that you’ve completed your full-size, envy-inducing outdoor pickleball court, let’s make sure you have everything else you’ll need to host your first pickleball tournament of champions.
The list is short and sweet: a net, a few paddles, and some pickleballs.
Here’s what we recommend for a compact, travel-ready set of paddles and balls:
- Westop Sports Pickleball Paddle Set (4 wood paddles, 8 balls and 2 carrying bags)—$39.99 on Amazon
And don’t overlook the importance of a good net. You’ll want one that is regulation size to go with your full-sized court. We found this high-quality portable pickleball net; complete with a solid metal frame, four ground stakes for added stability, and a carrying bag for easy packing.
- ZENY Portable Pickleball Net System—$49.95 on Amazon
Let’s put it all together now.
- Step 1: Snag the recommended net & pickleball equipment above, if you don’t have your own already.
- Step 2: Get your hands on a few rolls of gaffer/duct tape or some sidewalk chalk, plus at least one tape measure.
- Step 3: After 15 minutes of setup time you’ll be ready to play pickleball like a pro, no matter where you are!
Go get em, champ.
This article was brought to you by Liquid IV

Check out their line of electrolyte-packed hydration drinks!
Related Campgrounds:
- Lake Casitas Camping, Ventura, CA
- Camp Edison
- Jetty Park
- St Louis RV Park, St Louis, MO
- Santa Rosa RV Resort, Navarre, FL
- Camping Near Starved Rock, Starved Rock State Park, IL
- Elk River RV Park, Port Orford, OR
Popular Articles:
Articles on The Dyrt Magazine may contain links to affiliate websites. The Dyrt receives an affiliate commission for any purchases made by using such links at no additional cost to you the consumer.