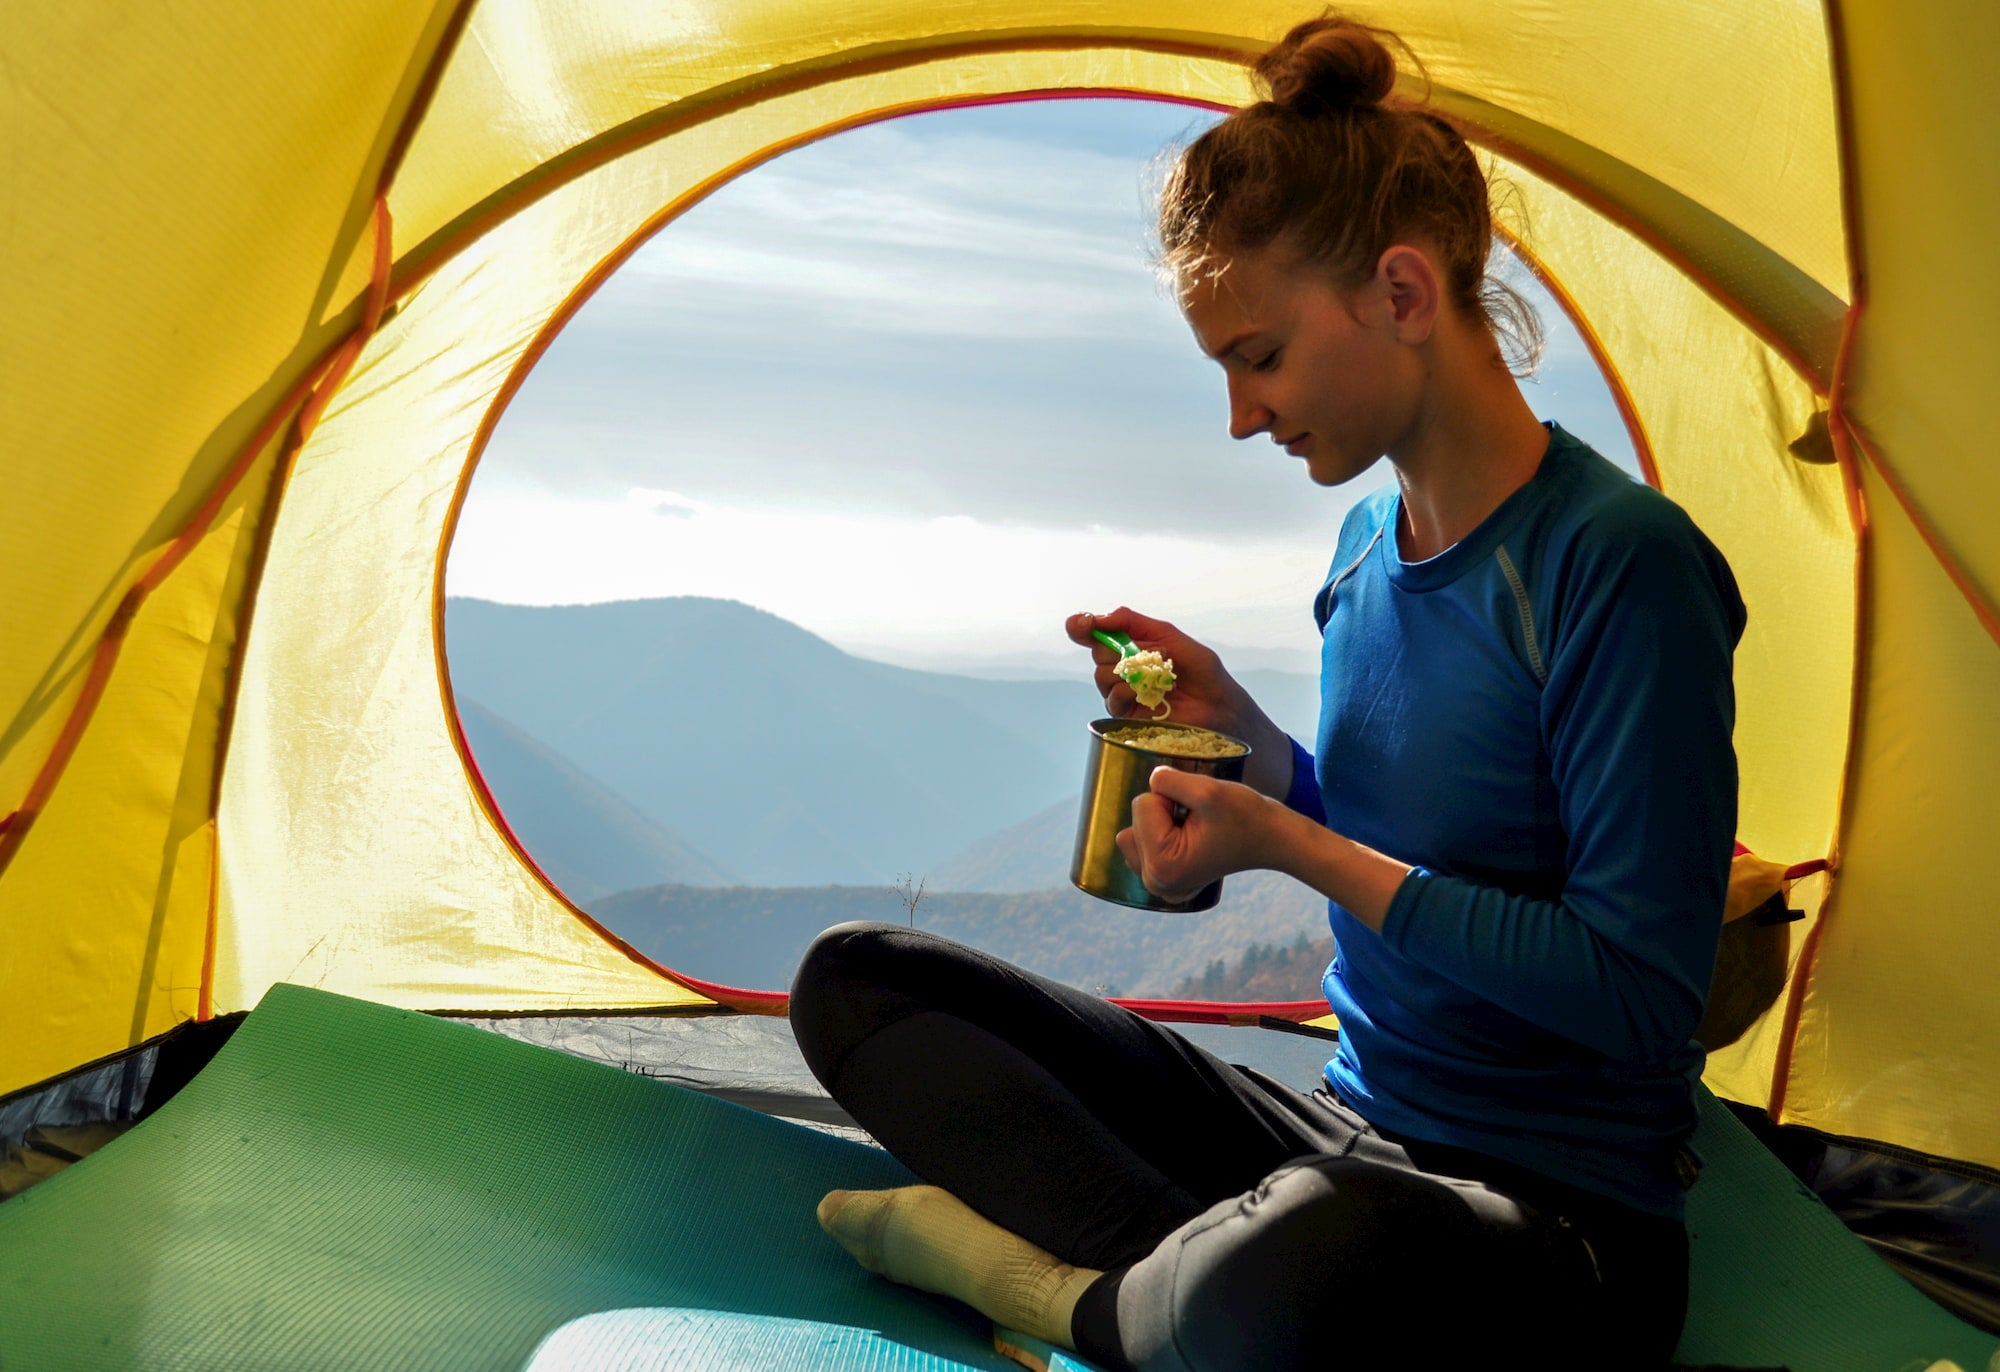
This article about backpacking meals was brought to you by Morsel, the makers of the best camping utensils for your homemade backpacking dinners for the trail.
Dehydrated meals can be a life-saver on the trail. They’re easy to make and won’t weigh down your pack—and many of them are delicious, too. However, pre-made backpacking meals aren’t always budget-friendly, so we’ve created a guide to making your own dehydrated meals along with backpacking meal ideas to try out on your next big trip.
Making your own dehydrated backpacking meals is a creative and delicious way to enhance your backpacking experience. They can save you some space and won’t create as much waste, depending on how you choose to package your meals.
Save Money and Make Your Own Dehydrated Backpacking Meals
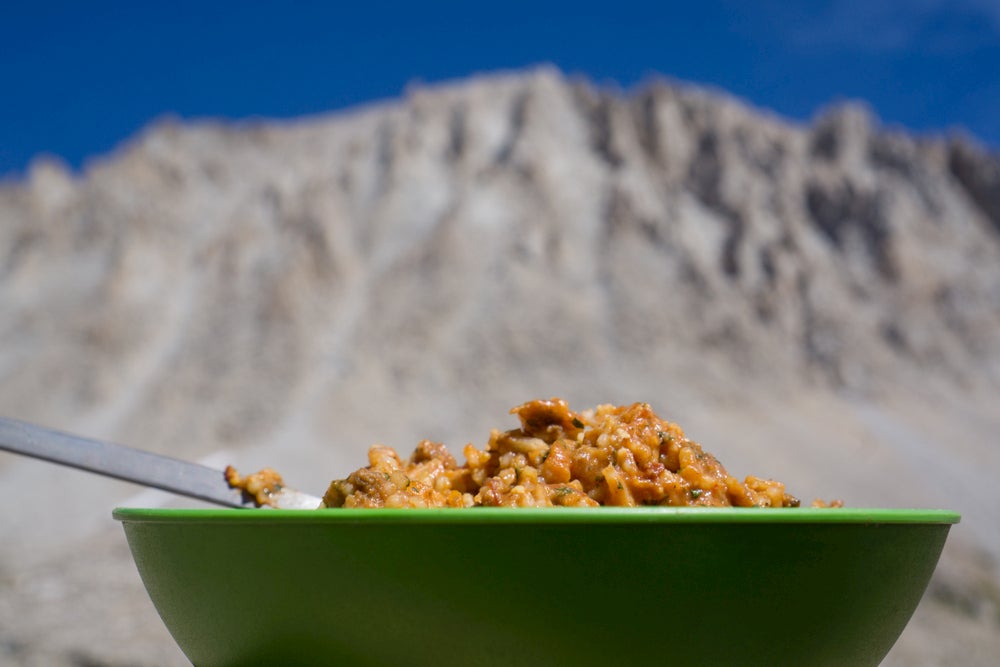
After all of your hard work and preparation, you can enjoy the fruits of your labor on the trail. While it might not taste exactly like your grandma’s spaghetti Bolognese or restaurant pad thai, these homemade dehydrated backpacking meals are surprisingly delicious.
Before You Begin: Meal Size Matters
It’s important to make sure you make the right amount of food for yourself on the trail. Not having enough will leave you hungry and grumpy. You need to make sure you’re getting enough nutrients and energy to continue your backpacking trip.
On the flip side, if your meals are too big, they will likely be too heavy and can make your trip more challenging. A common rule is to cook a meal with ¼ cup dehydrated meat, ¼ cup dehydrated vegetables, and ½ cup rice or other starch. You can add or reduce any of these quantities to fit your hunger levels and nutritional needs.
Dehydrated Veggies
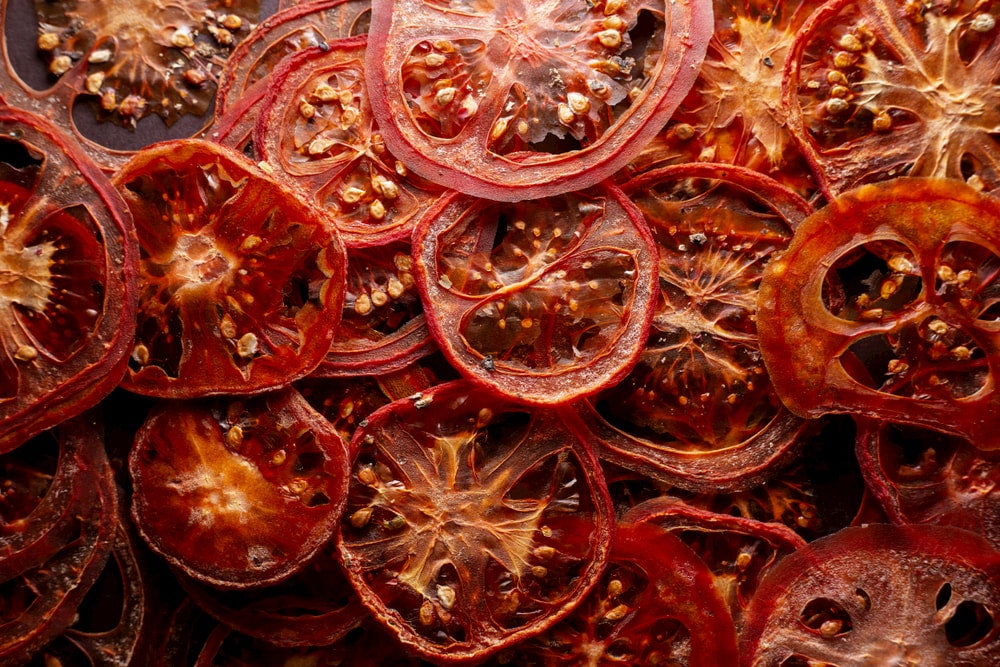
Veggies are a fantastic food item to dehydrate. While pre-made dehydrated meals typically have vegetables, the proportions vary between brands. If you want more veggies in your backpacking meals, dehydrating your own is a great way to enjoy a fiber-rich diet in the trail.
Dice tomatoes, peppers, and onions and put them directly into the food dehydrator. Vegetables like broccoli and green beans benefit from a couple minutes of steaming before they go into the dehydrator.
Dehydrated Meat
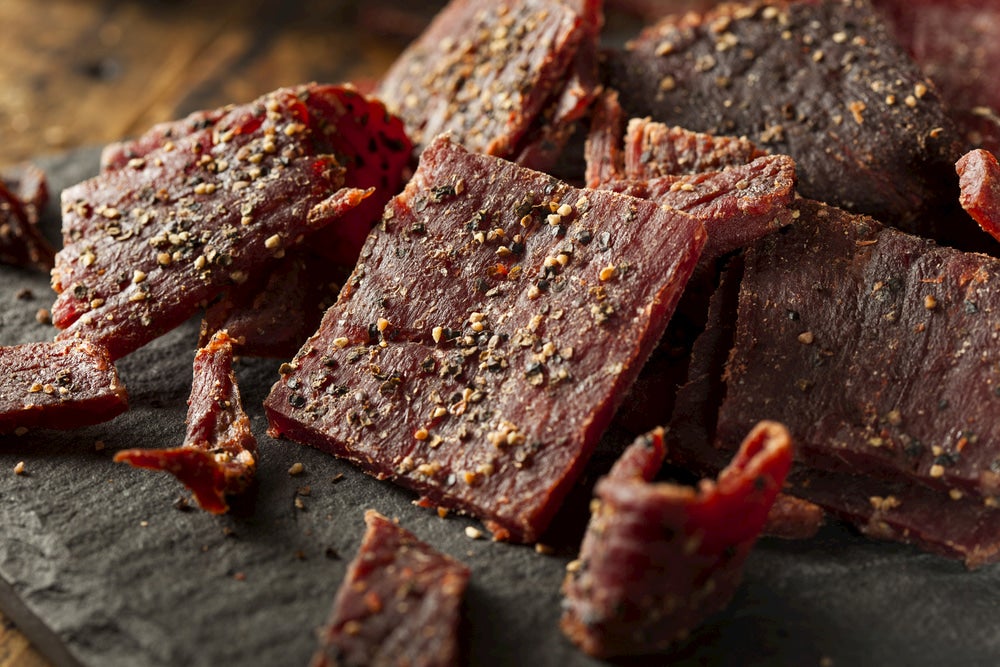
Dehydrated meat can last for years. Make sure to only use lean meats, as fattier meats can go bad faster. We’ve given the how-to on ground beef and chicken, but wild game can be dehydrated using similar methods. Use your favorite wild game recipes as inspiration for your backpacking meals.
Ground Beef:
- Buy ground beef that has a fat content between 7-15%; this will allow the meat to stay fresher, for longer.
- Mix bread crumbs in with uncooked meat. This helps the meat rehydrate better as it retains moisture. For every one pound of ground beef, use ½ cup of finely-ground bread crumbs.
- Break meat into small pieces and cook in a frying pan until fully cooked. After cooking, remove any grease and moisture from beef with paper towel.
- Spread meat on non-stick paper or sheets on dehydrator and dry at 145 degrees for around 6 hours. It should be hard when it is dry.
- You can then use it for your homemade backpacking meals or put the meat in the freezer for future use.
Chicken:
Canned chicken is often used to make dehydrated chicken. It rehydrates well and turns out less tough than fresh chicken.
- Drain liquid from canned chicken
- Rinse away any fat from chicken
- Cut into small pieces and put on dehydrator
- Dry chicken at 145 degrees for 8 hours
- Oi la! Use the chicken for a delicious backpacking meal or put it in the freezer for later.
Dehydrated Fruit & Fruit Strips
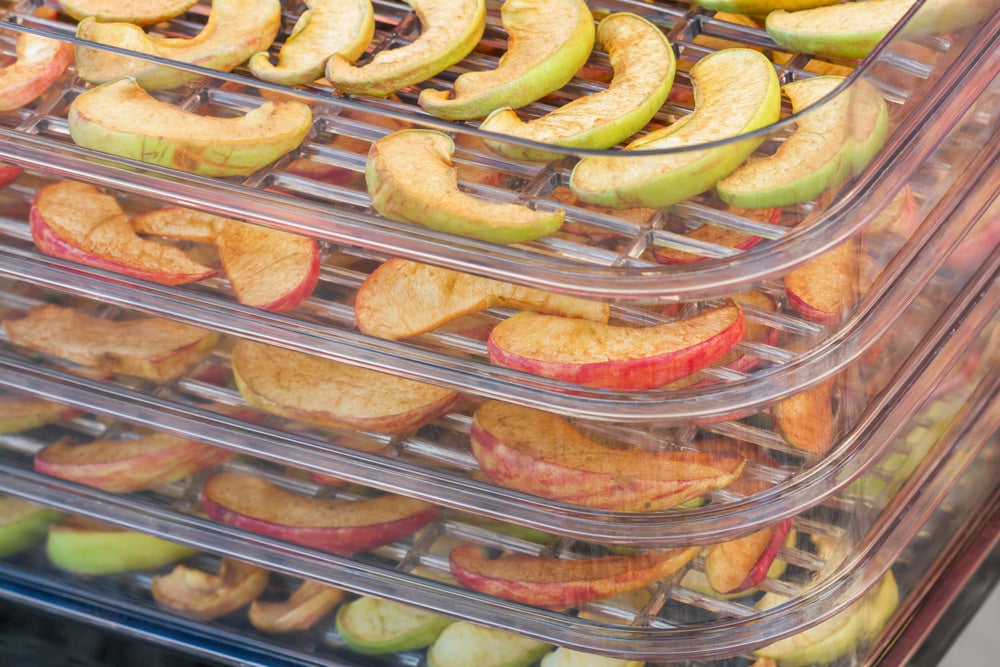
Enjoying your own dried fruit on the trail will satisfy your sweet tooth, save you money, and keep you healthy. You can throw dried fruit in oatmeal for breakfast and scoop it with a morsel spork or snack on it throughout the day.
Dehydrating Fruit:
Choose fruit that is fully ripened. Mature and firm fruits will have the highest sugar content for flavor and the most nutritional value.
Wash fruit and cut it into pieces about ⅛ inch thick. Spread in a single layer onto dehydrator trays.
Most fruit should have a leather texture when done, but should not snap when broken (unless they are banana chips).
Apples:
- Cut into ⅛ inch thick pieces
- Dehydrate at 135° until pliable (8 – 12 hours).
Bananas:
- Cut into ⅛ inch thick pieces
- Dehydrate at 135° until pliable (8 – 12 hours)
Strawberries:
- Cut off leafy crown
- Cut into ⅛ inch thick pieces
- Dehydrate at 135° until pliable (8 – 12 hours)
Mangos:
- Cut off skin
- Cut into ⅛ inch thick pieces
- Dehydrate at 135° until pliable (8 – 12 hours)
Blueberries:
- Dehydrate at 135° until pliable (12 – 20 hours)
Fruit Leather:
A healthier version of the fruit roll-ups you might have enjoyed as a kid, fruit leather is a scrumptious snack for the trail. You can blend different fruits together or add vegetables to the mix that will turn into your fruit leather. There are no rules for which fruit or blends you decide to make, but we’ll throw you some tips to get the dehydrating process correct.
- Wash fruit and cut out any seeds or cores. Leaves fruit skins on for more nutrients.
- Put fruit mixtures into blender along with optional flavorings like juice, honey, maple syrup, brown sugar, fruit jams/preserves, vanilla or almond extract, brandy, cinnamon, nutmeg, ginger. Be sure not to add too much or the mixture will take longer to dehydrate
- Combine fruits and flavorings into blender and blend until smooth.
- Spread fruit mixture about ⅛ inch thick on a paraflexx sheet. Do not use waxed paper.
- Dry at 135 degrees for 6-12 hours depending on texture. It will be pliable when finished.
- Be sure to check spots that are thicker to make sure they have dried.
Dehydrated Sauce
Making your own dehydrated sauce is a sure way to enhance a backpacking meal. You can rehydrate it to eat with pasta or a spinach and bean marinara. Here’s the how-to on making your own pasta for a dehydrated backpacking meal. Make sure not to use sauce with cheese in it, as it can spoil quickly and have a crumbly consistency.
- Run sauce through a blender
- Spread sauce thinly on dehydrator trays on non-stick paraflexx sheets or parchment paper. Wax paper will melt.
- Dehydrate the sauce at 135 degrees for 6-8 hours.
- After 5 hours, it should be possible to peel the layer of sauce off of the sheets. Peel the sauce off the sheets, flip it and place it directly on the dehydrator for the remaining 1-3 hours.
- Allow the sauce/leather to cool and tear it into pieces. Store it in a jar or in plastic bags until your backpacking trip.
- Soak with pasta or another backpacking meal and hot water when in the backcountry.
Dehydrated Backpacking Meal Ideas For Your Next Trek

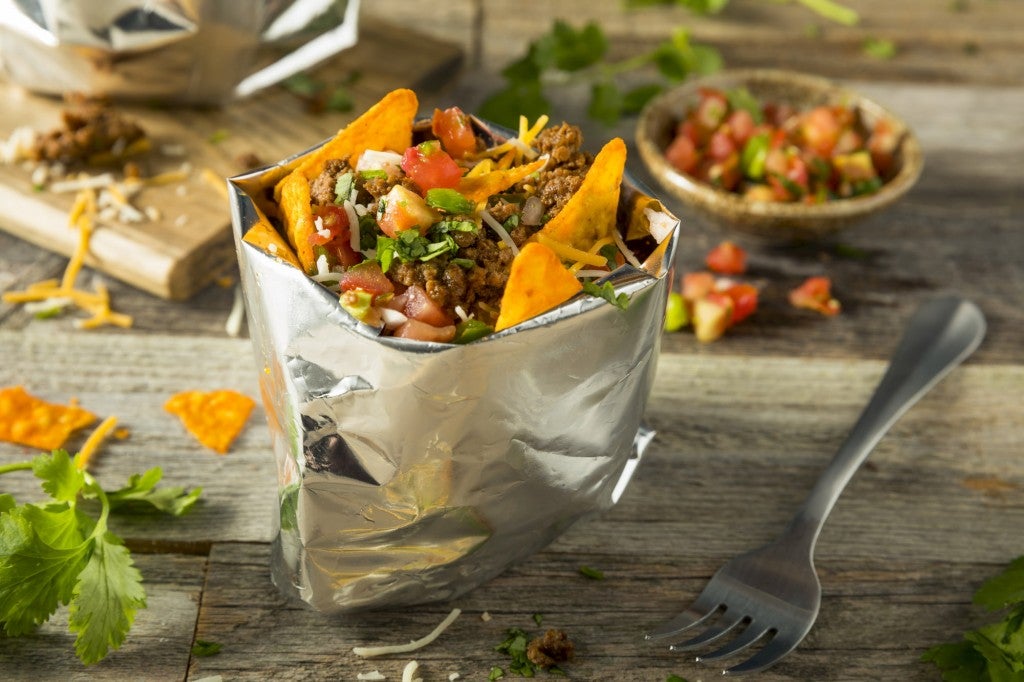
These recipes from The Backpacking Chef are tasty, high quality backcountry recipes that will spice up your next backpacking trip. These are our top four favorite recipes, but do some digging for yourself on his website to find your favorite backpacking meal idea.
This article about backpacking meals was brought to you by Morsel

Morsel Spork is a proponent of enjoying your own dehydrated meal recipes with your favorite Morsel Spork
Popular Articles:
Articles on The Dyrt Magazine may contain links to affiliate websites. The Dyrt receives an affiliate commission for any purchases made by using such links at no additional cost to you the consumer.

