This article on how to make homemade jerky is brought to you by Midland. Midland’s kids walkie talkies are the perfect way to let your kids be independent while outdoors or on vacation, while still keeping a close connection.
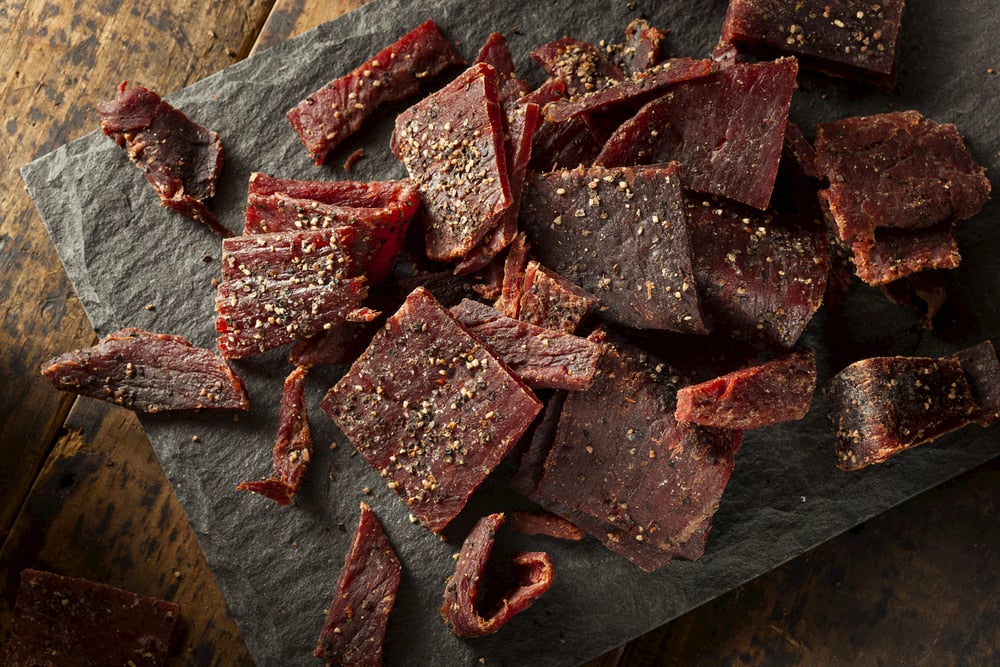
Looking for a way to step up your jerky game? Try homemade jerky. It’s not the easiest thing to make the first time around, but the flavor and convenience of being able to create your own teriyaki masterpiece will far outweigh the cost of creation.
What’s more, traditional beef jerky is often full of preservatives and sugar (although there are a few healthy-ish brands out there), so making homemade jerky is often the healthiest option as well as the most cost-effective. Plus, you can make whatever flavor you want, whether you’re a spicy jerky lover or a traditional teriyaki type.
7 Steps to Make Homemade Jerky
The process for making homemade jerky is often conflated with the high cost of purchasing a smoker. Contrary to what some meat enthusiasts might tell you, you don’t need a smoker to make quality, great-tasting homemade jerky. All you need is your oven, the right cut of meat, and the perfect concoction of flavors and ingredients. Here’s our take on the best homemade jerky recipe:
What you need:
- Meat (between 2 to 3 pounds) of your choice
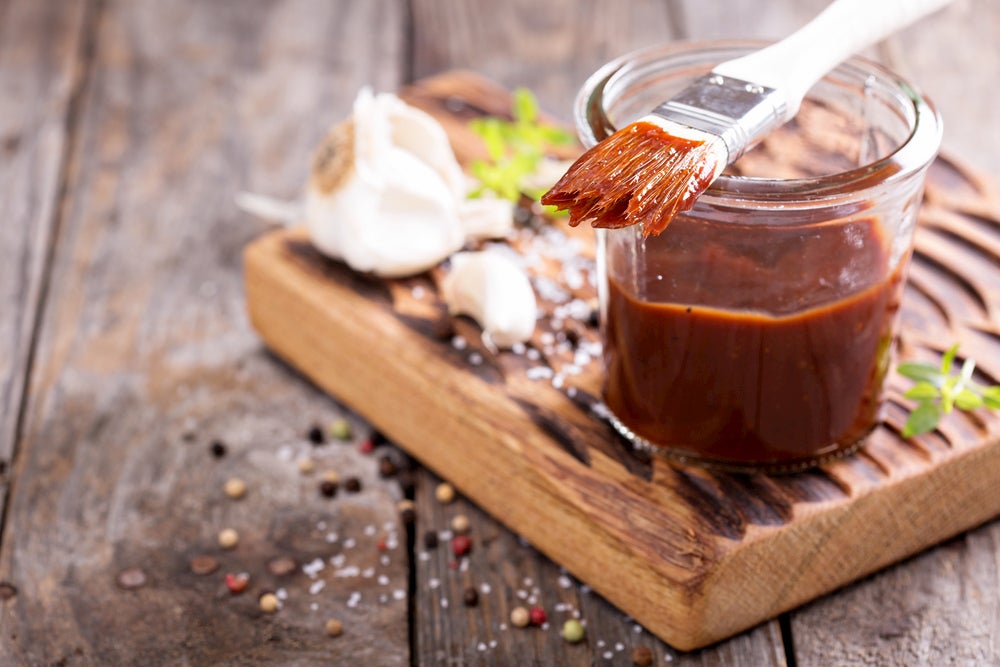
- 1-1.5 cups of your marinade of choice (soy sauce, teriyaki sauce, apple cider, beer, worcestershire sauce, a light barbecue sauce)
- 1-2 teaspoons of your herbs and seasonings of choice (popular options include: garlic powder, onion powder, liquid smoke, cayenne pepper, black pepper, salt)
- 1 teaspoon of a slight sweetener of your choice (brown sugar, honey, corn syrup)
- Cooking sheet
- Cooking rack
1. Find it.
If you’re a beef jerky fan, flank steak is the premium (and costly) cut to make jerky out of, although there are plenty of other options when it comes to the right cut. If you’re not looking to invest, try picking a cheaper, lean cut of beef that you can cut into thin strips (just like a flank steak). Picking a lean cut is the most important thing to keep in mind, as the fats in a beef jerky operation can cause the jerky to spoil, so something akin to a top roast should be perfectly fine.
As far as other meats go, turkey or even pork can be used to make jerky, just make sure they’re lean cuts, and thinly sliced for optimal texture and dehydration! Once you’ve made your choice, be sure to cut all the fat off the meat.
2. Freeze it.
For both turkey and beef jerky, most experts will say that flash freezing your cut of meat will make it immensely easier to cut. Since the thickness of your strips has a big impact on the quality and texture of your jerky, freezing your meat for around 30-40 minutes is highly recommended.
3. Cut it.
Once you’ve frozen your chosen cut of meat, try your best to slice it into strips of about 1/8th to 1/4th of an inch. If you can, try to identify the grain of the meat, and cut against it, as this divides the fattier and chewier parts of the meat into equal quadrants, creating the traditional satisfying chewiness that jerky lovers adore.
After you’ve cut your jerky slices, throw them in a ziploc bag and prepare for the fun part!
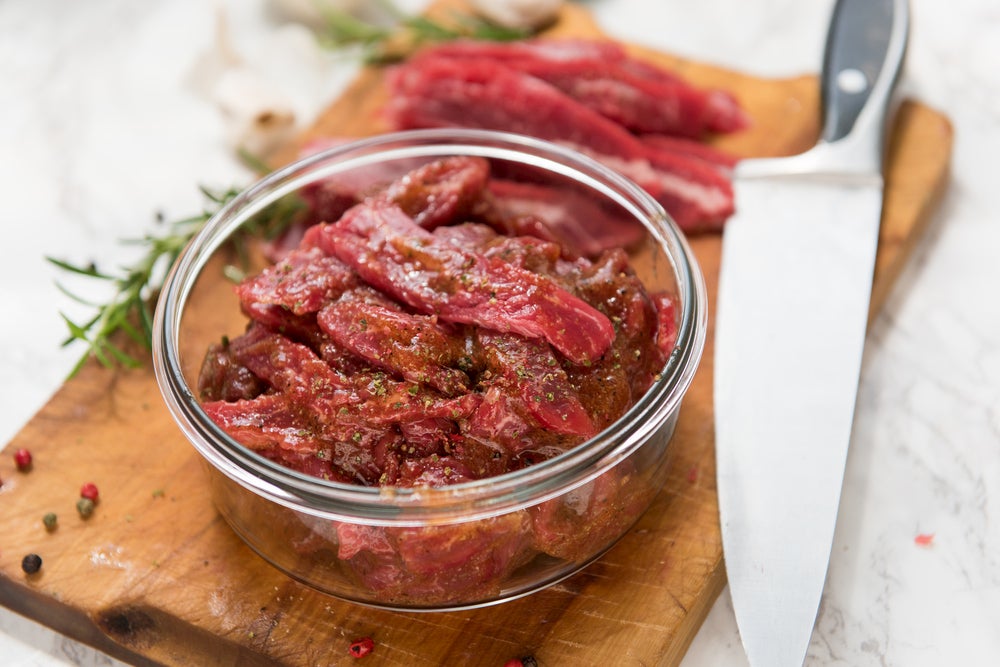
4. Marinate it.
Congrats! You’re well on your way to making your very own homemade jerky. Once you’ve cut your prime jerky slices, it’s time for the fun part: marinating it. Here’s where the hardest decisions start. Do you go with something lighter and salty, like soy sauce? Or something with a richer flavor like a barbecue marinade with some of your favorite spices thrown in? Whatever you choose to do, we recommend you marinate your homemade jerky for at least three hours, but some jerky aficionados prefer to marinate their jerky for up to a day. It’s totally up to you!
5. Place it.
Once you’ve marinated your jerky, it’s time to place it! Ideally, the baking process works best with a wire rack placed over a baking sheet, as this allows for the jerky to release moisture into the pan without becoming soaked in it. If are unable to make the wire rack to baking sheet work, try your best regardless to ensure that moisture is kept away from the jerky. Lay your meat strips evenly across your pan or rack (they can be touching, but shouldn’t overlap).
6. Bake It.
Here comes the part where you’ll need patience. Great jerky can’t be rushed. Bake your jerky strips at somewhere between 165 and 180 degrees Fahrenheit. Since the goal for jerky is to dry it, not to cook it, you’ll want to try to keep the oven door slightly open, either with a ball of foil or something else heat friendly. If your oven has a setting that allows air to circulate through the oven rather than sitting still, you can do this as well and keep your oven door shut. The main goal in baking your jerky is to dry it out, since traditional jerky is made with a dehydrator rather than in an oven.
The bake time varies from cook to cook, but general consensus rules that at least 4 – 5 hours is needed to really dehydrate your jerky properly. Once you hit the 5 or 6 hour mark, you should taste test your jerky to make sure it’s not getting overdry. Perfectly cooked jerky is a dry-feeling in texture but easy to rip off a piece without it crumbling. Once the long, jerky-scented hours are over, leave your jerky out of the oven to let it cool down.
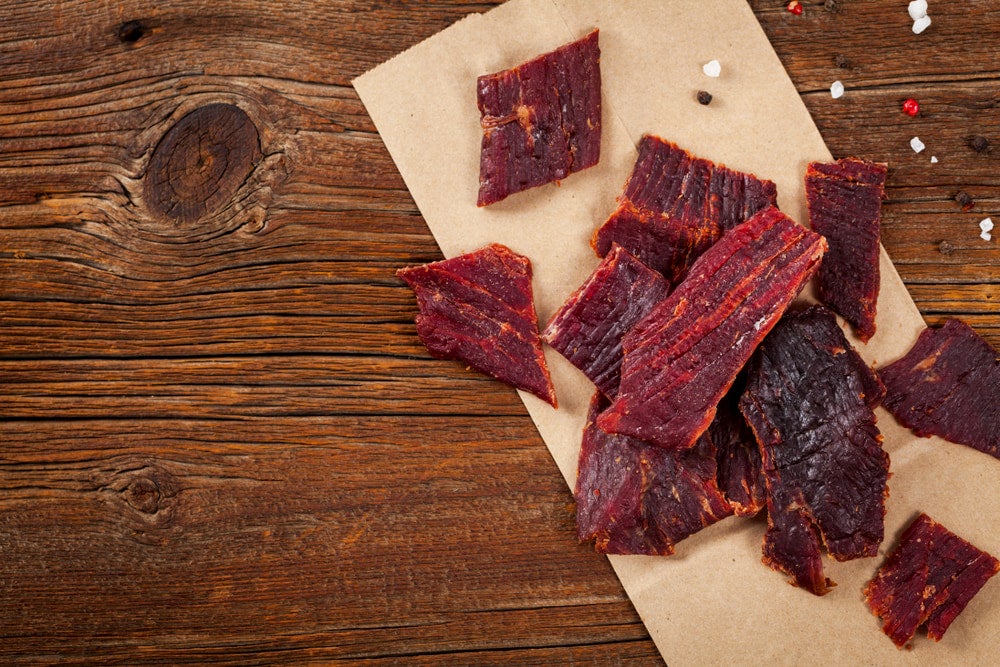
7. Stash it (or eat it).

Finally! Once your jerky has cooled down, feel free to give it a good taste. If you’ve prepared this recipe in advance of a trip or hike, pack your jerky into airtight containers and store at room temperature. Most jerky should be safe for longer than you’d need to worry about, but don’t let it sit in its container more than a couple of months. That said, if your homemade jerky really is top notch, you’ll probably have made a whole different batch by the time the expiration date hits.
This article was brought to you by Midland
![]()
Midland’s biztalk radios offer portable communication so your business can stay connected across multiple sites. Pick some up today!
The Dyrt is the only camping app with all of the public and private campgrounds, RV parks, and free camping locations in the United States. Download now for iOS and Android.Popular Articles:
Articles on The Dyrt Magazine may contain links to affiliate websites. The Dyrt receives an affiliate commission for any purchases made by using such links at no additional cost to you the consumer.