Renogy solar products power thousands of homes, vans, RVs, and trailers across the country. Their small solar panel kits are perfect for DIY van solar panels, with everything you need for a successful solar installation.
“If this doesn’t work, I’m hiring an electrician,” I say to my husband while holding the 12V dimmer switch in my hand, staring at it with uncertainty. After working in relative darkness for two months, we’re on the verge of lighting the entire van with eight 3W pot lights. Our fan already works, and the fridge turns on, but instead of being patient and wise, we installed our ceiling panels before the major electrical components were connected, effectively covering 50 feet of wire runs from those eight pot lights back to the fuse box and battery.
If the lights didn’t turn on, we’d need to tear down the ceiling.
I look at my husband, hold my breath, and rotate the dimmer switch.
Solar Power Intimidation Factor
*Disclaimer: Electrical work can be dangerous and should be taken seriously. I AM NOT AN ELECTRICIAN, this post simply details what I did when working on my camper van conversion. It’s a good idea to read the manuals or consult with an electrician before installing a solar system.*
Solar power requires hours of research and learning. An initial glance at a system looks like a mess of wires, massive components, and the overarching threat of death by electric shock. Warning labels accompany each piece of equipment, some with the risk of explosion, fire, or serious injury. I don’t say this to scare off those undertaking a solar panel installation, but to insist that we all take electricity very seriously.

I highly recommend poring through YouTube videos and van conversion blogs, and joining groups like DIY Camper Van Crew by Explorist.Life and Solar Powered Recreational Vehicles, to help you navigate the various ways to install solar on your vehicle. The more you familiarize yourself with solar power language, the more comfortable you’ll feel in planning your own solar system.
Each system is comprised of a few basic components. These components are measured in terms of amps, watts, or volts. It’s easiest to think about electrical current like water flowing through a pipe. Amps measure the volume of water flowing through the pipe, volts are like water pressure, and watts demonstrate how much water the pipe could provide. Use this simple calculation for any portion of your solar build: Amps x Watts=Volts.
Types of Electrical Current
There are two types of electrical current in van conversions, alternating current and direct current:
- Direct current: current funneled directly from the solar panels. Powers 12V appliances and feeds into 12V batteries. Direct current flows one direction and requires positive and negative terminus.
- Alternating current: current used in houses to power 120V appliances and outlets. You need alternating current to charge phones and laptops, or power hair dryers and microwaves. Alternating current pushes electrons back and forth
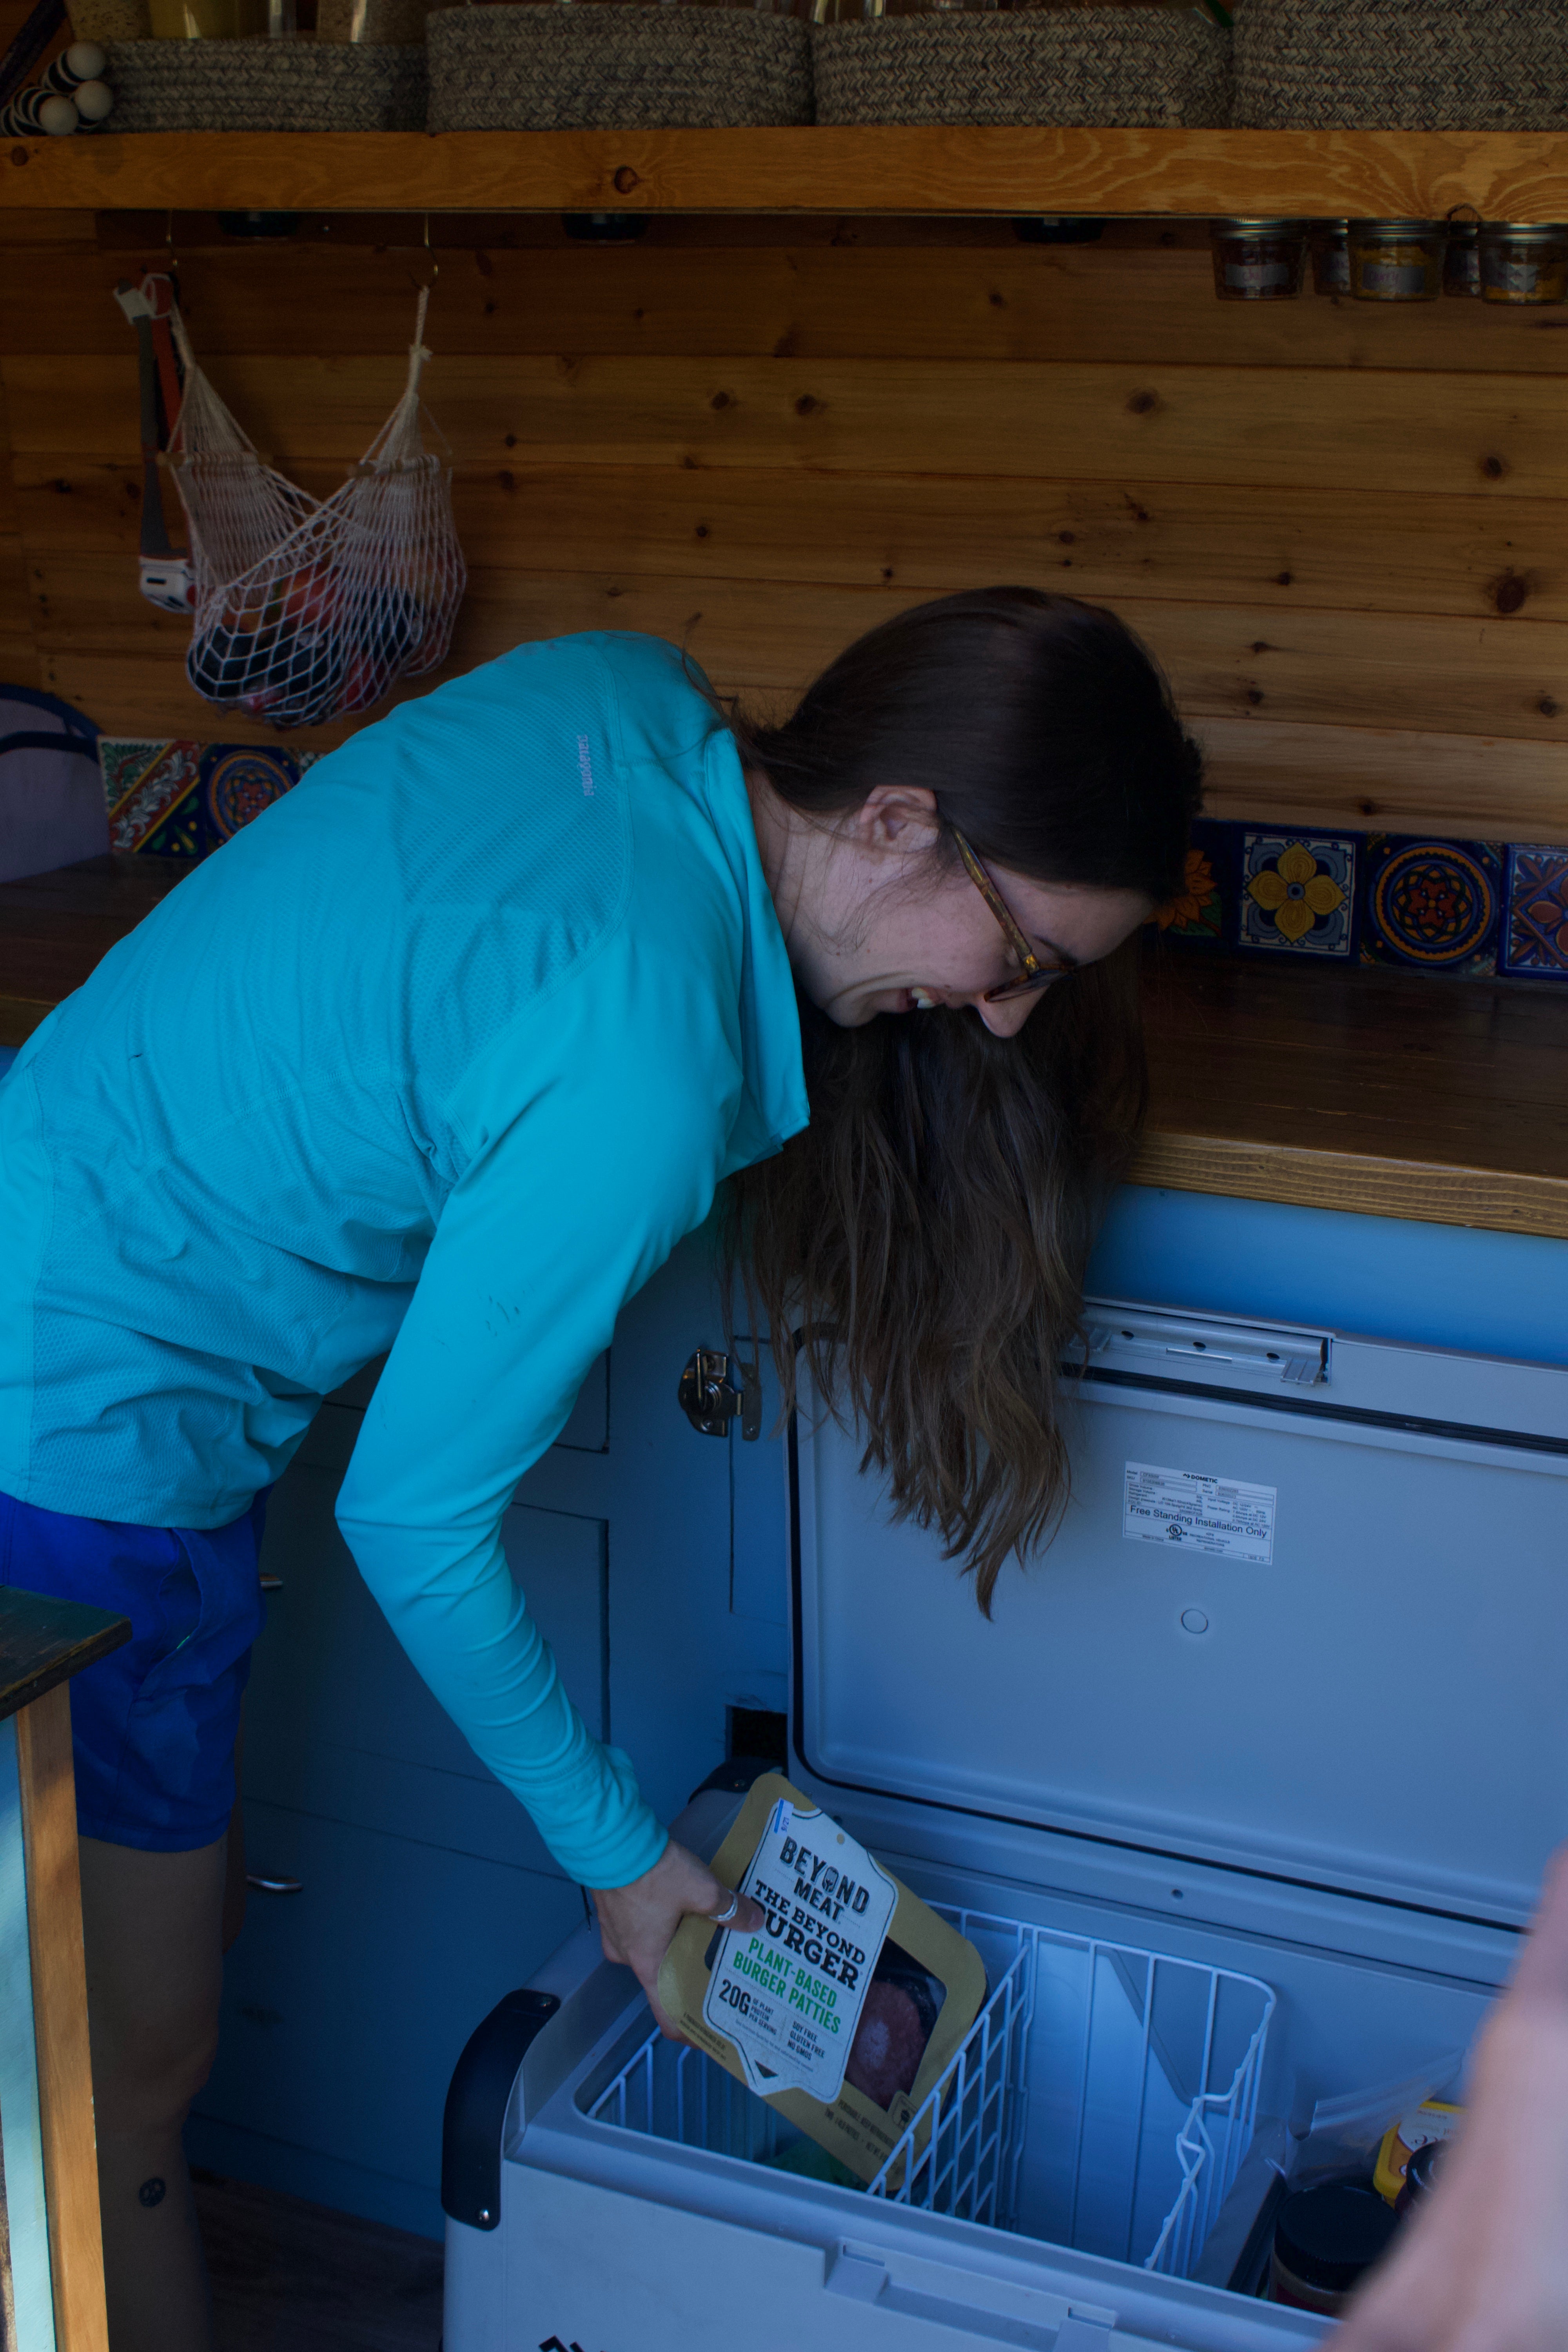
You can find many components online as 12V. Our Dometic electric cooler, MaxxAir fan, potlights, and light switches all operate on 12V. However, we also have two regular three-prong outlets, and one 4-port USB outlet, that require alternating current. For converting direct current from the sun to alternating current for your appliances you’ll need an inverter.
Solar Components to Install Van Solar Panels
Each system is different. What you want to power determines how small or large your system needs to be. Renogy has an online solar calculator to determine what size system you will need and what components are required to power that system.
For our conversion, we knew we wanted to live fully off-grid for days at a time and not have to worry about connecting to shore power. We knew we would likely run an InstantPot (900w), and an induction cooktop (max 1800w). I wanted the option to run a blender, which typically surge to 1800W. Most of our appliances require little power to run–our Dometic cooler, for example, uses compression technology and requires less than one amp/hour to keep our La Croix cold (veggies and stuff, too).

The wattages of appliances are important when looking at an inverter, and amp hours are important when looking at batteries. Batteries come in various amp hour capacities. We own two 200 amp hour batteries which connect to a 2000W Inverter/Charger, three 100w solar panels, and a 40A charge controller.
There are four main components when installing van solar panels in a DIY solar conversion: battery, charge controller, inverter, and solar panels.
Van Solar Panels
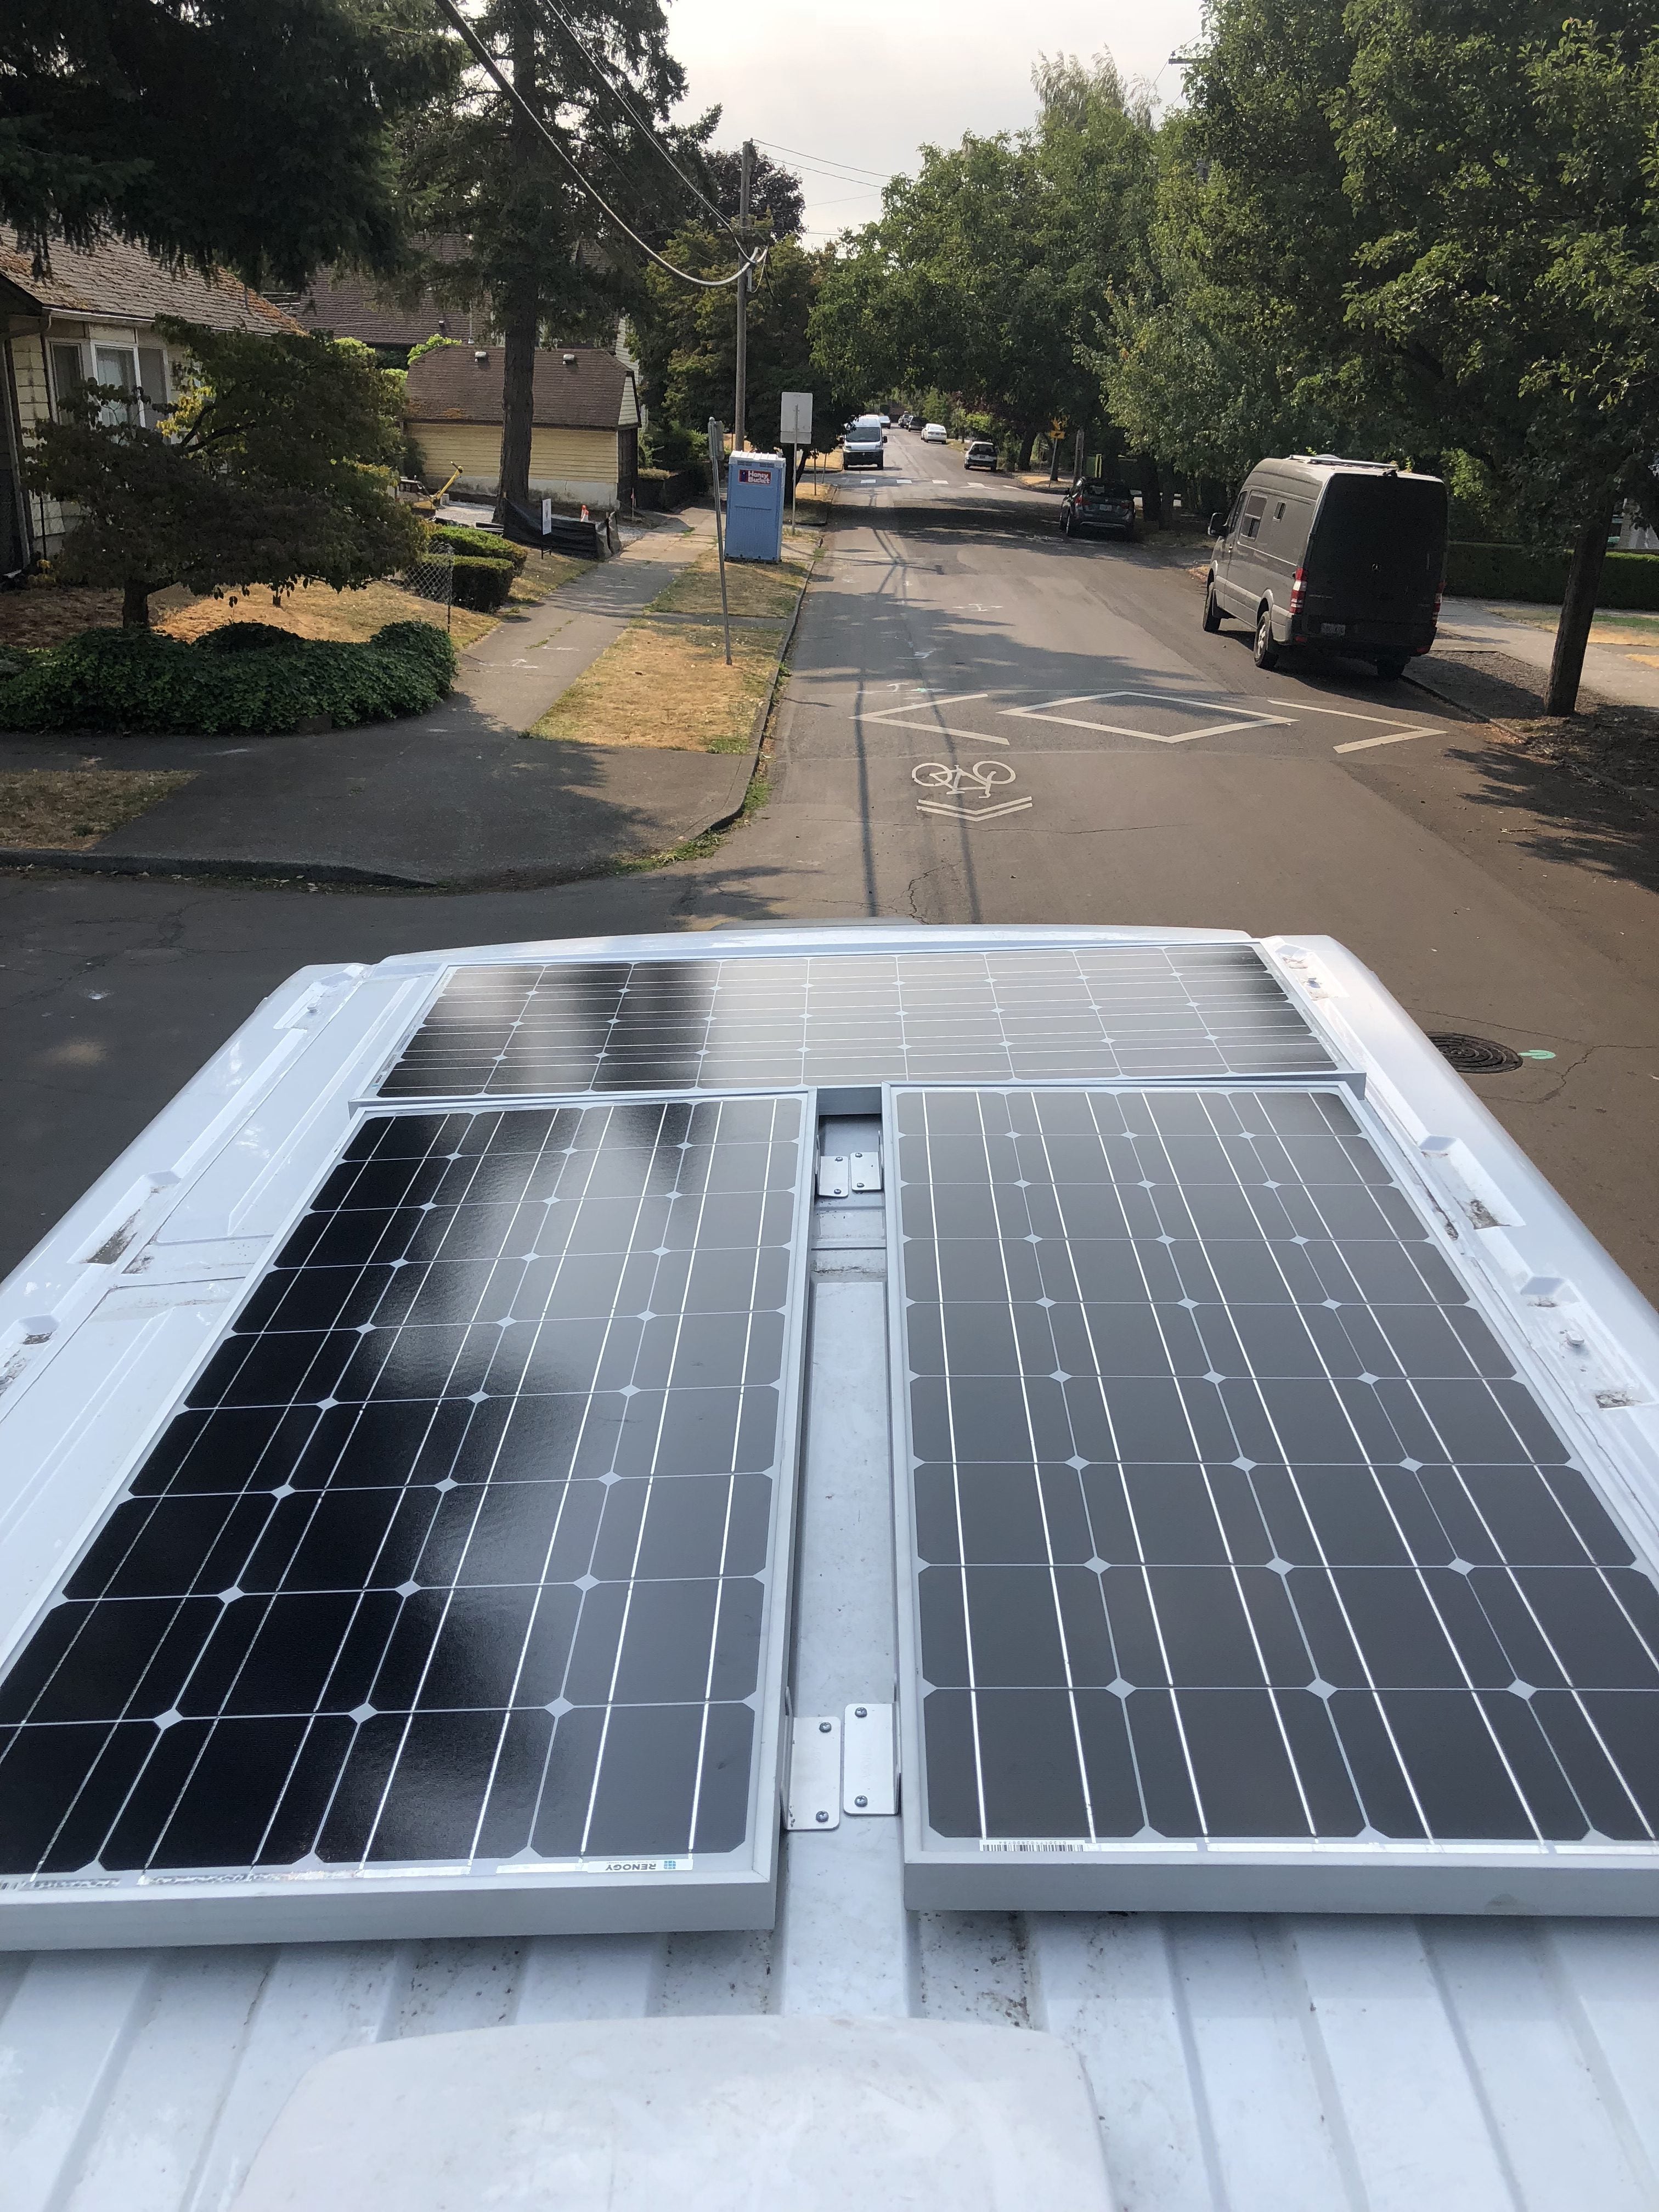
Without solar panels, your van’s system will be useless! Van solar panels came in a variety of wattages, but most vanlifers use multiple 100w panels for their systems. The panels themselves are easy to install, and the entire guide to installing solar panels can be found on Renogy’s website. Given excellent conditions, a 100w solar panel can produce 30ah/day, so with 3-100w panels you should be able charge a 200ah battery to full capacity in five full sunlight hours.
To increase your total energy input, consider adding five or six panels to your roof, or an additional, detached panel to take out on sunny days.
Solar panels come in two types of crystalline silicon: monocrystalline and polycrystalline. Today, polycrystalline panels are preferred. Despite being slightly less efficient (roughly 4%), they are cheaper to produce, making them a favorite among commercial and private buyers.

Van solar panels, installed
Charge Controller
Solar panels connect directly to the van’s charge controller to make sure the batteries aren’t overcharged by the solar panels. The charge controller is a very important piece of the solar puzzle. If the solar panels are connected to the charge controller, and the charge controller isn’t connected to the batteries to move the current, you could actually blow up the charge controller. There are multiple warnings about this on the packaging. Whenever you’re working on your electrical setup, make sure your van’s solar panels are disconnected first and foremost, and that the entire system is shut off.
Charge controllers are chosen for their amperage rating. A solar panel produces roughly 6amps of power per hour. So, three solar panels would require a 18A+ charge controller. Four van solar panels would require a 24A+ charge controller, and so on. We chose a 40a charge controller in case we wanted to increase our solar capacity at some point. We could easily add up to three more panels to our system while staying within our charge controller’s capacity of 40a.
Inverter
If you’re using an entirely 12V system, an inverter isn’t necessary, but whenever you add household appliances or electronics, you’ll need an inverter in the mix. Inverters take your direct current and exchange it for alternating current. Inverters are measured in watts, and should be sized by your largest electrical surge.
For example, if you want to power a Vitamix blender, which surges to 1800w, you’ll need an inverter with at least that much capacity. It’s important to also take into consideration what appliances you run at the same time. If you need to use your InstantPot (900w) while also running your induction cooker (1800w), you’ll need a 3000w+ inverter.
Most inverters also include one to four outlets to connect power strips, or any of your household appliances. You can also run 120v outlets through a bus bar and back to the inverter out wires if you prefer.
Batteries
Three types of batteries are most applicable for van conversions: AGM, gel, and lithium-iron-phosphate:
- AGM Battery: AGM stands for “absorbent glass mat,” meaning instead of the electrolytes floating around, they’re compiled in glass mats.
- Gel Battery: Gel batteries combine sulfuric acid and silica to create a gelified electrolyte. Typically, gel batteries don’t work well in high-heat environments.
- Lithium-Iron-Phosphate Battery: Chemically advanced battery type that lasts longer than gel and AGM batteries.
Each have their own benefits and drawbacks. For a long term investment, lithium-ion is the way to go. It’s by far the most expensive of the three (often three times the cost), but they have the longest life span. AGM and gel batteries can only be depleted to 50% of their capacity, which results in lower lifetime usage, roughly 1000 cycles to 50%. Lithium-ion on the other hand, lasts 1500 cycles at 100%. Essentially, Gel and AGM batteries have 1/3 the life cycle as lithium-ion.
Batteries are sold in different volts and amp hours. Generally, 6V batteries are used for small applications, and are often found in cars. 12V is the voltage of choice for many vanlifers because it’s the standard currency for compression coolers, lights, and fans.
Amp hours tell you how long you can expect your battery to run. Since gel batteries are only good until 50% of their full capacity, a 100ah battery will last about 50 amp hours. Our 2-200ah batteries are good for about 200 amp hours. So, our compression cooler that pulls about 1 amp per hour could run for two hundred hours if the batteries aren’t receiving a charge from the solar panels.
Putting it All Together
Once you’ve figured out the four major components for your van solar panels installation, it’s time to figure out which part connects to which for a seamless electrical van setup. Once the solar panels are mounted to the roof of your van or RV, you’ll need to run them through the roof. (We used a Blue Sea Systems Cable Clamp to keep water from leaking in).
Do not hook up your van solar panels to the charge controller until the charge controller is connected to the batteries. It could explode.

First connect your battery to your charge controller. Once you do this, the charge controller should turn on. Hooray! If it doesn’t, it’s possible that your batteries aren’t charged. Then connect the batteries to the inverter, and finally the solar panel wires to the charge controller. At this point, the charge controller should definitely turn on (unless it’s dark outside in which case the solar panels won’t be producing any energy).
Make sure that whenever you’re working on your solar system that the electrical circuit is turned off. You can buy an on/off button at most car part stores or through Amazon, which will disconnect power from your batteries to your bus bar. And always, always, always disconnect your van’s solar panels first.
Whenever working with electrical in your van, 1) disconnect the solar panels and 2) turn off power to the circuit.
Check out Renogy’s thorough guides for more detailed information on the specs of each product, fuses, and wire gauge sizing.
The Dyrt is the only camping app with all of the public and private campgrounds, RV parks, and free camping locations in the United States. Download now for iOS and Android.Popular Articles:
Articles on The Dyrt Magazine may contain links to affiliate websites. The Dyrt receives an affiliate commission for any purchases made by using such links at no additional cost to you the consumer.


