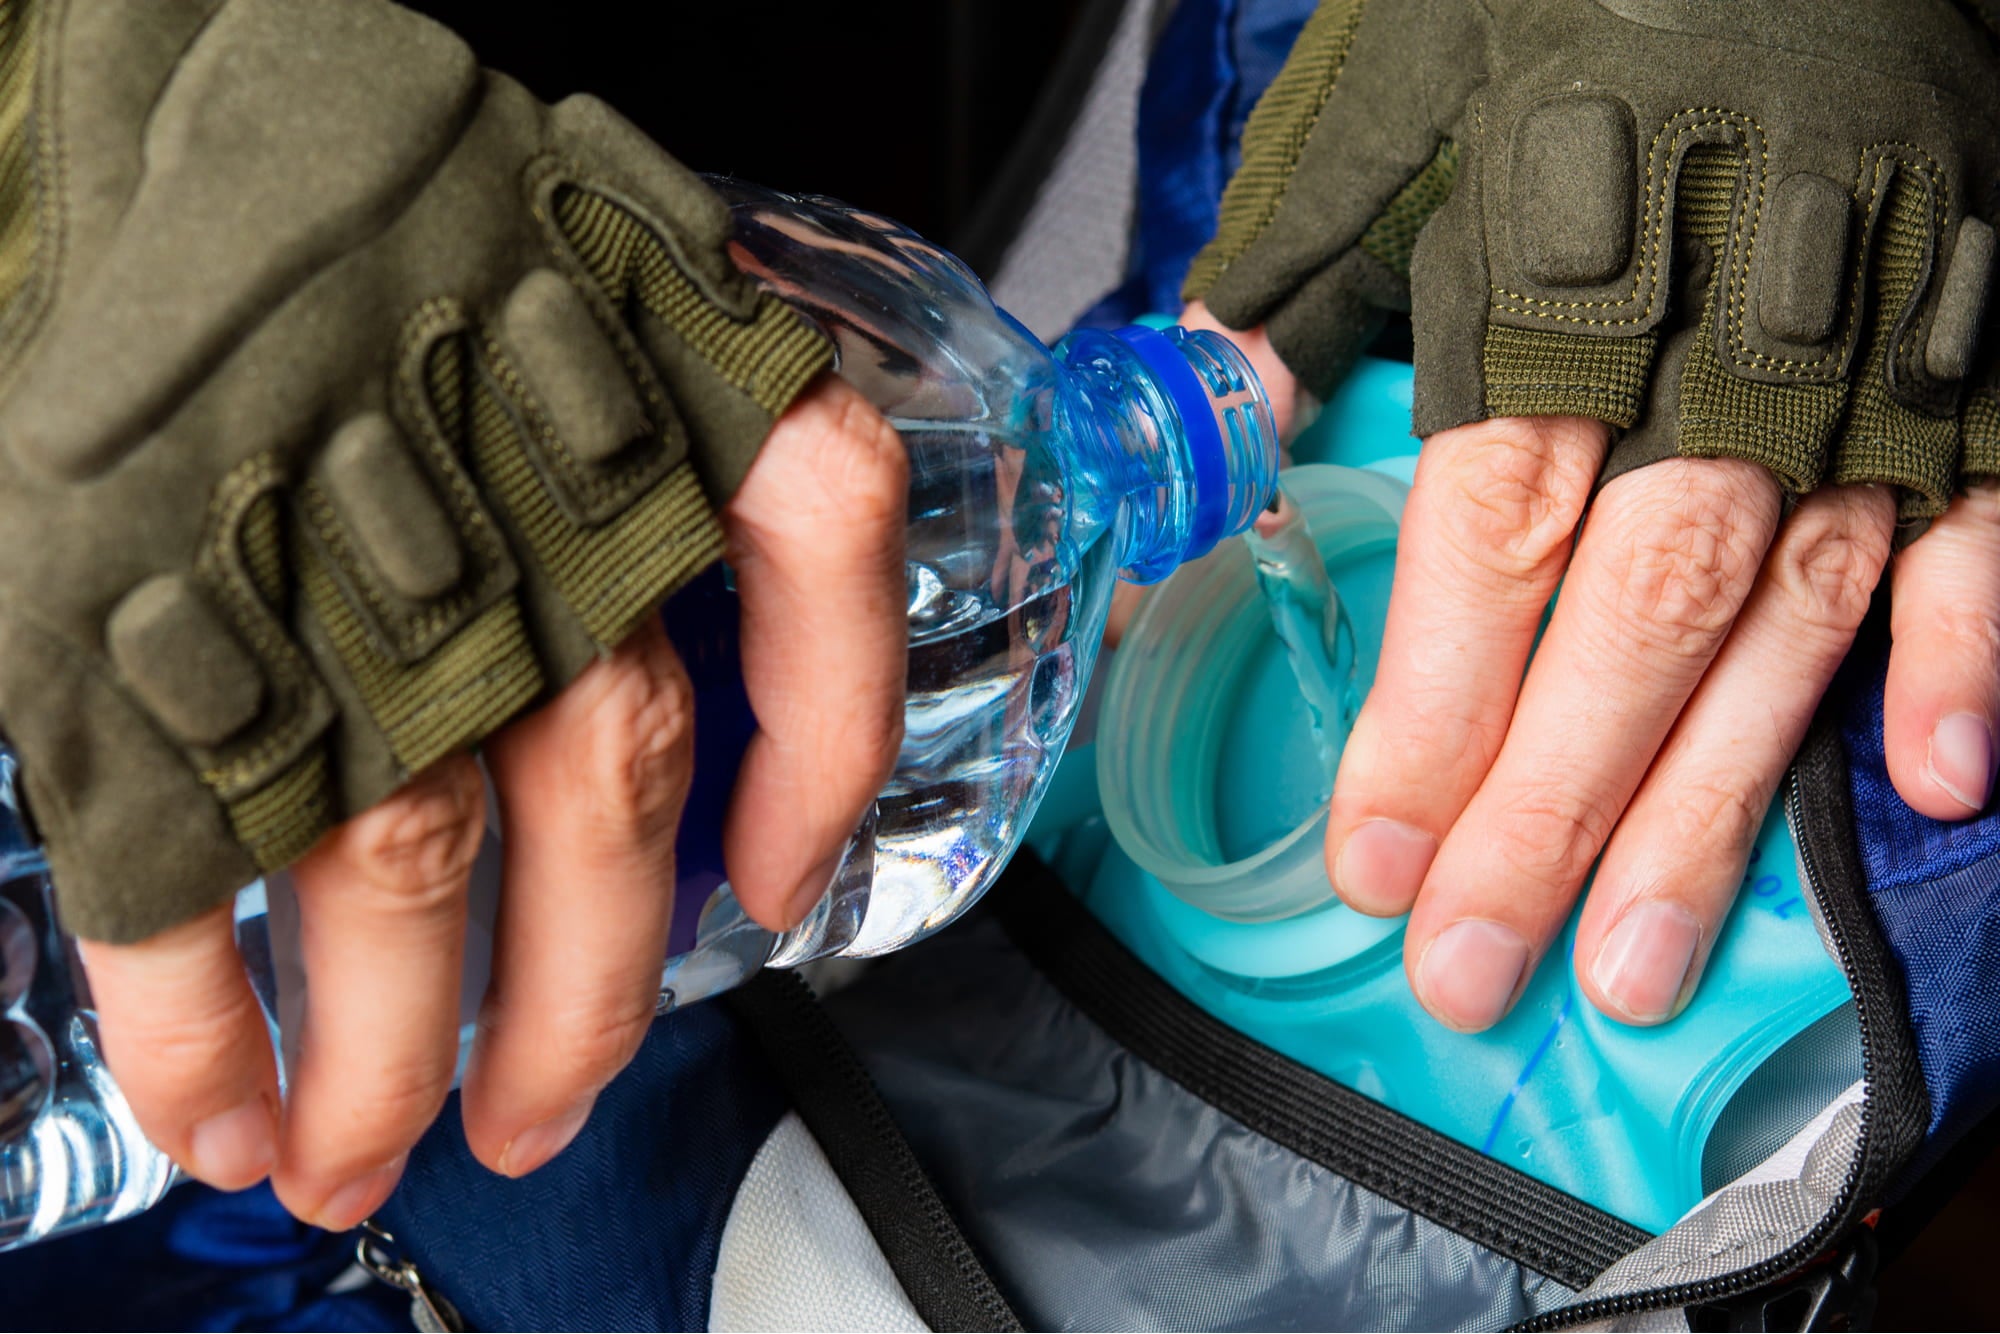
Water bladders have revolutionized hydration in the backcountry; instead of stopping to pull out buried water bottles that inevitably add pack weight to your thru-hike or bikepacking tour, you now have the option to simply reach up, grab the bite valve, and relieve the initial symptoms of dehydration.
But like most pieces of outdoor gear, the chances of your water bladder being properly and frequently cleaned are pretty low. In fact, up until writing this article, I’d become accustomed to that slightly-funky taste of plastic water coming through my bite valve, because cleaning my water bladder was an infrequent task instead of a necessity.
After cleaning my water bladder, though, and tasting fresh, clean, crisp water leak from the bite valve onto my tongue, I can now say I’m a devout cleaner of every water bladder I own.
There’s More to Cleaning Your Water Bladder Than You Think
“Do I even need to clean it?” is one of the most frequent questions people have about their water bladder. The short answer: yes. Moist environments have a way of producing other life-forms that you don’t want to be ingesting on your 200-mile thru-hike or 5-mile summit attempt. When you leave your water bottle stored in a closet between uses with leftover water, you run the risk of growing mold in your water bladder–not exactly what you want to be drinking in the wilderness.
Cleaning your water bladder protects your gut from nasty bacteria and keeps your water tasting as refreshing as you hoped it would be.
How to Clean Your Water Bladder Using a DIY Solution
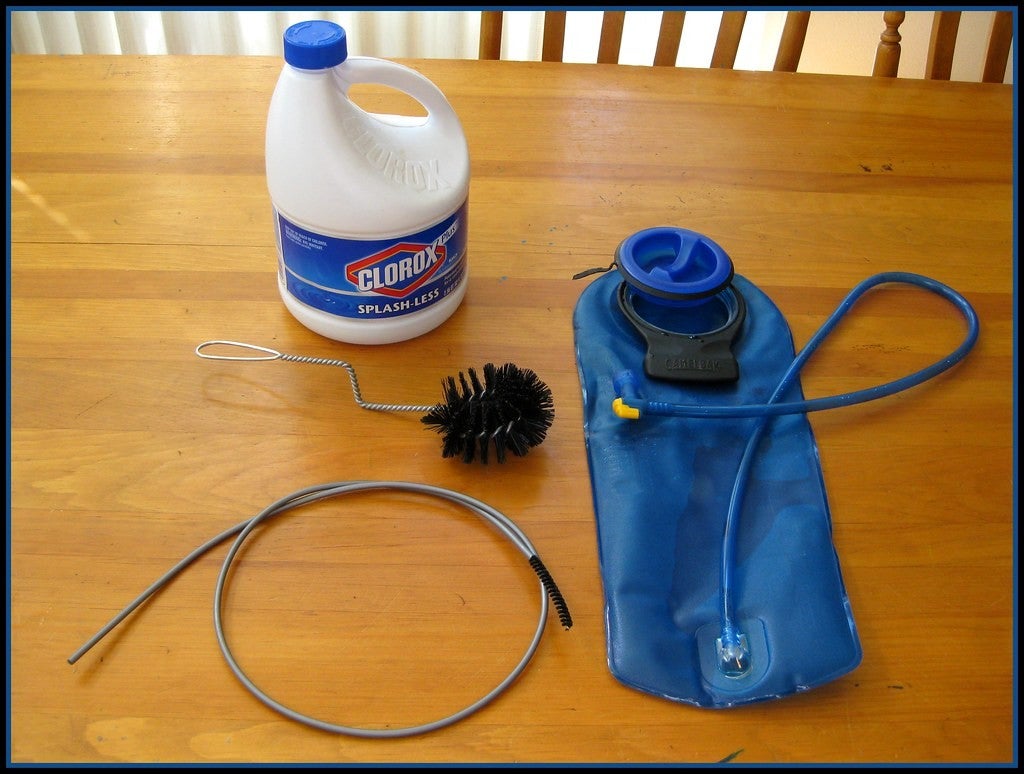
Image from Jeff Moser on Flickr—CC BY-ND 2.0
Frustrated trying to figure out how to you clean a water bladder? Believe it or not, the process is quick and easy, and only involves a mixture of stuff you probably have lying around. You can start cleaning your water bladder before you begin to unpack from your camping weekend and finish as soon as the sleeping bags are put away.
Cleaning Tools
While specific sanitizing supplies for cleaning a water bladder are available at REI and other outdoor retailers, you might already have what you need at home.
- Household dish brush
- A pipe cleaner/brush specifically for the reservoir hose (optional)
While the brush specifically for the hose isn’t necessary, it’ll help you scrub all the hard-to-reach areas in your water bladder. It’s worthwhile if you consider that those areas are most likely to develop mold and grow bacteria.
Cleaning Supplies
There’s no fancy business here. Cleaning the inside of the bladder requires household items. If you want a specific (and hard-working) solution, Camelbak makes a cleaning tablet specifically for cleaning water bladders. If you’re looking for a DIY solution, this method uses household cleaning supplies to break down residual build-up on the walls of the bladder, and only needs under an hour to fully clean it out. Here are the ingredients.
- Household dish soap
- Lemon juice and water (¼ cup of water to 1L of water)
- Baking soda and water (¼ cup baking soda, ¾ cup water per liter)
- Bleach (2 to 5 drops in every liter of water)
- Denture-cleaning tablets (optional)
Each of these combinations has different effects on the interior of the bladder: the lemon juice and water neutralizes odors if you’ve put anything other than water in your bladder. Bleach works to disinfect, and baking soda is used in many household applications as a gentle and effective cleaner. Denture-cleaning tablets are also used as a cheaper option to the branded cleaning tablets.
Steps for Cleaning your Water Bladder at Home
As mentioned earlier, cleaning your water bladder is quick and takes roughly 5 active minutes and 40 minutes overall.
- Fill bladder with warm water and a tablet or home solution (lemon, bleach, etc.)
- Hold the bladder up and pinch the valve open until water runs out to ensure the solution runs through the entire system
- Let sit for 30 minutes
- Drain cleaning solution from the bladder
- Scrub the interior with a brush or scrub pad, paying special attention to the corners
- Rinse thoroughly
- Prop bladder up with a whisk or another household utensil to ensure the entire bladder airs out
How To Clean Your Water Bladder On The Trail
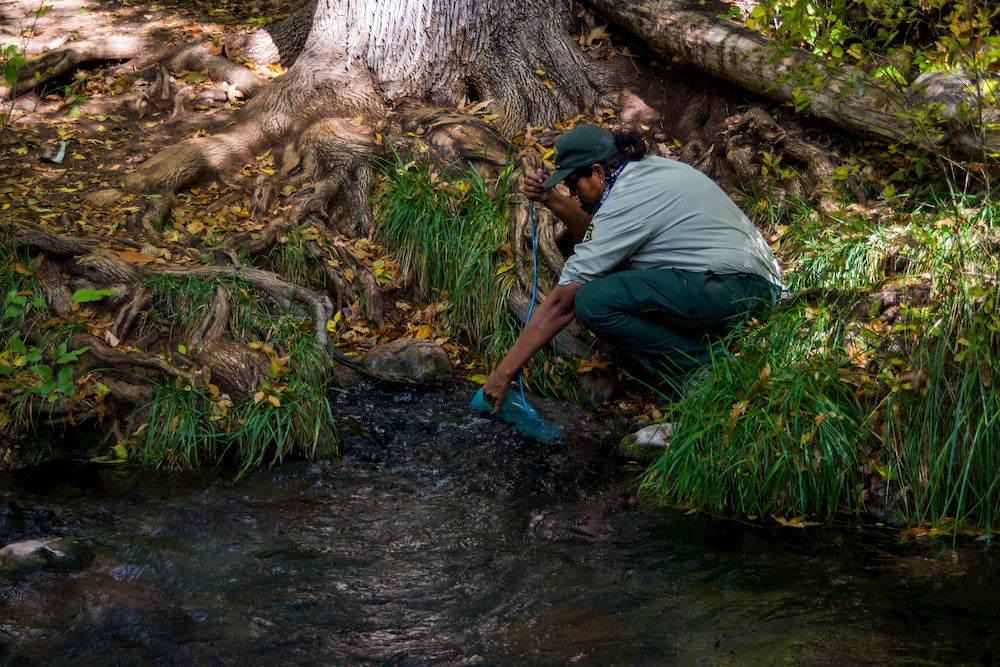
If you’re embarking on a thru-hike or traveling full-time with limited access to household essentials, considering how to clean a water bladder takes a bit more effort than at home. Specifically, there are a few additional considerations to ensure you’re not impacting the local ecosystem. Here are some campground-ready steps on how to clean a water bladder when miles away from your sink.
- Add a cup of boiling water and a cup of cold water to your bladder
- Use 2-3 drops of biodegradable soap (like Dr. Bronners or Camp Suds)
- Scrub interior using a scrubber pad from your camp kitchen
- Rinse thoroughly
- Dig a 6” cathole and deposit soap water at least 200’ away from a water source
- Prop bladder up using a y-shaped stick to dry quickly
Repairing a Water Bladder
I’m all about repairing the gear you have to help it last a lifetime. For water bladders, it’s a little trickier, but not impossible. If you have a small hole in the bladder, consider using a silicone-based sealant like Silnet from Gear-Aid. To reinforce the bond, add a piece of duct tape or clear mailing tape which will help prevent leaks if the Silnet isn’t bomber.
Otherwise, most water bladder manufacturers offer a lifetime guarantee, and they’ll cover manufacturing defects as long as you take care of your bladder (read: clean it!).
The Dyrt is the only camping app with all of the public and private campgrounds, RV parks, and free camping locations in the United States. Download now for iOS and Android.Popular Articles:
Articles on The Dyrt Magazine may contain links to affiliate websites. The Dyrt receives an affiliate commission for any purchases made by using such links at no additional cost to you the consumer.