This Ka’au Crater hike article is brought to you by our friends at OOFOS, whose therapeutic sandals are the perfect way to recover from your next steep mountain adventure.
The island of O’ahu is a tropical paradise, perhaps best known for its 227 miles of gorgeous shoreline and its dramatic volcanoes rising up from a lush landscape. Hikers enjoy exploring the three craters on O’ahu, sought after for their views and rich geological history. Ironically, the least-traveled of these craters might be the island’s most spectacular.
Marvel at Majestic Mountains on a Ka’au Crater Hike
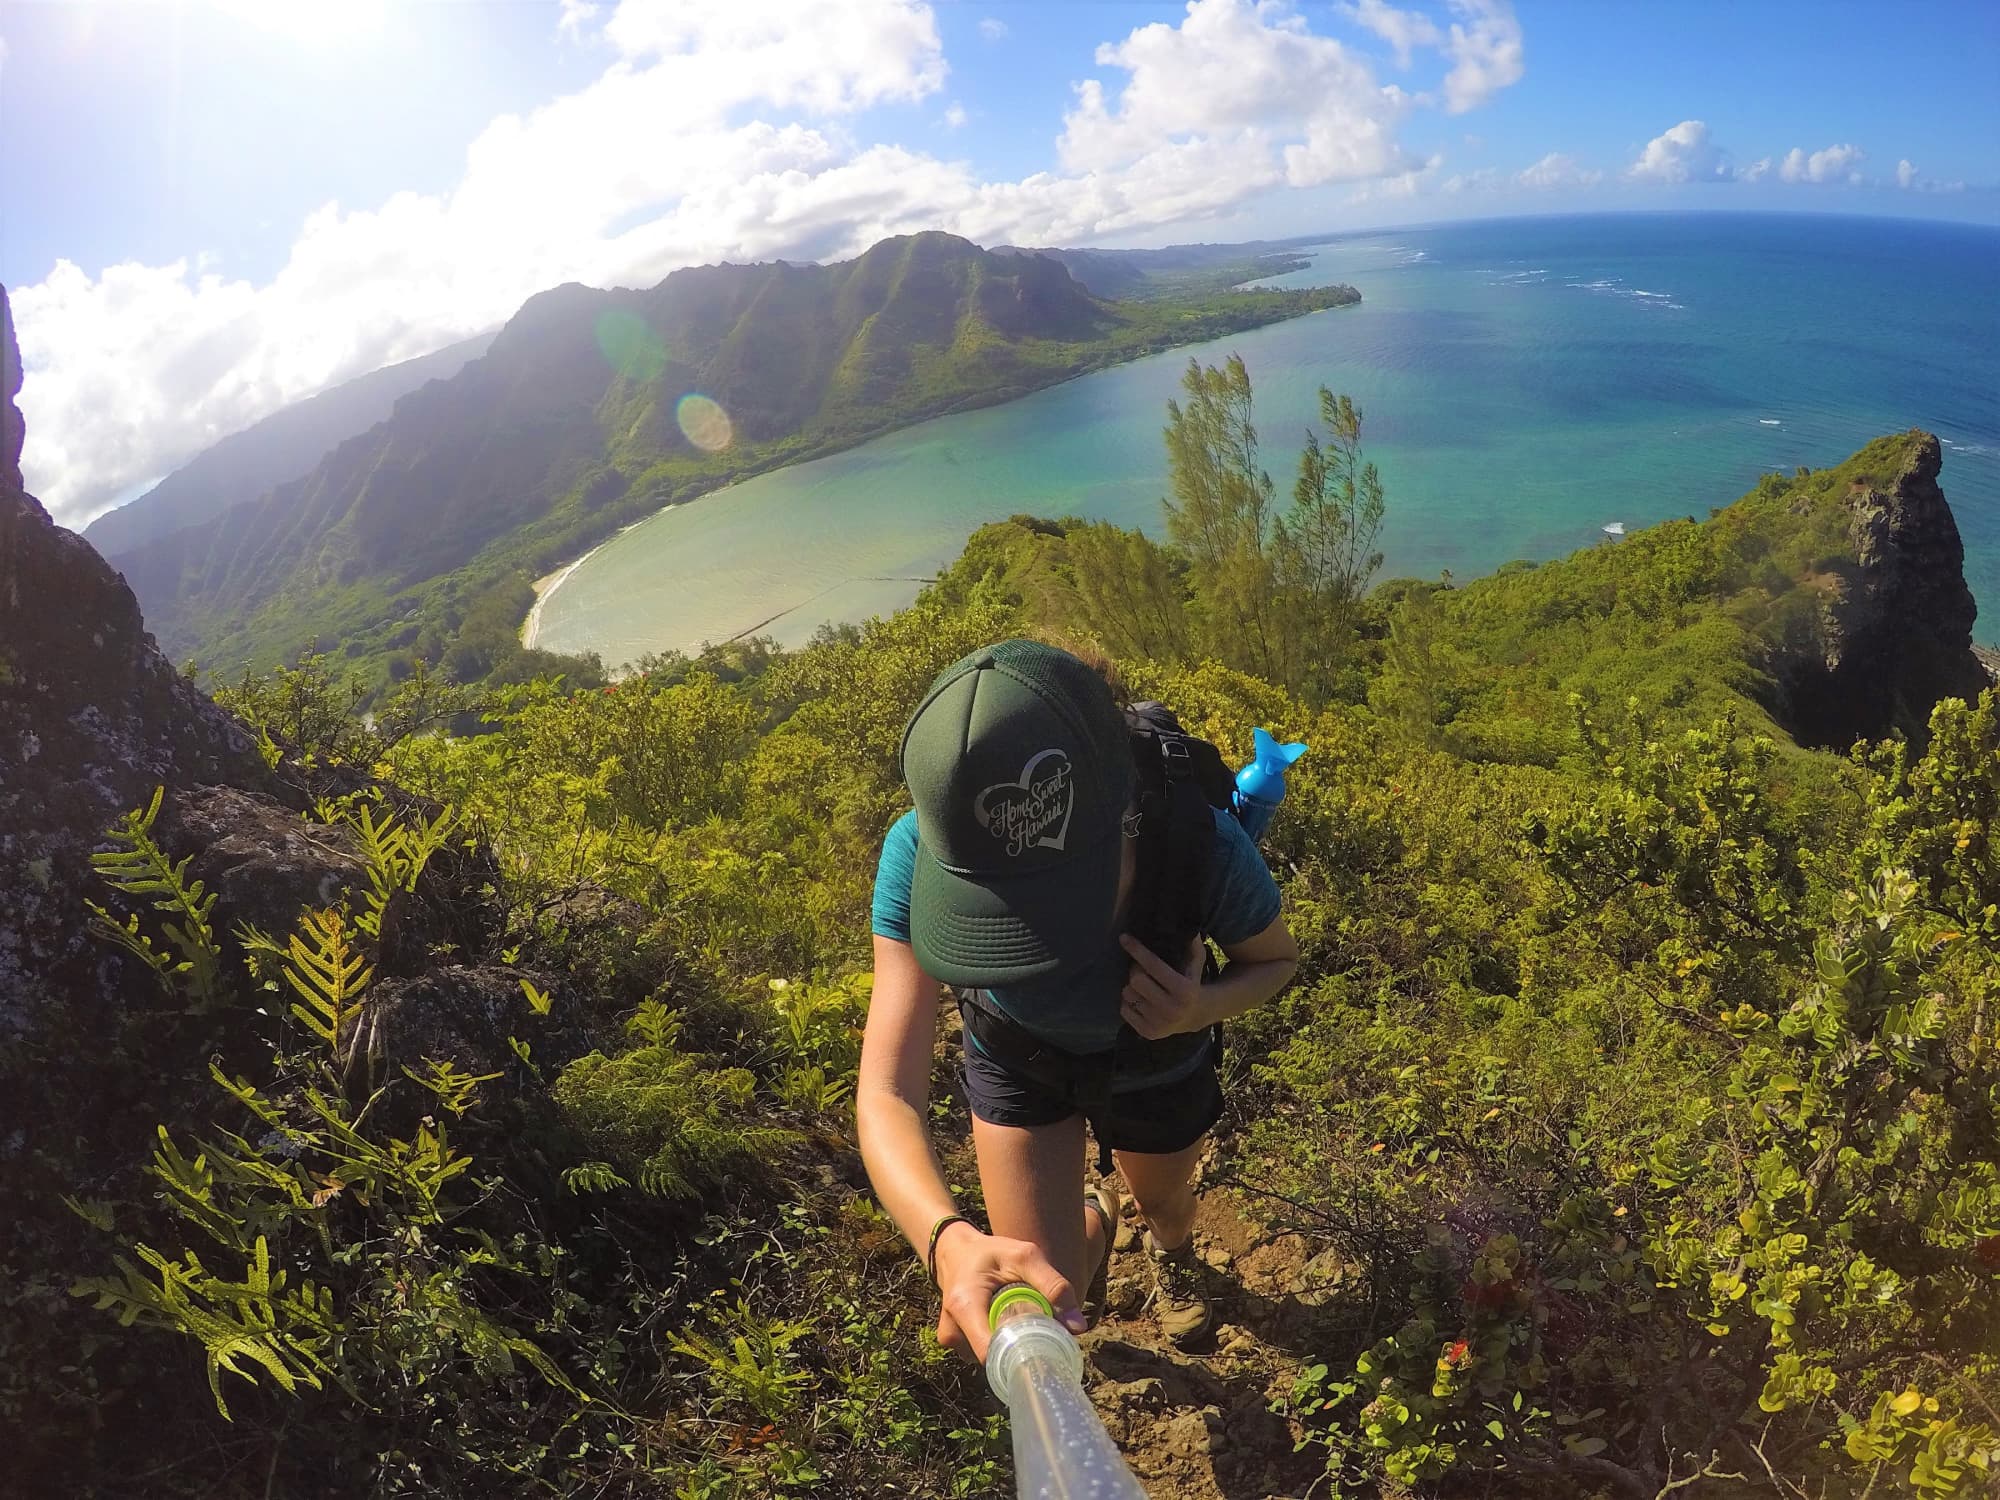
Located on the southern end of the island, at the back end of the Palolo Valley, the Ka’au Crater is less crowded than other geological landmarks on O’ahu. That’s likely because hikers face steep, muddy inclines and rock scrambling, and it’s not easy to find the trailhead—but for the fit and confident hiker, the views are worth the work.
Starting Out
The trailhead for the Ka’au Crater Hike is located out of the way of the normal tourist areas, so finding it can tricky for first-timers. According to AllTrails, the trailhead “is cleverly hidden behind the mailboxes on left of the road at the end of Waiomao Road which is a right turn off of 10th Street.”
Invested hikers should know that, while the hike is technically open year-round, it can be very dangerous in wet or foggy weather.
Once you’ve reached the trailhead, which is located in a neighborhood with limited parking, the initial portion of this 5-mile hike is the friendliest part of the trek, featuring a gently sloping trail that runs through the Palolo Valley, following a small stream (or a dry stream bed, depending on the moisture and season).
The Ka’au Crater trail is unmaintained throughout the year, but signs and pink ribbons have been posted periodically along the way. If you feel like you’re losing track of the trail, keep your eyes peeled for those trail markers. In addition to the ribbons, a large pipe borders the walking path for a portion of the hike. It’s not recommended to walk or sit on the pipe because it can be slippery and dangerous, but it’s a great sign that you’re headed in the right direction!
The First Waterfall
Prior to reaching the first waterfall of the Ka’au Crater Hike, the trail will cross the stream a few times, ending with a gorgeous view of a small waterfall and a pool just deep enough for a nice swim.
For folks looking for a leisurely getaway free of crowds, the first waterfall on the hike is a perfect destination for a picnic lunch, or to spend a couple quiet hours. You won’t have to face the more challenging portions if you stop here.
If you do continue beyond the first waterfall, there will be multiple areas where scrambling over rocks is required. Most of these spots have ropes which you can use to pull yourself up. Scrambling is one of the hazards of this hike, particularly if it’s been raining. Proper footwear is essential.
The Second Waterfall
The second waterfall is fairly close to the first one, so you should arrive after a few minutes of hiking. It’s taller than the first waterfall, and though it’s often a bit weaker in terms of flow, it still affords a gorgeous view for a quick rest and refuel.
The trek from there is much steeper, starting with a high-grade ascent up the side of the waterfall. It takes about 30 minutes from here to arrive at the base of the third waterfall. Throughout the hike to the third falls, there will be sporadic views of it through the jungle.
The Third Waterfall
Getting to the base of the third waterfall is one of the more technical challenges on the Ka’au Crater Hike, as it requires a climb down a very steep section of rock. There is a rope tied off for hikers, which you’ll need as the rocks can be slippery. Use extreme caution.
The third waterfall is another great spot to rest, since the next portion of the hike takes you up the side of the waterfall itself (we’re not kidding) via ropes that are tied off along the way. A steep and challenging scramble for even experienced hikers, this is part of what makes the Ka’au Crater Hike such a unique experience!
The trail stays to the right of the waterfall, where the terrain is less affected by moisture, so getting to the top shouldn’t be too much of a challenge if you can stay to the side of the main falls. After the waterfall climb is the final path to the ridgeline of the crater itself, followed by the steep ascent via the ridge to the summit of the tuff cone.
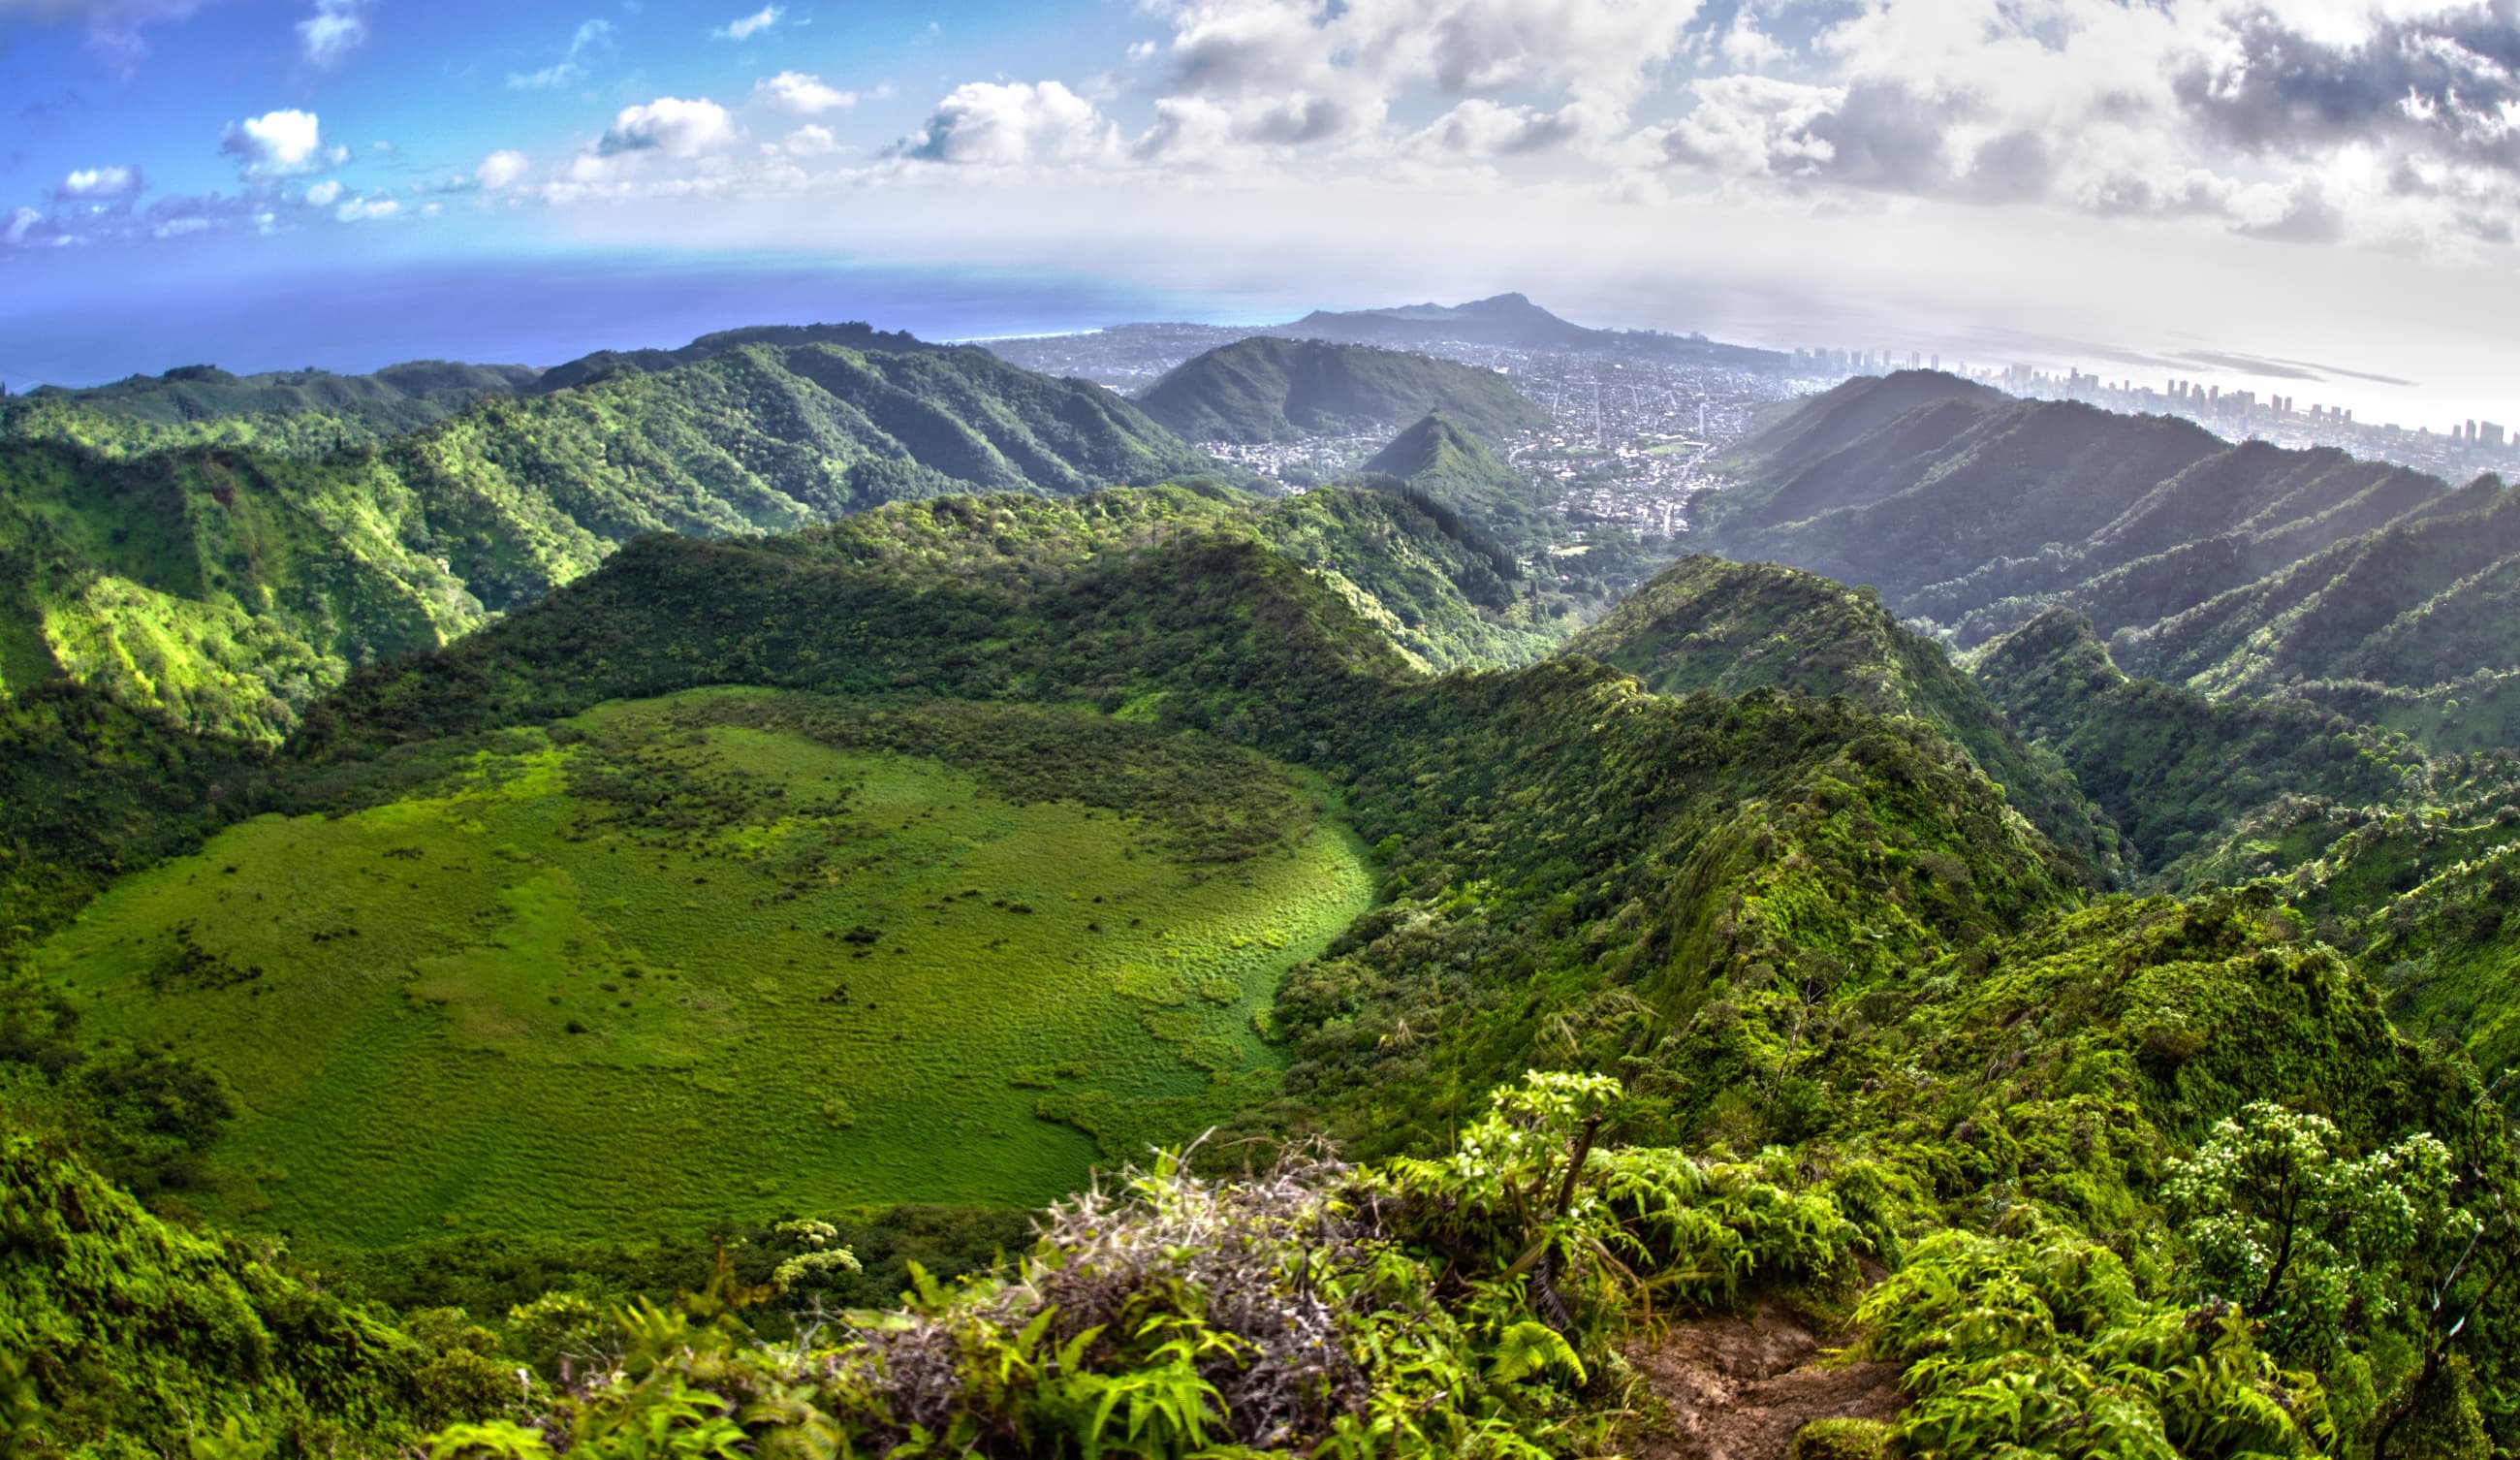
Once at the top, you’ll have your first glimpse of the Ka’au Crater, which resembles something like an out of place meadow in the middle of a mountain.
Summiting The Ka’au Crater
You could turn back at this point. You’ve seen the falls, the crater, and you’ve probably expended significant energy and nerves on the way up. However, to complete the 5-mile trail loop, and to officially summit the tuff cone, you’ll have to keep walking along the ridge.
This is where the Ka’au Crater trail is the most dangerous due to both the erosion of the ridgeline and steep drops on either side of the path. Take it slow and use the ropes (available sporadically across the ridgeline) whenever possible.
Once you hit the summit you’ll be rewarded for your strenuous climb with a panoramic view of the whole island.
Your Journey Back
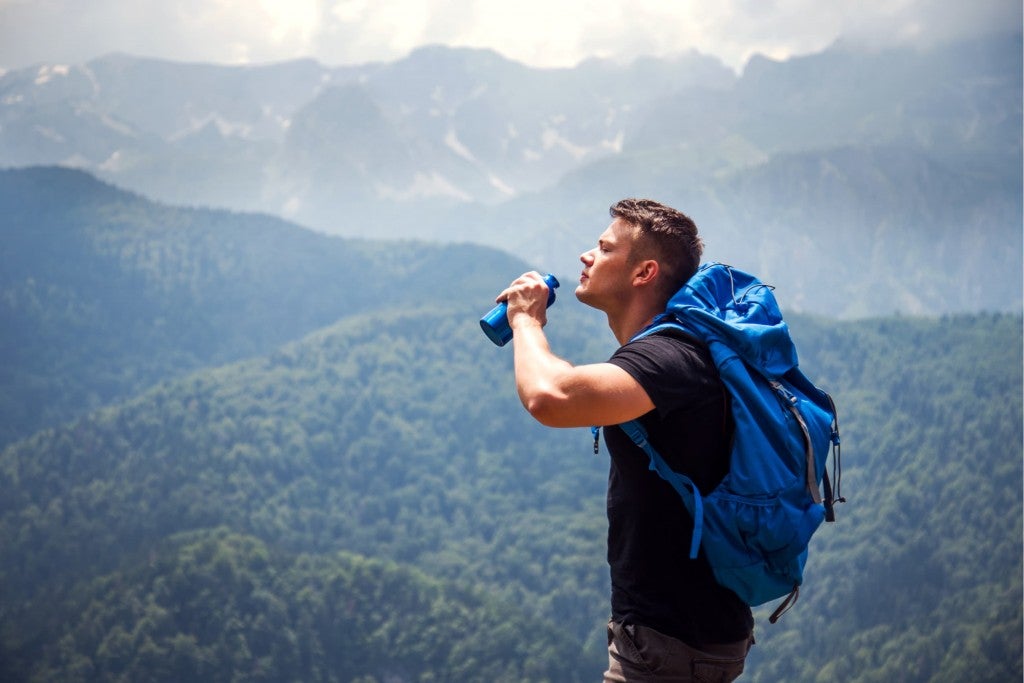
Once you’ve taken a rest and a few perfect shots of O’ahu, you’ll continue along the trail down the ridge. Though there are a couple of flat spots where you can rest and take in more views of the surrounding scenery, the descent on the other side of the Ka’au crater is muddy and steep, so it’s definitely not a time to get lazy. Be sure to hydrate well once you’ve reached the top of the crater, so that you’re prepared for the trip down.
Because the Ka’au Crater Hike is a loop trail, you will not be revisiting the waterfalls or the climbing sections of the hike, so keep your eyes peeled for the stream which will help guide you back down through the forest. After a number of switchbacks and some muddy sliding, you’ll hit the stream’s ground level again, which will be your official “almost there” trail marker. The trail, along with the stream, will guide you back to the trailhead, though it’s worth it to pay close attention as you get closer, since the dense forest can sometimes serve as a camouflage to the true exit.
Looking for a great place to camp while you’re on the island? Check out these O’ahu campgrounds or island hop to the Big Island to explore Hawaii Volcanoes National Park.
Related Campgrounds:
- Bellows Camping, Oahu, HI
Popular Articles:
Articles on The Dyrt Magazine may contain links to affiliate websites. The Dyrt receives an affiliate commission for any purchases made by using such links at no additional cost to you the consumer.