I have been a foodie my whole life. Raised by an amazing cook, I had no choice but to learn to appreciate the finest in food — and how to make it myself. Before long, I was cooking for friends or dates at their homes and, yes, at campgrounds, too. 15 years ago I stumbled on a website about home-roasting raw (green) coffee beans. My love for cooking met my love for coffee, and I have been roasting my own coffee ever since.
If you’re a do-it-yourself kind of person, roasting your own beans will bring a new satisfaction to your morning campsite coffee.
When I moved out west, I discovered a new way to experience my hobby: while hiking and at campgrounds! I learned how to easily brew myself a cup of coffee from the top of a mountain. With a simple hiker’s stove, water, a travel mug, and a fine nylon, foldable filter like the UltraLight Javadrip I could have the perfect cup and an unbeatable view. Over time, I went from bringing my own coffee, to brewing a cup at the campsite, to roasting green coffee beans over the campfire.
Here are a few simple steps to roast your own coffee beans at the campsite.
Simple Steps to Roast Coffee at Your Campground & on the Road
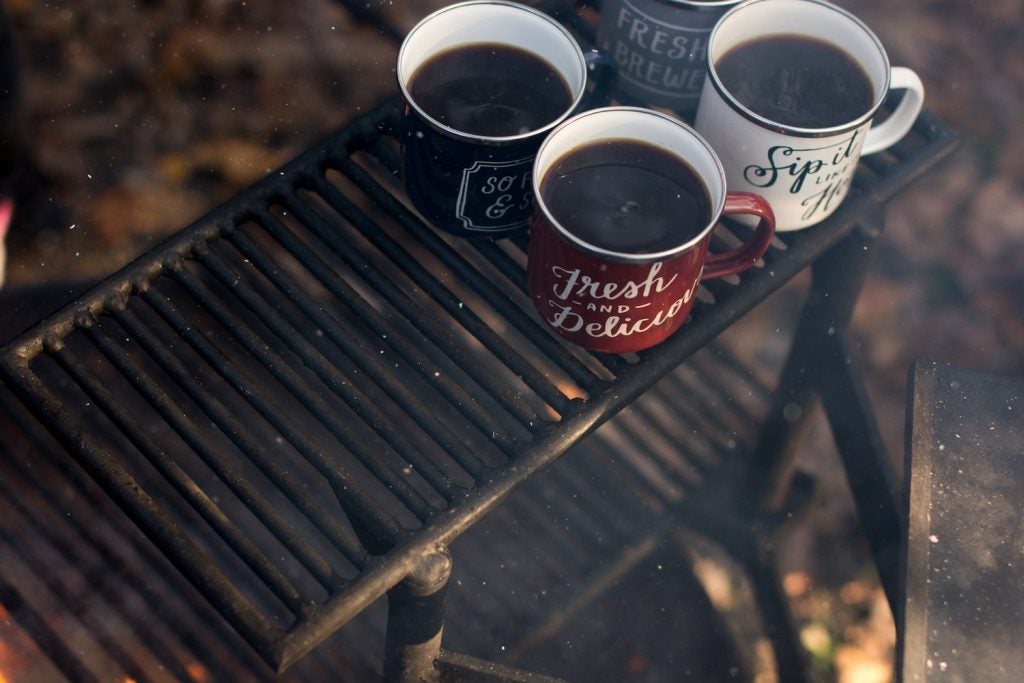
Roasting coffee at your campsite is so simple you’ll wonder why you haven’t been doing it all along! Even without electricity, you can end up with a mostly even and definitely delicious roast.
1. Place Raw Beans Over the Fire
Just drop the beans in your mess pan, cover, and place it over the fire. No oil needed! For the first 10 minutes or so, you’ll hardly need to stir the beans. If you have a cover for the pan, it’s a good idea to to use it for a more even roast.
If you want to roast a larger amount of beans, use a camp stove and a hand-crank WhirleyPop which can handle up to two pounds per batch.
2. Stir Beans
After the beans turn a light brown, that’s your cue to start stirring them evenly about every 30 seconds.
3. Listen for the “First Crack”
About five minutes later, you’ll hear what’s called “first crack” when they start making a slight popping sound as moisture escapes the beans. Now, you’ll notice an amazing chocolatey scent fill the air. The beans should now be medium-brown.
4. Determine How Dark You Want Your Roast to Be
For a a slightly sour, light roast, stop roasting shortly after the first crack when your beans are medium-brown.
I prefer a darker roast because it’s sweeter, so I roast until the beans loudly chatter with crackling, and are dark brown and oily.
5. Toss the Beans
Remove the roasted beans from the pan, quickly tossing them between two hats, bags, or bowls to let the flaky skin (chaff) of the beans fly out and to allow the beans to cool down. You don’t want that chaff in your coffee!
6. Grind the Beans
It’s possible to find a combination grinder/mug for a guaranteed fresh flavor every time. But, just using two flat rocks for this step is doable, too. Dark roast beans are easy to crush and grind.
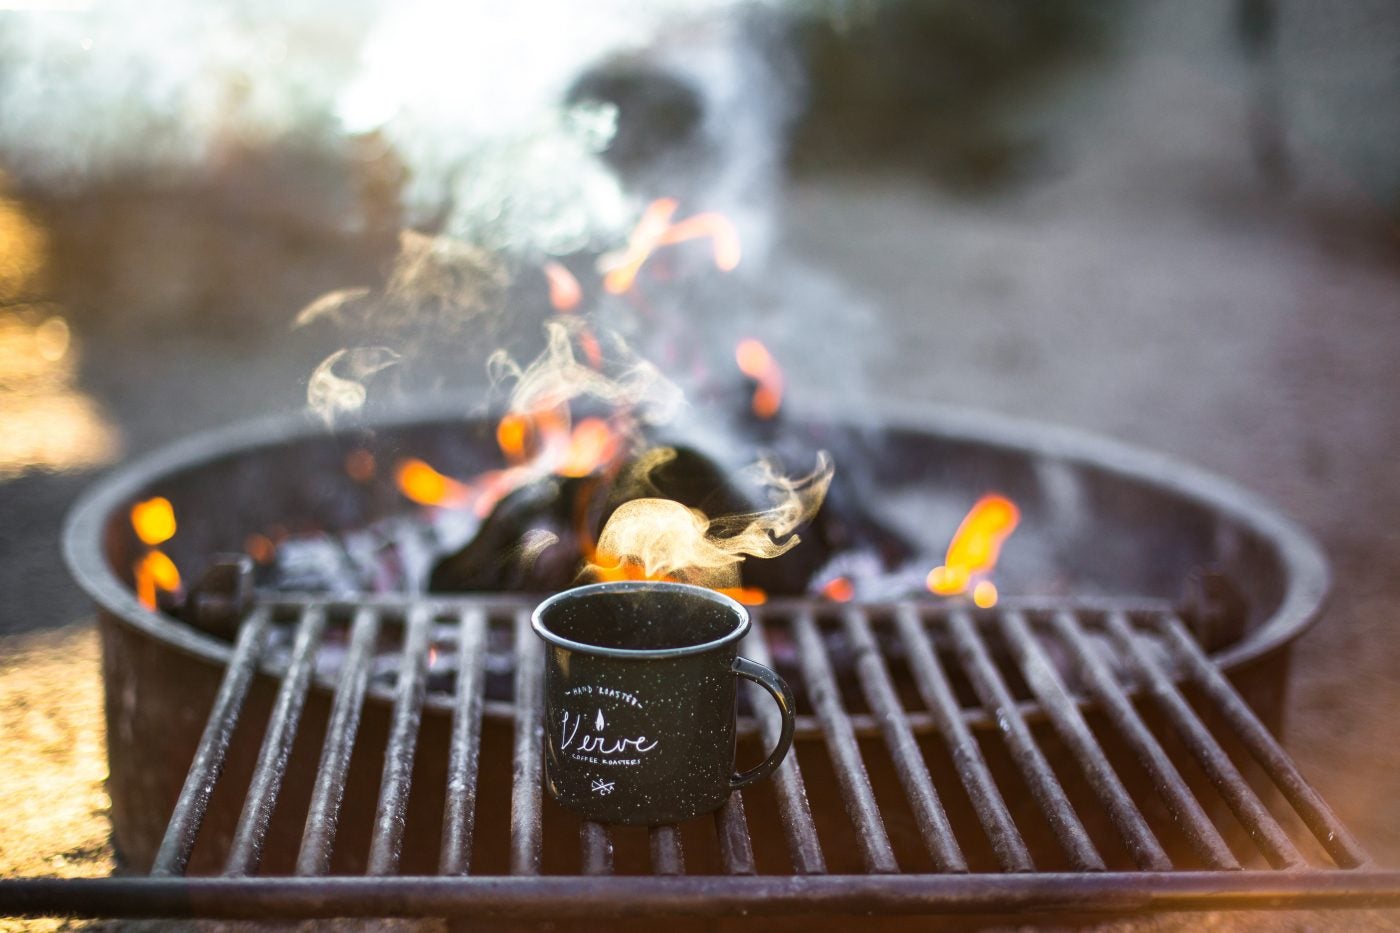
7. Brew!
The easiest way to brew your fresh-roasted beans is “cowboy style.” Making cowboy coffee is as easy as boiling water and adding your grounds, then waiting for 10 minutes or so.
Bonus:
Did you know you don’t even need a heat source to brew coffee? Simply put a generous amount of coarsely ground beans into a jar of water overnight. As long as the temps are above freezing, you’ll have a delicious low-acidic brew when you awaken. Then, all you need to do is warm it up in the morning. Or, make an iced coffee for the day’s hike.
The Dyrt is the only camping app with all of the public and private campgrounds, RV parks, and free camping locations in the United States. Download now for iOS and Android.
Popular Articles:
Articles on The Dyrt Magazine may contain links to affiliate websites. The Dyrt receives an affiliate commission for any purchases made by using such links at no additional cost to you the consumer.