Is it time to winterize your RV?
Your RV has the coveted spot in your heart and your driveway. No matter the style, size, or miles, it’s your gateway to adventure. For many of us, late fall is the time to prepare those beloved wheels for winter storage. If your RV will be dormant for the winter months, then you’re facing the daunting task of winterizing your rig.
We’ve broken down the chore into just 7 steps to help keep your RV safe and sound all winter:
How to Winterize Your RV in 7 Easy Steps
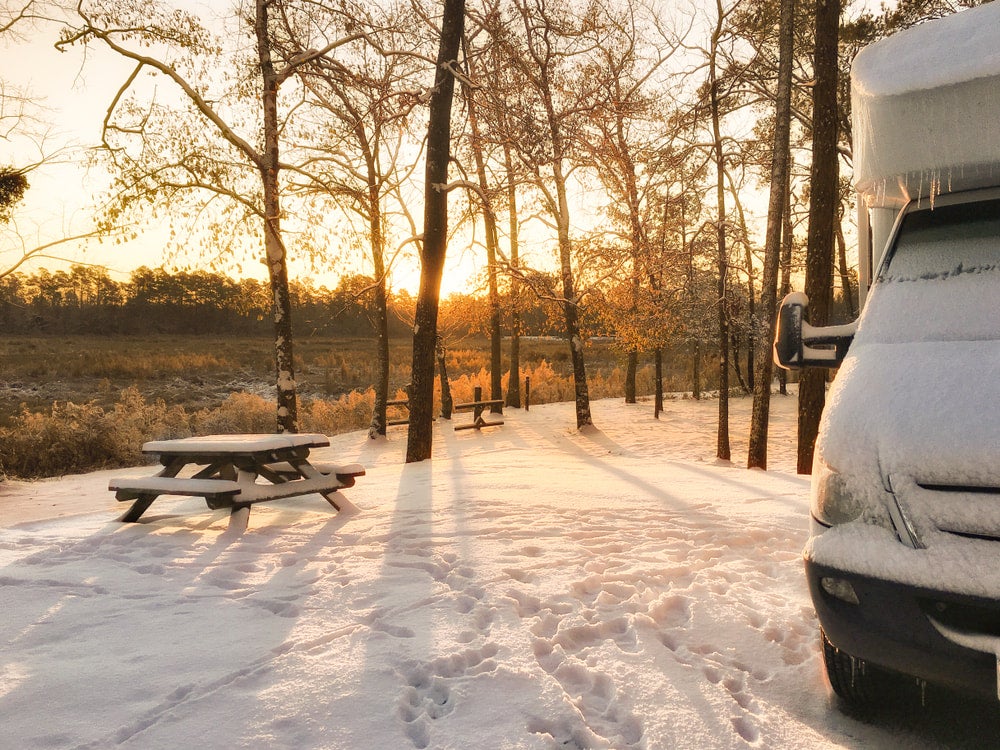
Image from shutterstock.com
For everything that winter brings, from snowbanks that reach the windows to temperature drops below zero, these seven tips will help you prepare for the cold and winterize your RV with ease.
1. Make Necessary Repairs Prior to Winterizing
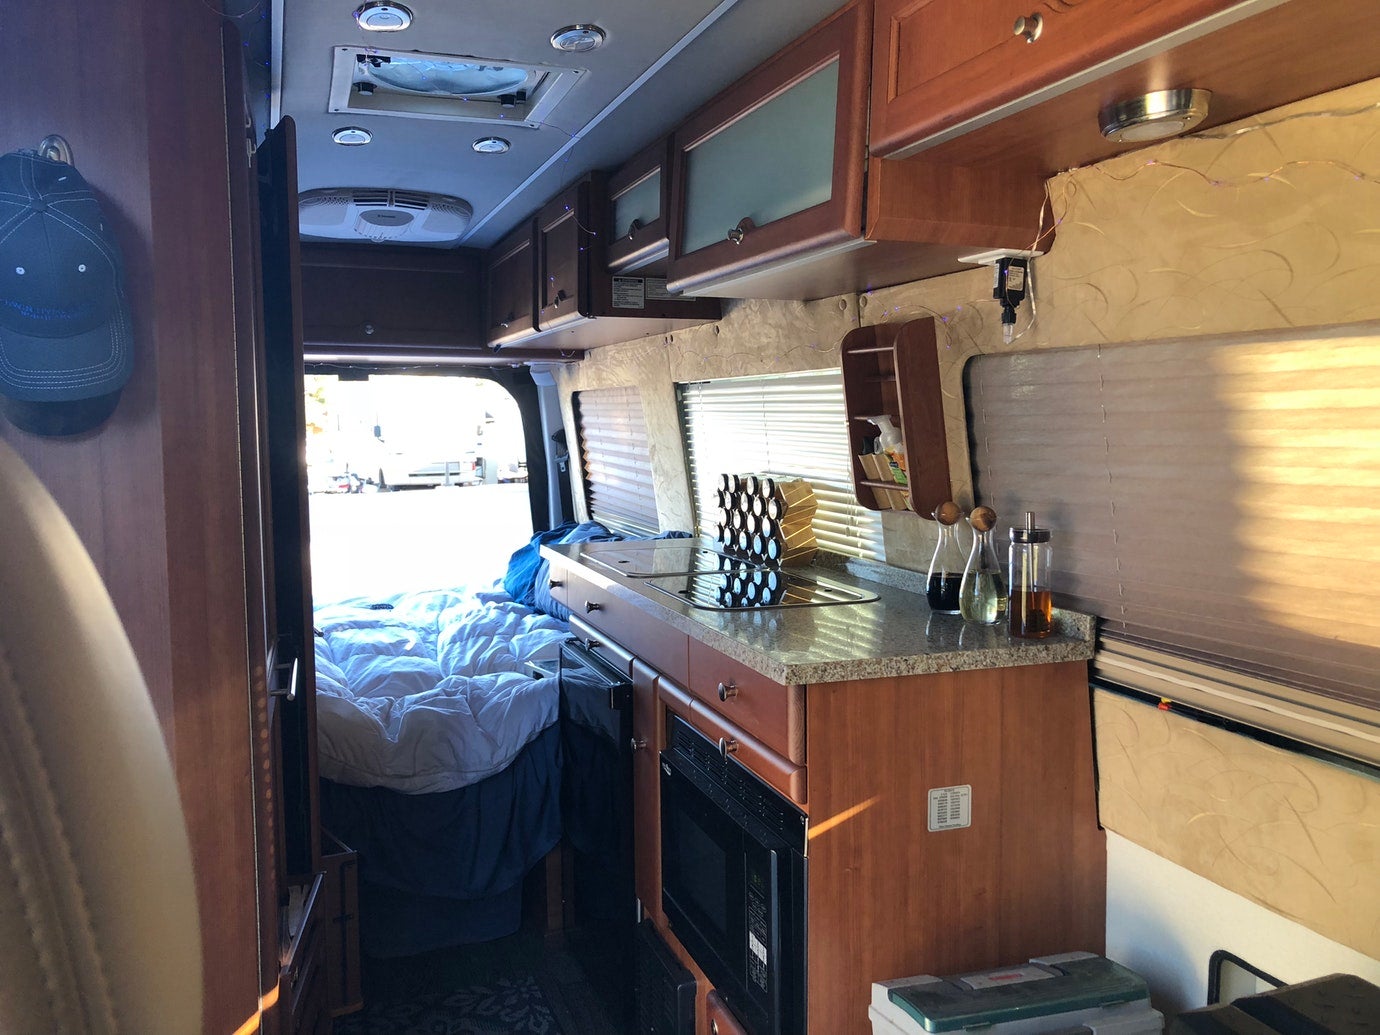
Image from The Dyrt camper Tony P.
One thing most RV owners can agree on is that the end of a trip is NOT the time they want to spend tinkering with the faucet. Usually unpacking, washing up and going back to work take priority when you’ve returned from time on the road. So for many of us, non-essential projects are put off, again and again.
If you have a running tally of maintenance issues in your head, it’s time to address them. Making needed repairs is the first thing to do to winterize your RV. Don’t wait until the line at the mechanic’s is three weeks long in the spring when everyone wants to get on the road ASAP. If you make your repairs now, you’ll be ready to go come spring.
Can’t make it to a shop for those mechanical issues? Here’s some advice on hiring for mobile RV repair.
2. Take Care of your Water Systems
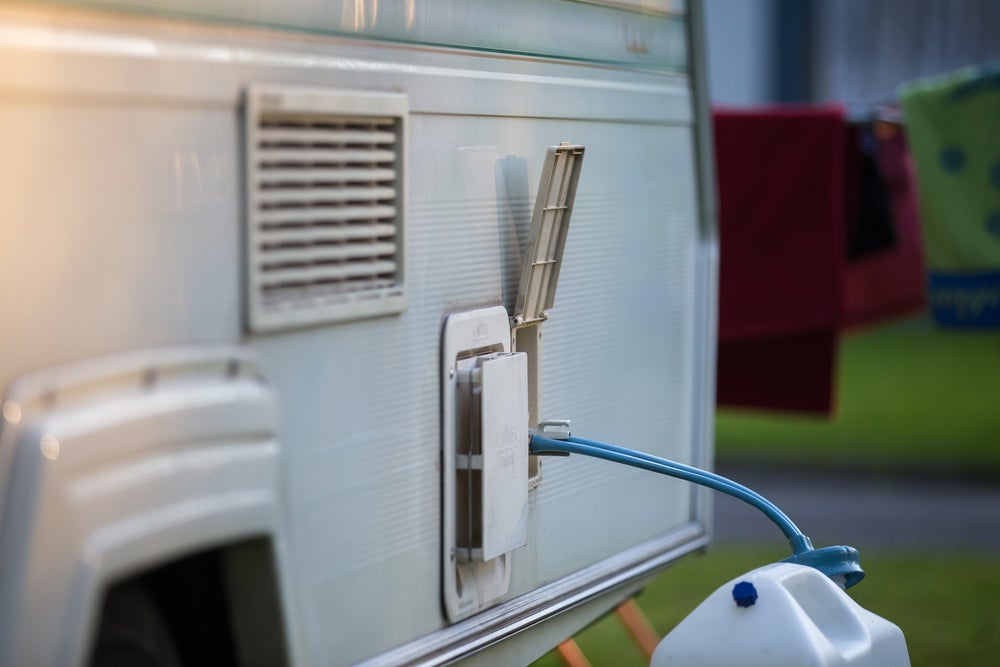
Image from shutterstock.com
In order to properly winterize RV water systems for the off-season, you need to fill all flowing water pipes with non-toxic antifreeze. Here’s a step-by-step method of doing just that. Important note: RV anti-freeze is pink, and not the same as automotive anti-freeze.
- First, drain the freshwater holding tank and remove or bypass any water filters in the inline. Many people recommend using an air compressor to fully clear out the lines.
- Next, drain both gray and black water holding tanks. Use a wand, or another long-reach cleaning device to ensure that the black water tank is fully empty.
- Be sure that the water heater is off and not warm, and drain that.
- Open all faucets and the low point drains to ensure the removal of standing water. Close these securely after fully draining to ensure pressurization.
- Be sure to bypass the water heater, or it will fill completely with six or more gallons of the stuff. You will need to install a bypass kit for this, but those are easy to find at any RV parts store, Walmart, or online.
- To pressurize anti-freeze into your water lines, connect a piece of clear tubing from the inlet side of your water pump into a container of anti-freeze. Turn on the pump, and then work your way out, starting with the closest faucets. Replace the anti-freeze container as needed.
- Open all the faucets one at a time from closest to farthest, both hot and cold, until anti-freeze appears, and then close them securely and move to the next closest. It is important to remember outside showers or spigots if your RV has any.
- Pour anti-freeze, about a cup’s worth, into any sinks, and flush some in the toilet. Then turn off the water pump and release the pressure just a little at a faucet.
- If you have other water systems—dishwasher, ice maker, washing machine, etc.—you will need to consult your owner’s manual to best winterize those systems.
3. Take Out any Removable Electrical and Battery Parts
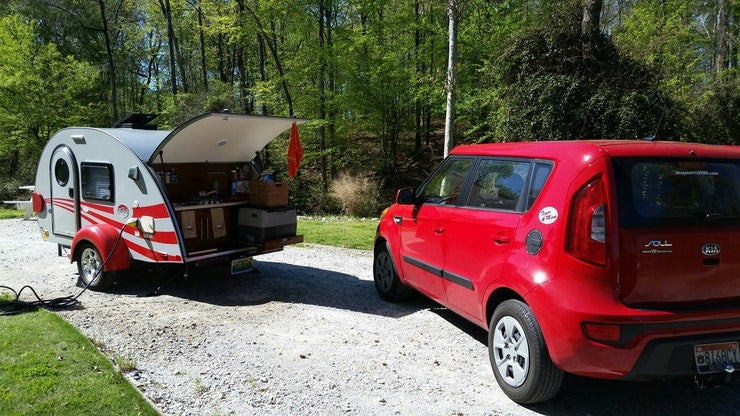
Image from The Dyrt camper Penny E.
When beginning to winterize RV electrical and battery systems, start by unplugging everything, starting with the battery. After unplugging, you should also remove the battery to store in a dry location. Be sure that any external outlets have a secure cap over them.
When summer rolls around again, be prepare for your next adventure by downloading maps. The Dyrt Pro lets you download maps and campgrounds without cell service. “My alternative to using pro would be to drive back out to cell service”.
4. Cover and Close Any Openings, as well as The Outer Shell
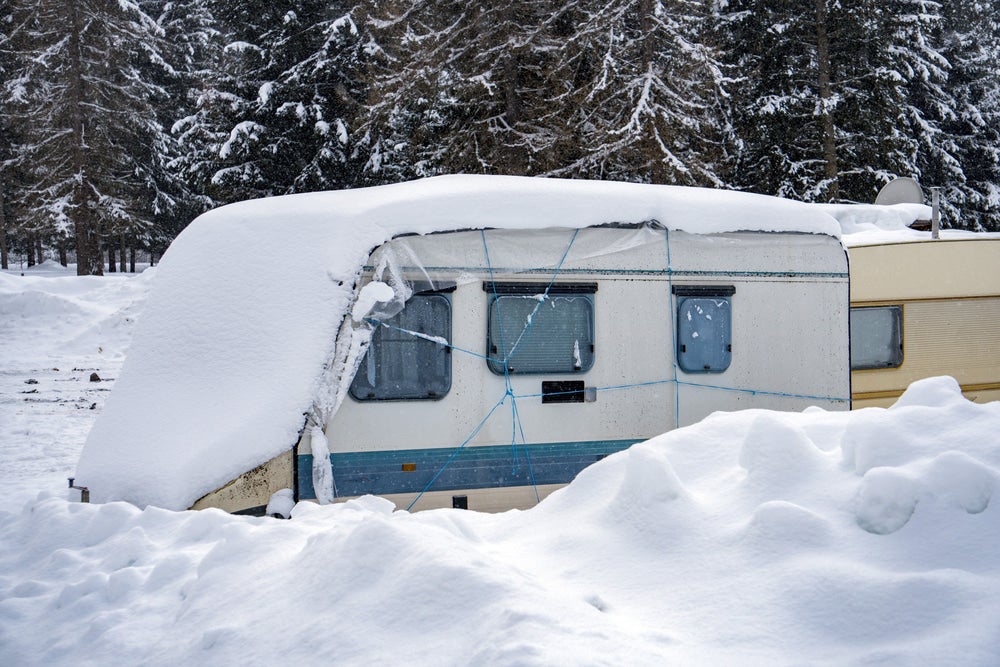
Image from shutterstock.com
UV rays and all the elements take a toll on any exposed surface, but most of us don’t have the garage space to fully protect a large vehicle. Be sure to winterize the outside of your RV as well as the inside by properly covering as much of it as possible!
Cover the tires to avoid dry rot which can double the life of the rubber. Close your roof vents and inspect the roof itself before covering it.
5. Perform Automotive Maintenance Checks
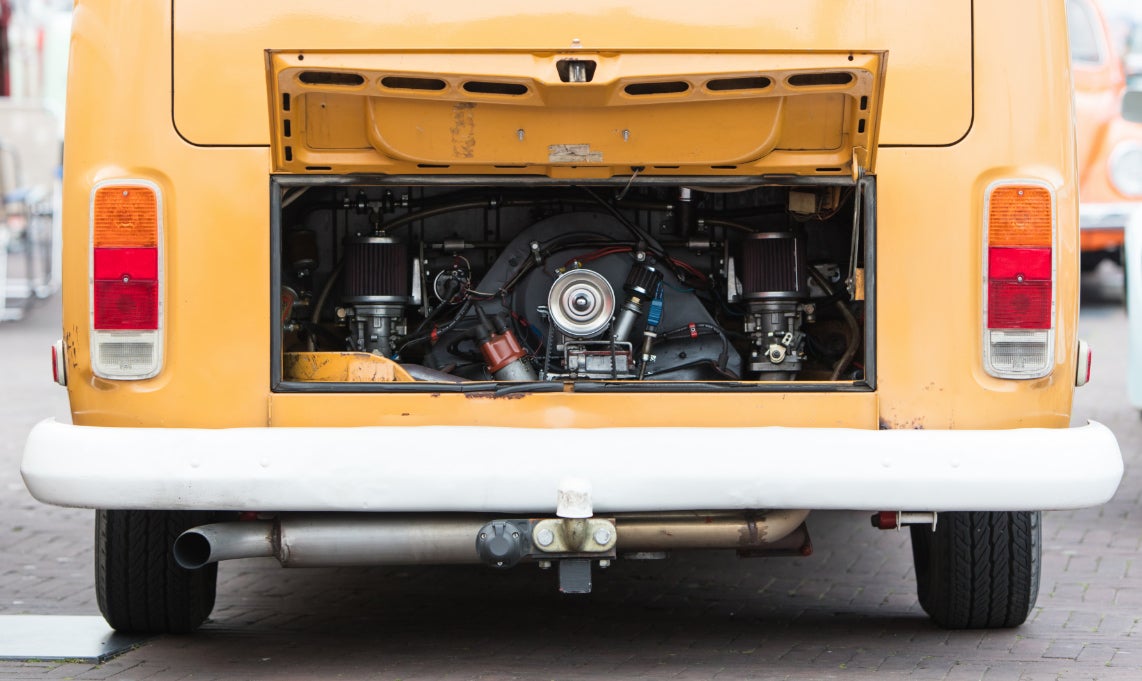
Image from shutterstock.com
While it’s easy to get wrapped up in preparing the livable systems of an RV for winter, taking care of the vehicle itself is equally important if you want to roll out of your driveway in style for that first beautiful spring weekend.
To start winterize RV procedures for the engine, fill the fuel tank to the top, and use automotive anti-freeze in the radiator. Filling the fuel tanks prevents condensation from forming, and the radiator for the vehicle still relies on automotive anti-freeze rather than RV anti-freeze.
6. Be Aware of Your Propane Levels

Image from The Dyrt campers Shari + Hutch
Be sure that all propane tanks are disconnected and that the gas has been burned off out of the pipes. Depending on how brutal the cold is where you live, you may need to bring the propane tanks inside. Never leave those in the RV itself, however.
7. Take Pest Control Precautions
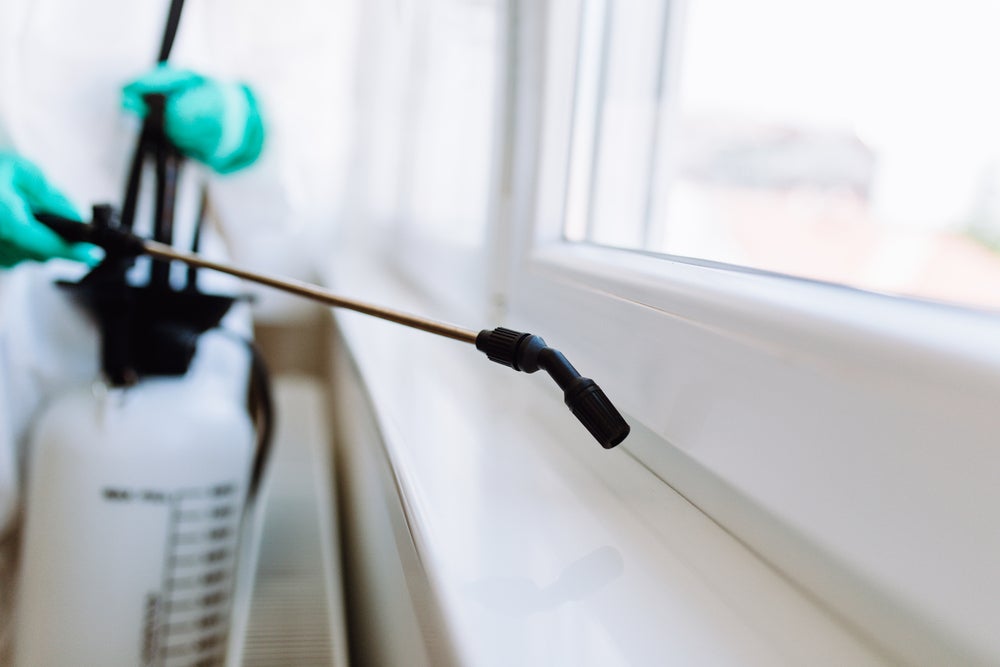
Image from shutterstock.com
Bring in all food, bedding and clothes from the RV. Food obviously can attract rodents and insects, and soft blankets are a great place for them to nest. Rodent droppings can be a major health hazard, so do everything you can to seal off entrances and remove attractants when winterizing your RV.
Related Campgrounds:
The Dyrt is the only camping app with all of the public and private campgrounds, RV parks, and free camping locations in the United States. Download now for iOS and Android.Popular Articles:
Articles on The Dyrt Magazine may contain links to affiliate websites. The Dyrt receives an affiliate commission for any purchases made by using such links at no additional cost to you the consumer.

