This article on how to snowshoe is brought to you by our friends at Wild Zora, whose backpacking food is the perfect addition for your next snowshoeing adventure.
No matter your level of affinity for outdoors activities, it can be difficult to figure out how to stay active when the cold weather hits. Despite having an array of activities available, there are few options that are truly sustainable from a cost and time investment perspective. Somewhere in the middle of $120/day ski passes and being trapped indoors all winter is a go-at-your-own-pace and relatively inexpensive activity: Snowshoeing.
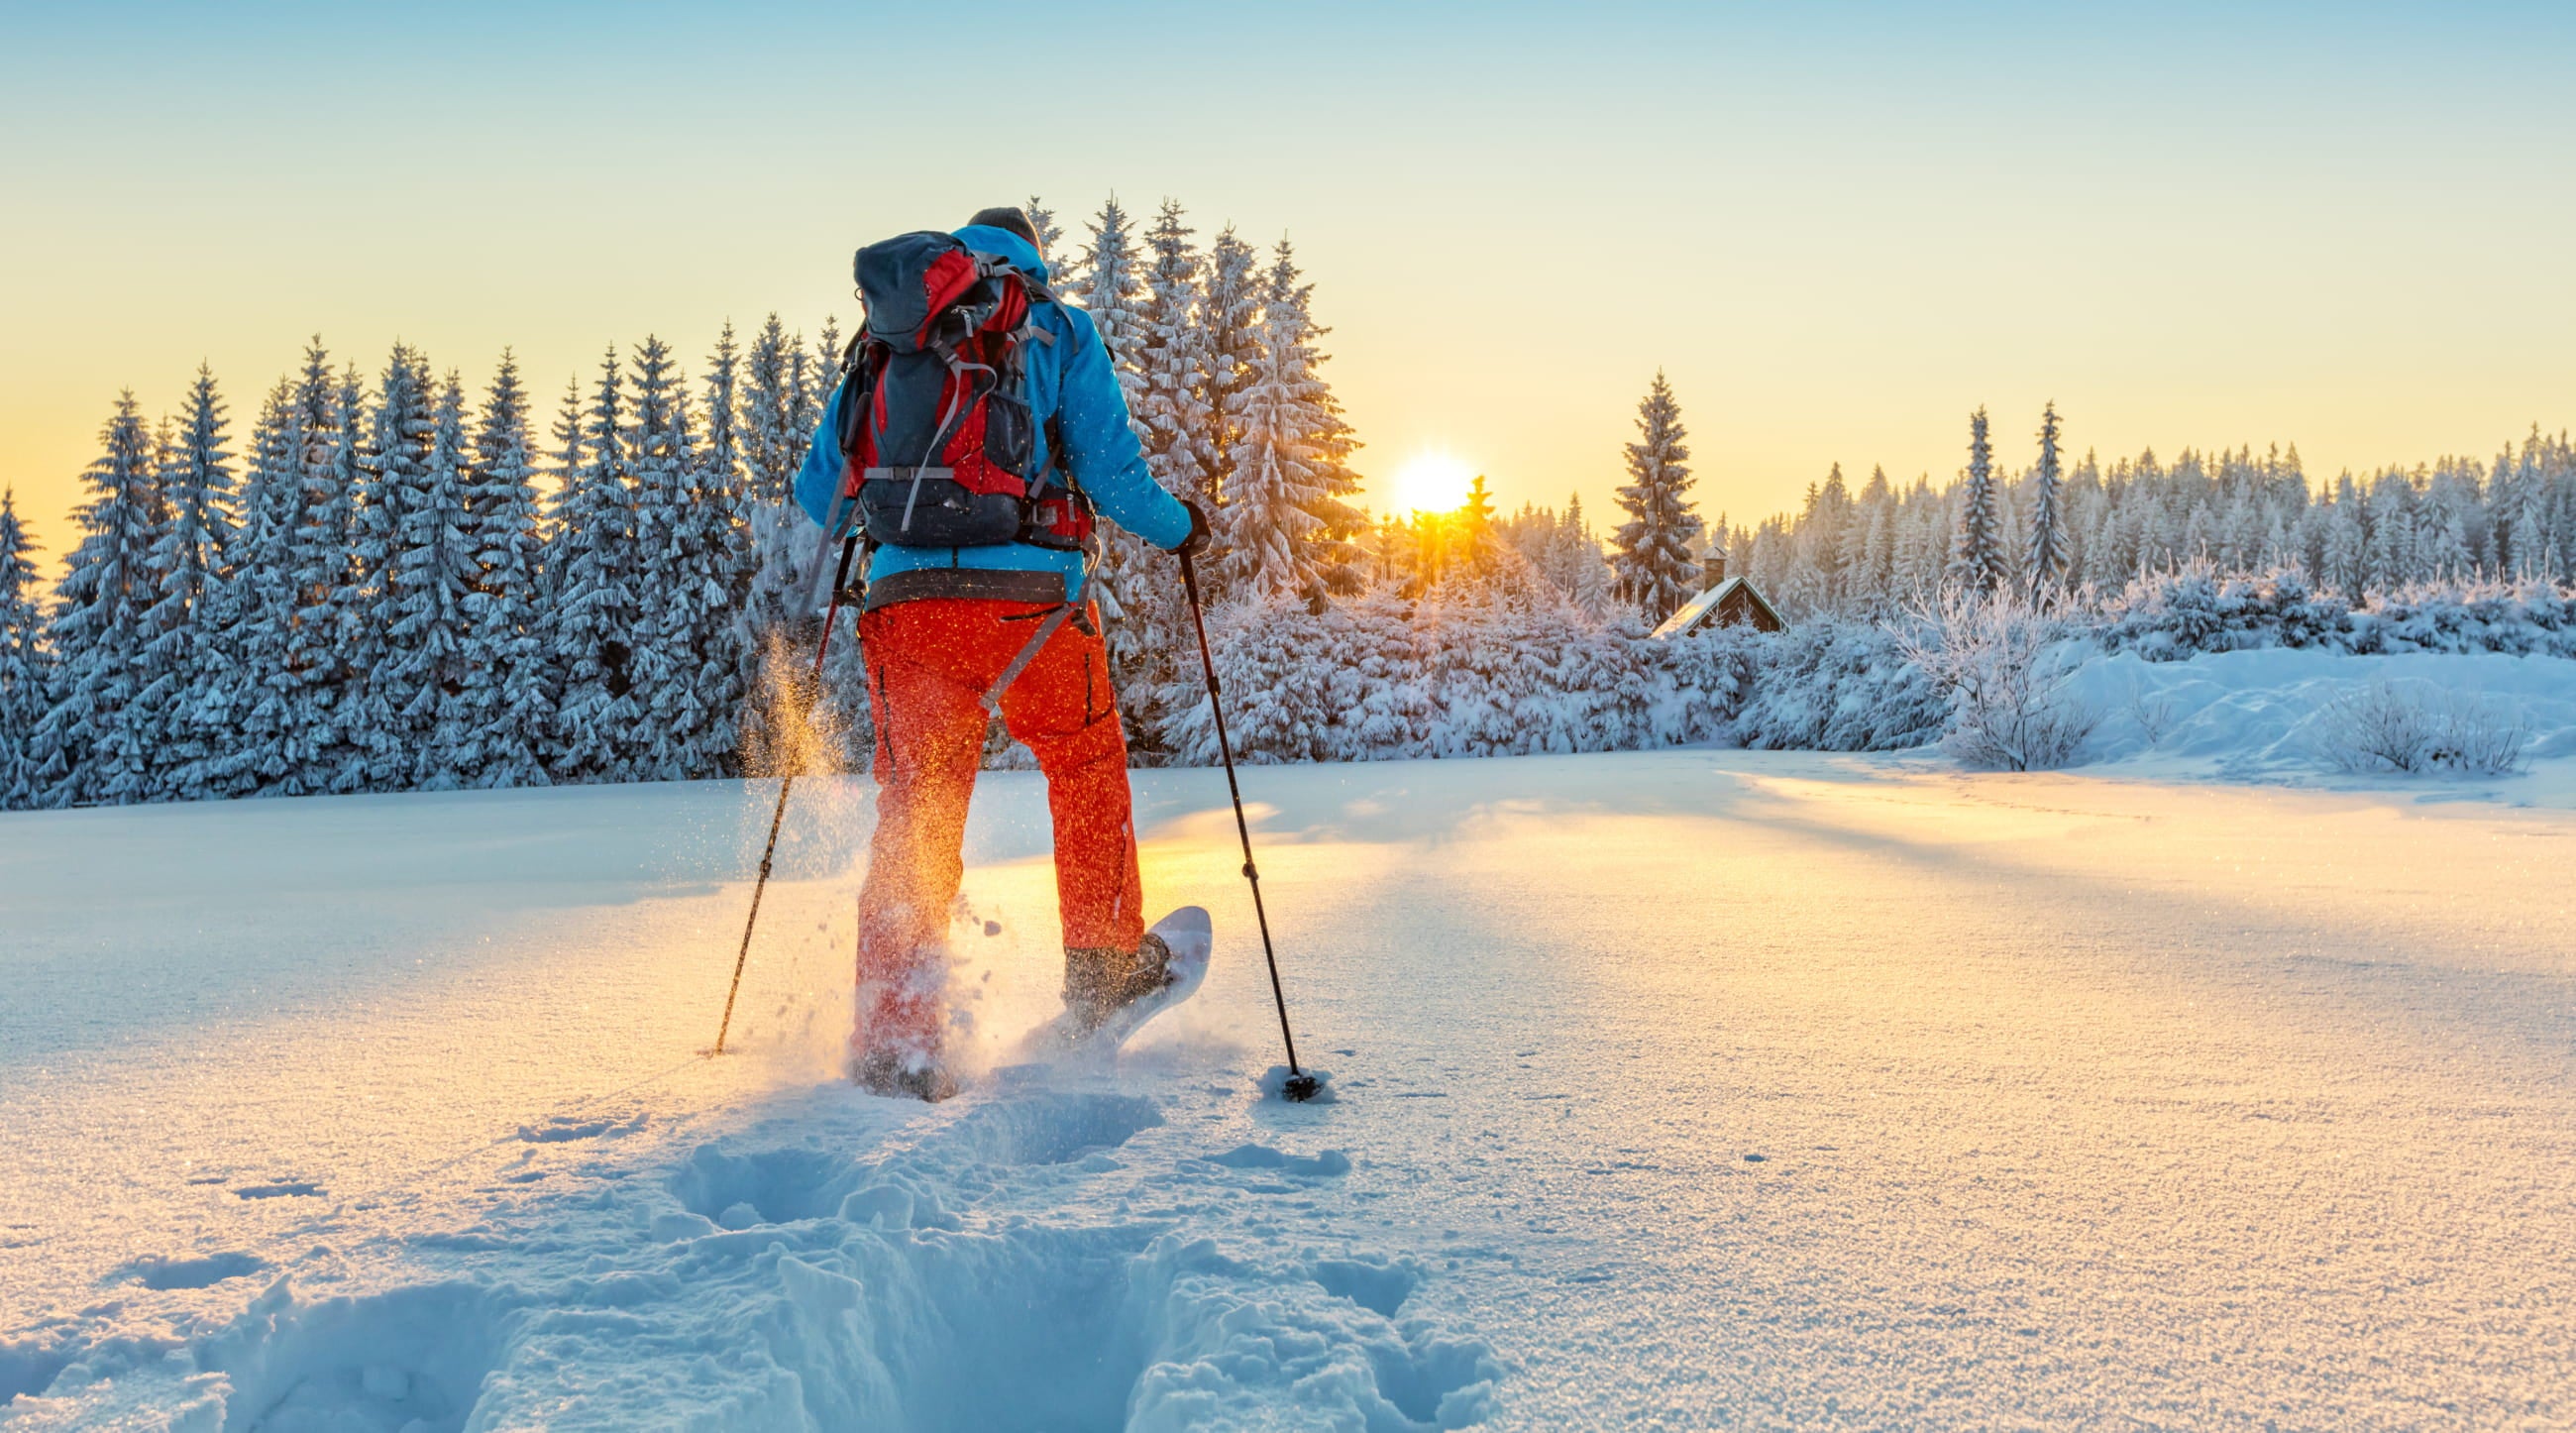
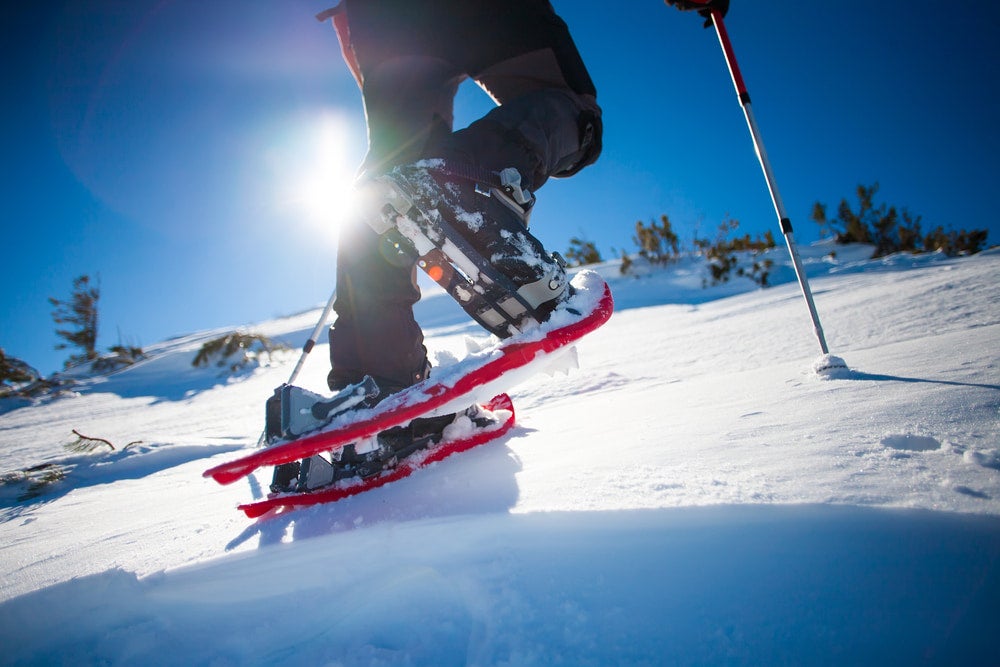
While snowshoeing can seem like a daunting sport, often pictured in the midst of towering backcountry terrain and freezing temperatures, it’s actually an activity that can be perfect for almost anyone, no matter the age or experience. Unlike skiing, snowshoeing requires only enough skill as most casual hikers possess (read moderate fitness level and a little patience!) and as long as you have the right gear, it’s a sport that often gets easier as you go.
How to Snowshoe: The Basics
Looking to hop into a pair of snowshoes on your next winter camping trip? Here are a few tips for getting started, as well as some of the offerings and trails available to guests in a few of America’s best known National Parks.
Step 1: Figure out where you want to learn
Some folks might prefer renting snowshoes and simply romping around their backyard to get the feel of things, while others test their skills on the trail. Whatever you choose, the first step to learning how to snowshoe is to identify your perfect training area, which will dictate the style of snowshoes you start with. Despite the variety of options, most experts recommend starting somewhere with more or less level terrain, whether its a park, an easy or moderate trail, or your front lawn.
Step 2: Find your perfect shoe
If you’re renting, it’s smart to rely on the rental gear staff to guide you in the right direction, but keep in mind that it’s your feet we’re talking about! Generally, snowshoes are divided into three different categories, which is why it’s important to know your destination prior to gathering the necessary gear.
Flat Terrain
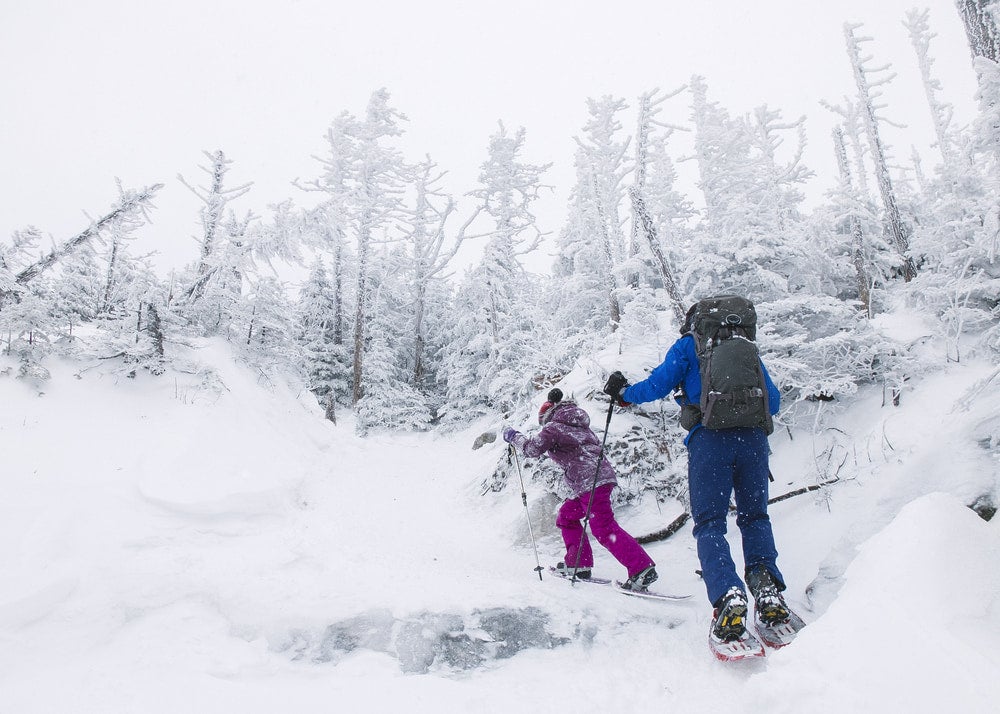
These snowshoes are identified by manufacturers as “flat terrain” because they’re designed for leisurely travel across mostly a flat landscape. Flat terrain shoes are often the best fit for beginners just learning how to snowshoe or families planning on taking an easy with the kids. They’re good for well-formed trail that incorporates a few rolling hills, but for the most part remains constant. Because this is a common beginner model of shoe, there are several brands that offer entry-level versions that are as sturdy as they are cost-effective.
Rolling Terrain
The next level up, these shoes are effective on rolling hills and the occasional steep hill. For the most part, these shoes are perfect for snowshoers seeking to hike terrain that’s a bit more varied and off the beaten trail. Rolling terrain shoes tend to be effective on all terrain but extremely steep hills or icy conditions.
Mountain Terrain
As their name clearly states, mountain terrain snowshoes are reserved for the experienced, serious snowshoer who prefers to pound their own path through the wilderness, or for serious backcountry snowboarders needing to hike their way up to the top of a steep, backcountry bowl. These shoes are built with jagged, crampon-like edges meant to latch onto extremely steep and icy terrain, and should most often not be the choice for beginners to the sport.
Step 3: Grab Your Gear
Along with the all-important snowshoes, you’ll want to grab gear that allows you to stay active while staying warm. If you’re a first-timer, you should wear the gear that matches your itinerary. If it’s a light jaunt around the park, consider staying light while packing a thicker layer, since you might encounter wind or snow. If you’re backpacking, you’ll want to pack several more layers, particularly for after the sun goes down (you’ll probably want to pack some high-protein, healthy backpacking food, too). Either way, a few of the essentials include:
Base Layer
Preferably synthetic or wool, though be careful of getting your wool layer too wet, to protect its insulation. Moisture-wicking long underwear is always a good choice, as well as a top layer that’ll insulate and dry quickly if wet.
Mid-layer (insulating)
Try a fleece or zippered pullover that’ll maintain warmth even if it’s wet. It should be a bit more breathable than your outer shell. This should be a layer you’re comfortable snowshoeing in, since your shell may not be needed in dry or especially temperate weather.
Outer Shell
This layer should be completely waterproof as well as breathable. Despite the similarities, this layer will likely not be your ski jacket, but a thinner, more breathable layer that you can take off if need be and pack away.
Footwear
Of course, you’ll want to keep your feet as dry and warm as possible while snowshoeing, and you’ll want to also make sure your footwear matches your level of activity. For the average snowshoer, insulated, waterproof boots are typically the best choice, or a waterproof version of your favorite hiking boots could work well too. For socks, try synthetic or wool socks that’ll stay dry as you slog through the moisture.
Step 4: Head Outside
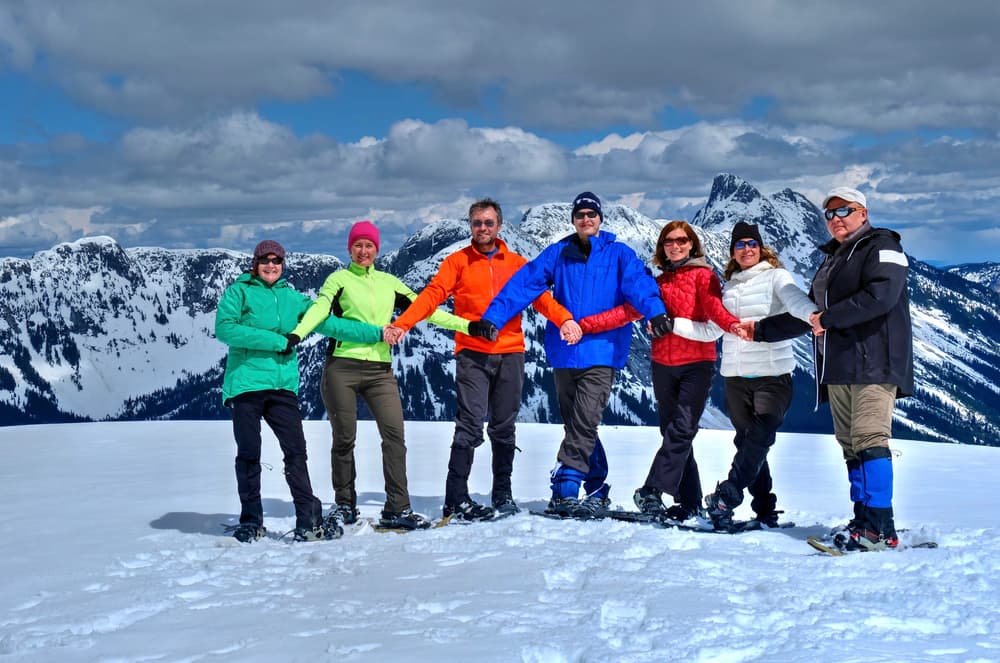
Yosemite National Park
One of the more famous winter destinations is Yosemite National Park, whose in-park ski area is one of three in the United States and the oldest of its kind in the state of California. Among the alternatives to skiing in Yosemite is some of the best beginner-friendly snowshoeing terrain on the West Coast. With rentals and guided tours available directly from the Yosemite Ski & Snowboard Area, visitors can enjoy thousands of acres of excellent winter terrain perfect for learning how to snowshoe, including guided trips to Dewey Point, and even a full moon snowshoe walk, offered just 3 or 4 days every month.
Glacier National Park
Glacier National Park is another excellent spot for both beginner snowshoers and those that have years of snow plodding under their belt. With hundreds of miles of trails that remain accessible for winter enthusiasts, Glacier’s network of terrain is ideal for learning how to snowshoe while still being able to take in some of the park’s gorgeous landscape and wildlife. Like Yosemite, Glacier offers guided snowshoe walks on a regular basis throughout the winter.
Crater Lake National Park
A lesser-thought-of winter destination, Crater Lake offers snowshoe hikes each weekend in the winter, allowing visitors to capitalize on the significant amount of snowfall the park receives each year. The weekend trip includes two hours of relatively easy hiking, with a 1-2 mile lesson about the park’s plants, wildlife, and tribal history. If you’ve officially mastered the mechanics of how to snowshoe, Crater Lake is a perfect option to expand your skills and your National Park knowledge.
Whatever your skill level or location, when you’re looking to beat the cold weather, get out there and try snowshoeing this winter. You might just discover your next favorite winter activity!
The Dyrt is the only camping app with all of the public and private campgrounds, RV parks, and free camping locations in the United States. Download now for iOS and Android.Popular Articles:
Articles on The Dyrt Magazine may contain links to affiliate websites. The Dyrt receives an affiliate commission for any purchases made by using such links at no additional cost to you the consumer.