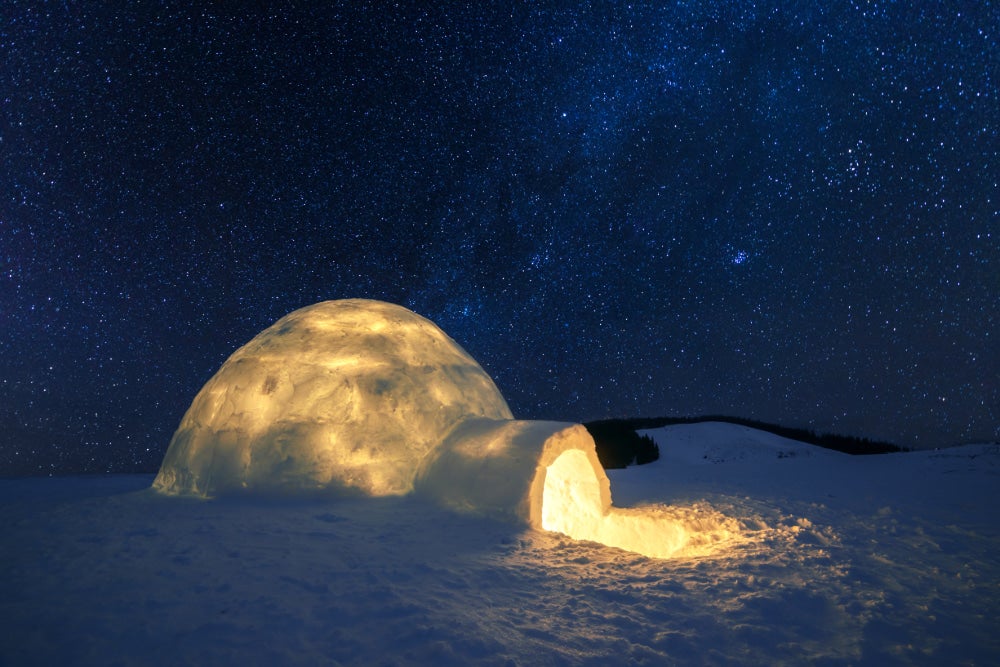
Learn how to build an igloo for your next winter camping trip.
The winter is a chance to test yourself in a challenging and rewarding environment. Winter’s frost and blankets of snow can offer a fuller understanding of the landscape, as well as the chance to revel in the season and make an igloo to camp in.
Knowing how to build a snow shelter is an important survival skill that can also be a fun and physical way to spend collaborative time with family and friends and experience sleeping outside in a different way.
The point when igloo camping became intriguing to me followed one of many trips to the Emigrant Wilderness in California’s Sierra Nevadas. As I basked in the region’s vast nature, I wondered what it would be like to experience this same beauty covered in snow. Since then, I’ve had many opportunities to live the answer. It looks like the setting sun stealing warmth and light at 5 p.m. and a thrilling sense of urgency to have a sturdy shelter before nightfall. It looks like shoveling snow into walls and sometimes throwing a snowball at a family member. It feels like tired legs and tired arms and warm socks and gloves and hats. It sounds like velvet, quiet underneath the walls of an igloo.
How to Build an Igloo and Camp Cozy This Winter

If you’re prepared, building and sleeping in a snow shelter can be an enjoyable and new experience. Here are some of the shelter types you can construct, and how best to build them.
1. Snow mound shelter (or quinzhee)
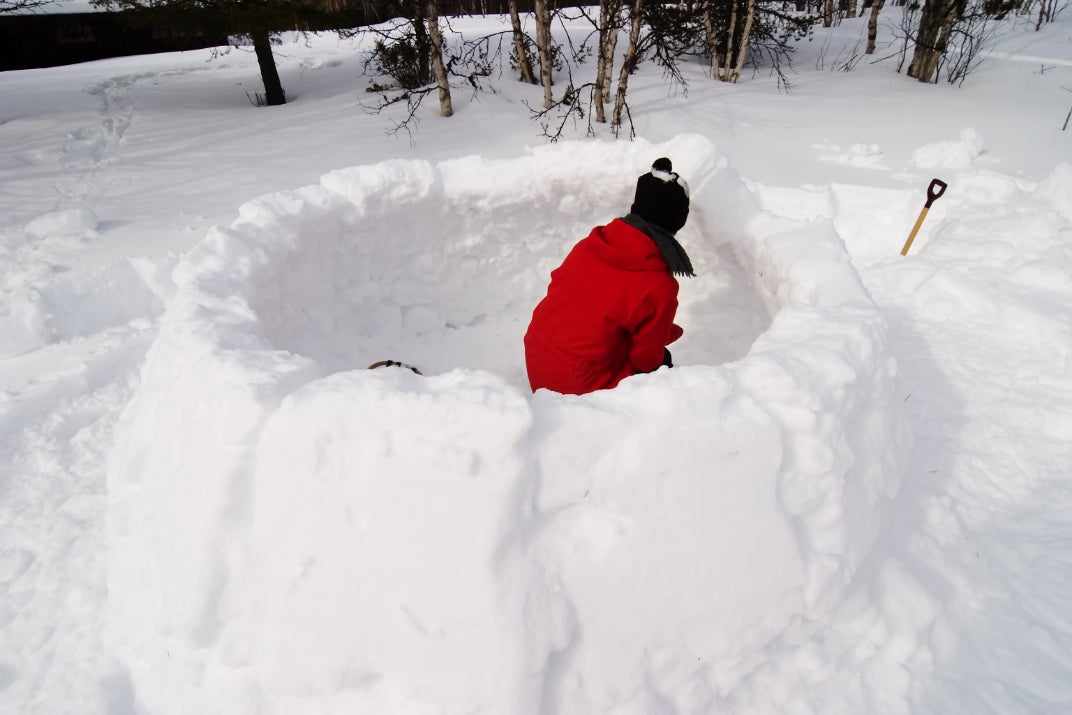
The Dené word “quinzhee” means a makeshift shelter carved out of a mound of snow. To construct this sort of shelter, first pile snow into a mound wide enough for two to three people and tall enough to sit or stand comfortably inside. Mix different layers of snow to increase the strength of the building material. Carve a temporary door into the mound through which you can excavate the inside. The walls should be at least a foot thick. Once done, close the temporary door and carve a tunnel entrance below ground level.
Tip: It is important to keep the entrance below the floor of the shelter so that cold air stays outside. To save excavation time, it is possible to build the mound around backpacks, skis or other heavy gear.
2. Standard Igloo
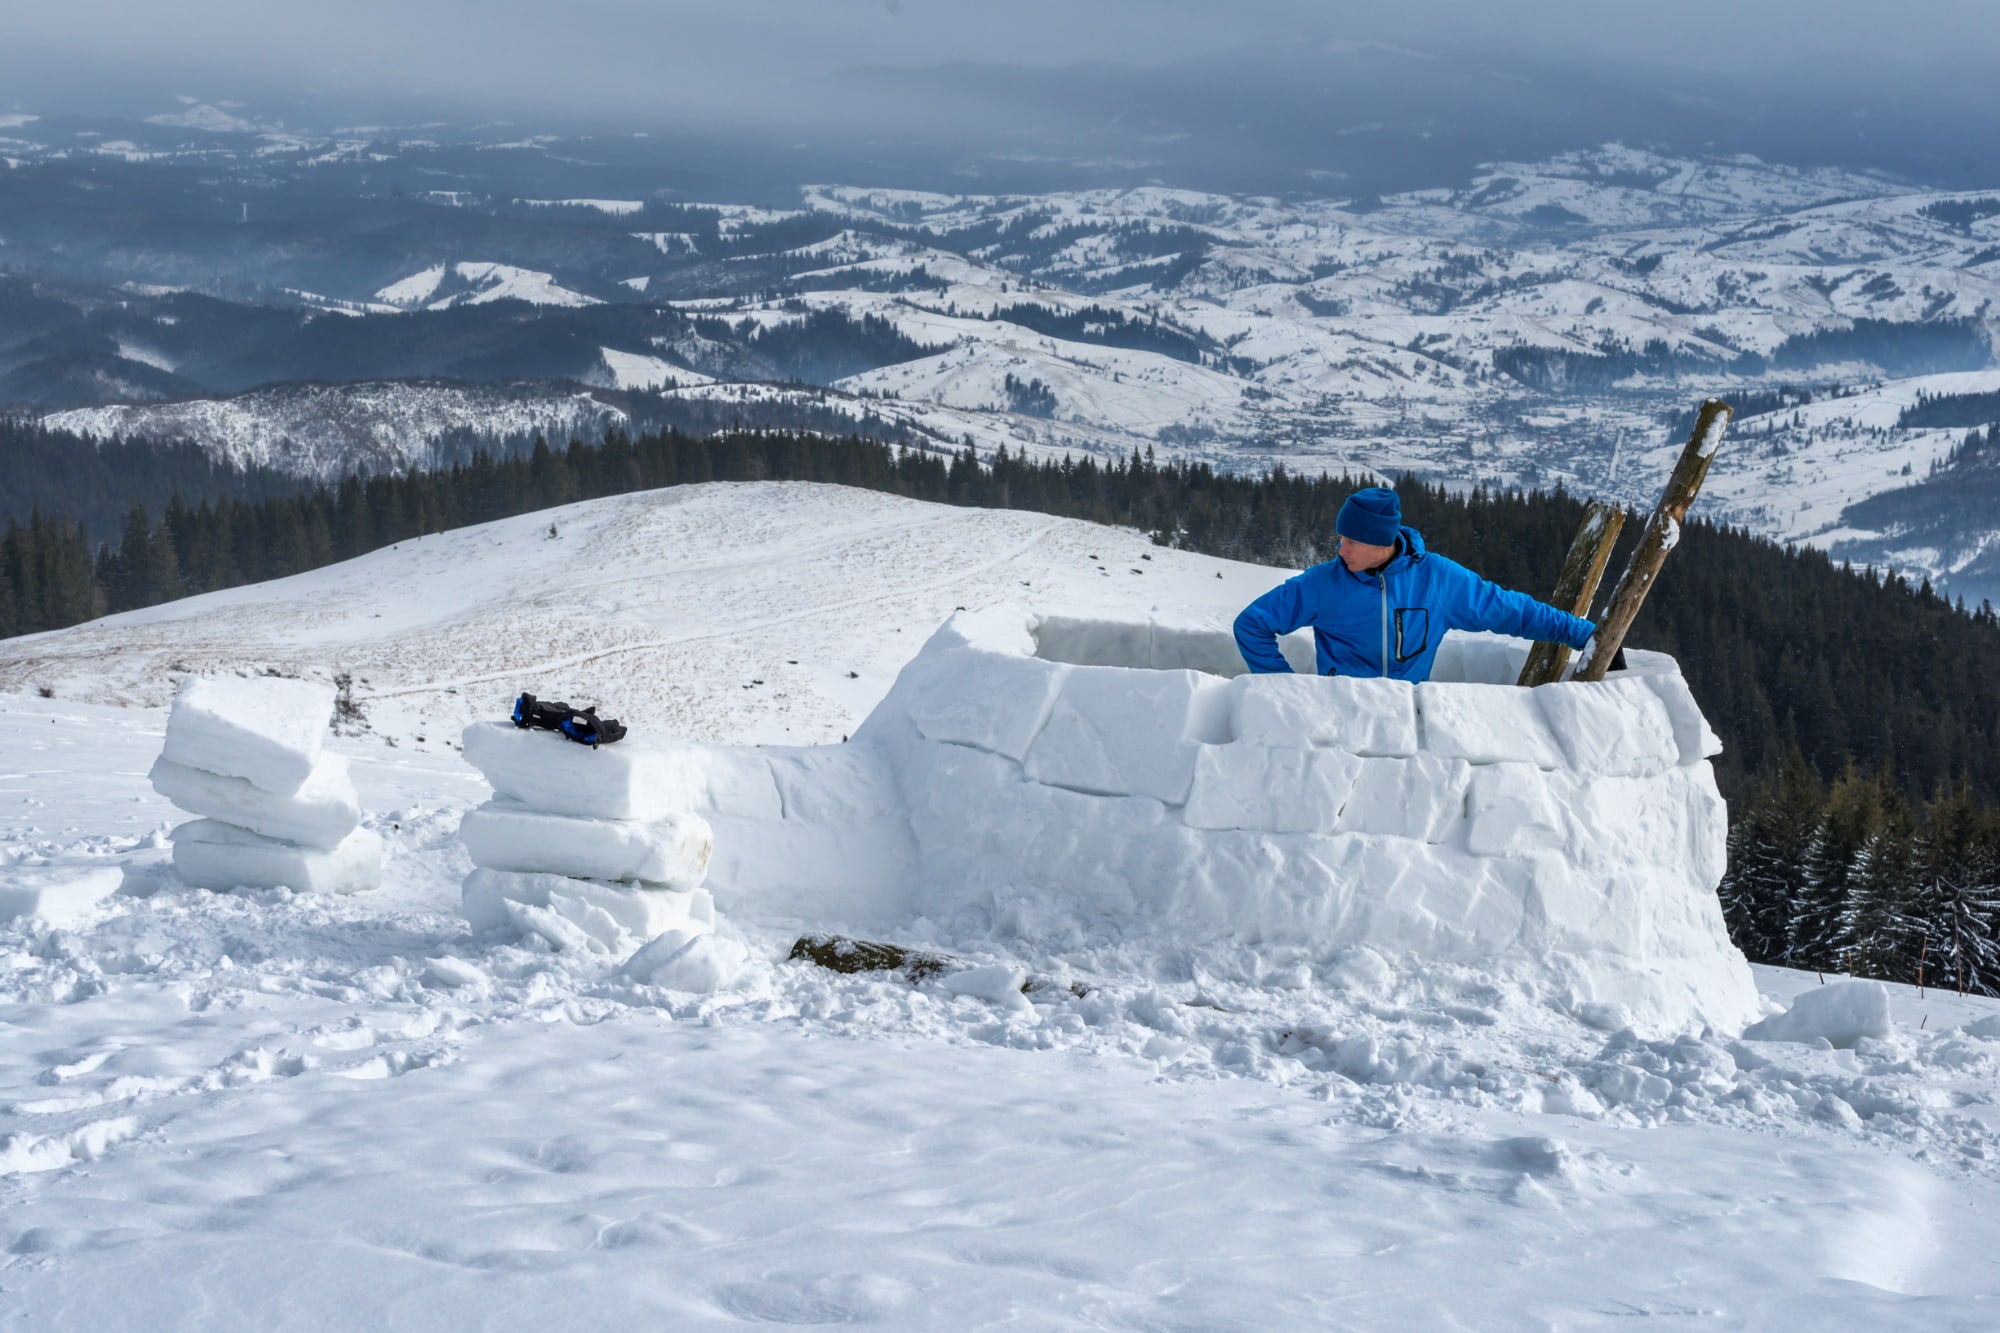
This method features more sturdier construction and requires some special tools, like a snow saw or knife. First, locate an area where the snow is at least 2 feet deep, preferably on a gentle slope, and pack down the snow in a circle. Saw blocks about 3 foot long, 15 inches high and 8 inches thick from inside the circle. From the inside, construct your first row, gently angling the blocks to tilt inside to build the curvature of the igloo. Continue laying down bricks cut from the inside. The final brick can be tricky to position, so carve it to fit. Shovel yourself an entrance. Strengthen the walls from the outside with more snow.
Tip: If the snow is light and powdery, mixing it with near-freezing water can make it sturdier. Continue shaping the bricks as you build up to retain the curvature of the igloo.
3. IceBox Igloo
Igloo-making tools like the IceBox can make the job easier and more consistent. The IceBox is designed to aid you in building bricks in a circular sequence. Start much the same way as for a normal igloo. Anchor the IceBox pole in the center of your circle and assemble the brick mold at the other end. The job is best for several people: one person packing snow into the mold from the inside, and others shoveling from the outside. Remember to pack the mold into three-quarters of a brick, at a downwards angle, so you can build up in a spiral.
Tip: It may be easier to use only two or three sides to the brick mold once you get to the uppermost rows. To construct the last brick, place one side of the brick mold flesh with the ceiling of the igloo. The outside shovelers throw snow onto the top and pat it down gently until a solid layer has been formed. Always keep a shovel with you inside the igloo to carve your way out.
Keep These Additional Tips in Mind When Building Your Igloo

It’s best to educate yourself on winter survival tips before setting out on any igloo adventure. Even experienced campers should give pause and provide extra attention to planning and proper equipment. But don’t let the following common misconceptions hold you back from making a camping igloo this winter.
1. You’re Not Going to be Freezing
Snow is literally frozen water, right? Yes, but a snow shelter’s function is to keep the freeze out. The walls provide insulation from wind chill, which can drop the temperature in feel 20 to 30 degrees, in the way more flimsy tents may not. They protect against strong, howling winds and even blizzards. Even if the air outside is below freezing, the inside is guaranteed to be relatively warmer as the temperature of snow won’t drop below freezing. With body heat, it can even get toasty–so toasty it’s best to poke air holes through the walls to avoid melting the inside.
2. The Snow Won’t Fall on Your Head
Yes, snow will eventually melt. And it may seem obvious to say that the more care you bring to the construction of your shelter, the lower the chance it will cave in. Generally speaking, packed snow walls are sturdy. In the right conditions—cold, sticky snow and freezing nights—some shelters can even sustain the full weight of people. Well-built igloos last entire winter seasons.
3. Waterproofing Everything Is Not the Only Way to Keep Dry
Staying dry is of the utmost importance when igloo camping, but relying only on plastic waterproof layers can lead to just the opposite. In fact, they can trap in moisture. To best avoid this, go for lots of moisture-wicking layers instead, and pack back-ups. Bring an insulating mattress or two, like one made of styrofoam, to protect yourself from the cold of the frozen ground.
The Dyrt is the only camping app with all of the public and private campgrounds, RV parks, and free camping locations in the United States. Download now for iOS and Android.Popular Articles:
Articles on The Dyrt Magazine may contain links to affiliate websites. The Dyrt receives an affiliate commission for any purchases made by using such links at no additional cost to you the consumer.


