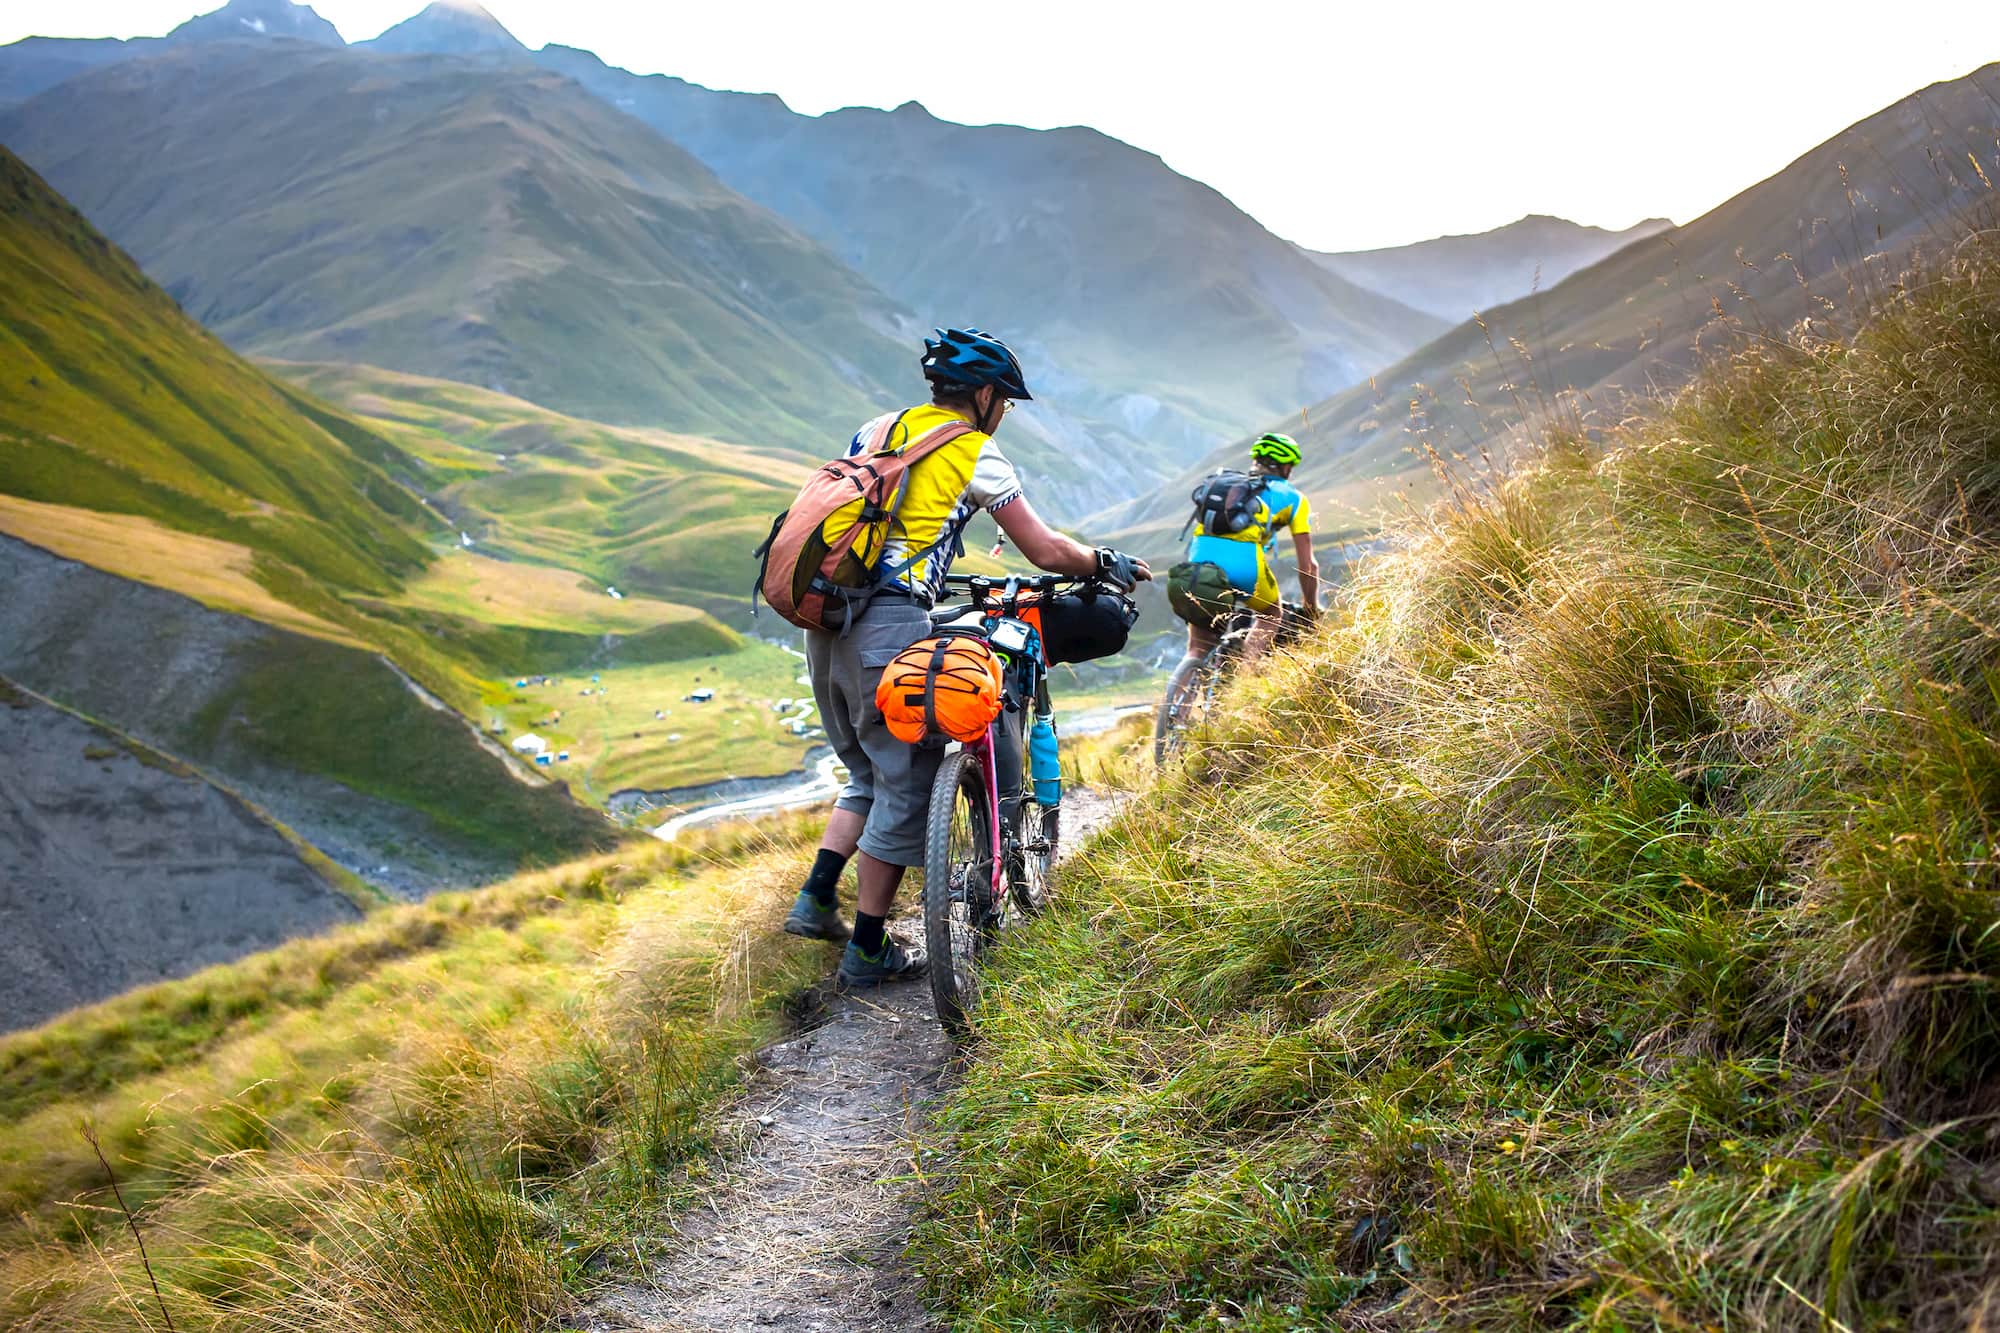
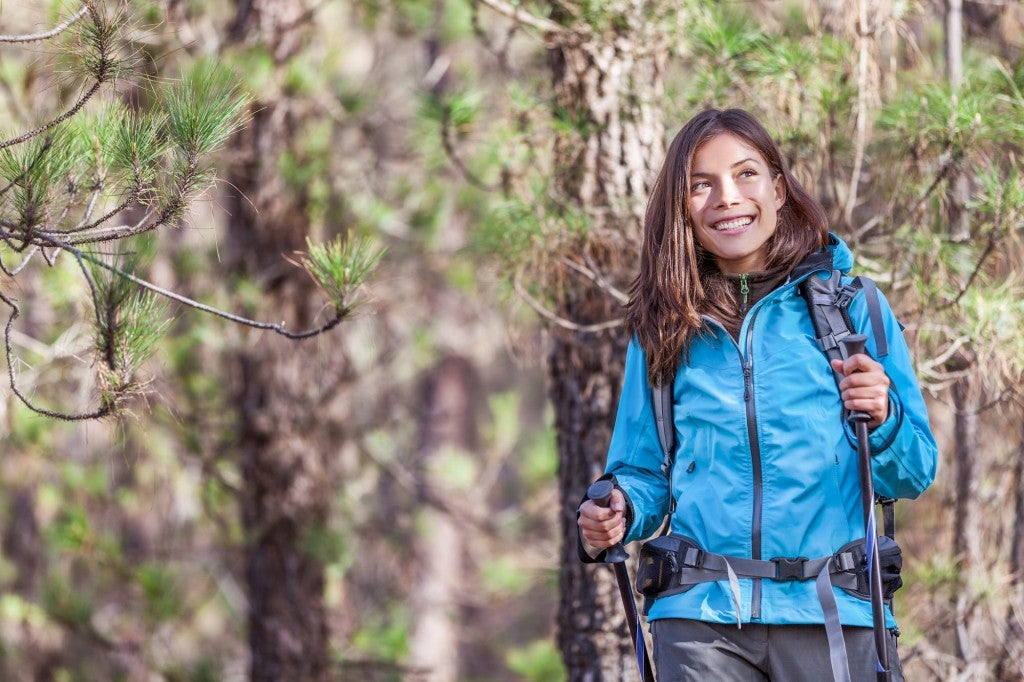
The beauty of backpacking in the wilderness comes from the long miles, solitary views and personal challenges that keeps you going for days. But have you ever found yourself wishing you could cover more miles, or maybe spice up the old “left foot, right foot” routine? Backcountry enthusiasts who are ready to up their adventure game are finding their passion in the sport of bikepacking.
Cover More Ground and Find More Adventure With Bikepacking
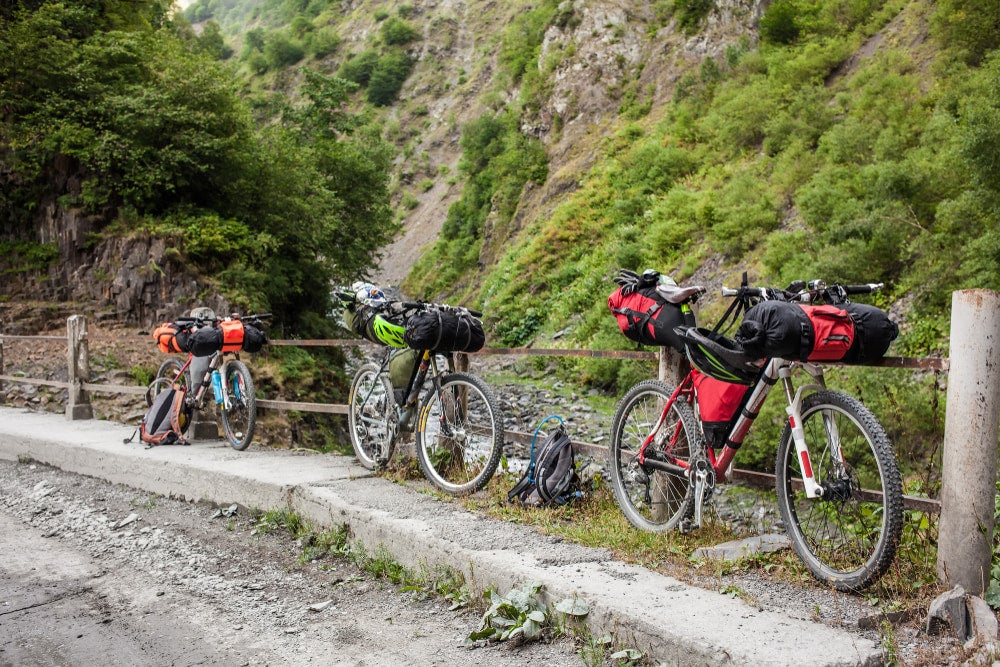
Packing light, functional gear on to your bike and exploring forest roads or single tracks lets you and your favorite weekend warriors get away from the crowds, and brings more excitement and speed to backcountry travel. Remote campsites far from the trailhead, or pristine high country fishing lakes are now within range if you can use your wheels to shorten approach times.
What’s the Difference Between Bikepacking and Bike Touring?
For the beginner bike traveler, it’s easy to be confused by the different types of bicycle sports available. Bike touring, often compared to bikepacking, has been popular for some time and is similar to bikepacking in several ways: both activities allow you to travel with your bike, be self-sufficient overnight, and cover more ground than simply hiking. The major difference is that bike touring keeps you, your bike and your stuff on a paved-road adventure. Many people who bike tour like to connect small towns and established campgrounds into a multi-day bike trip on paved trails and roads. Bikepacking, in contrast, simply takes that love of exploring on two wheels and puts it into the backcountry. The guide below covers the basics of bikepacking with gear recommendations, skills and tips to get started exploring more of the backcountry.
What Gear Do I Need to Start Bikepacking?
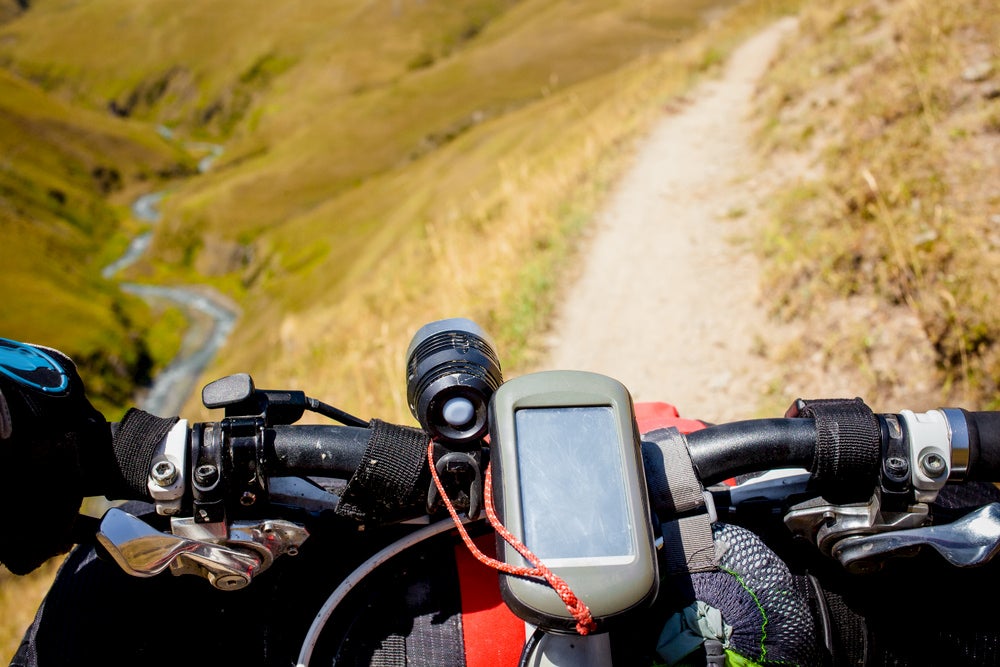
The biggest misconception about bikepacking is that the sport requires tons of elite and expensive gear. As a matter of fact, most people get their start by adapting what they have to work in a slightly different context. The best way to get started is to look at your gear and then figure out how it can best be used on your next trip. Here’s the gear basics you can build off of to go bikepacking:
1. A Bike
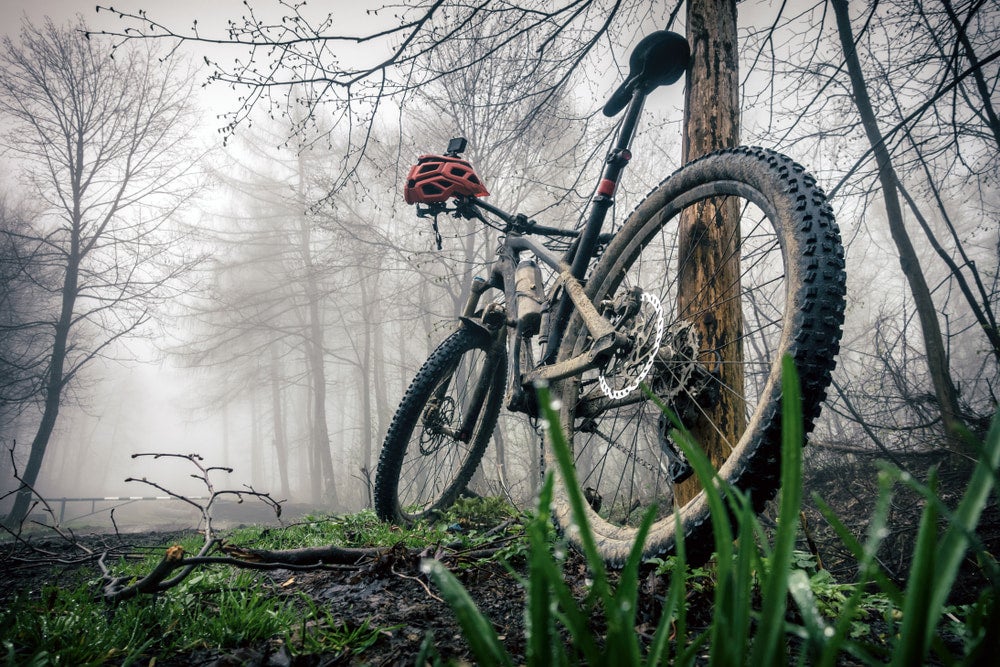
For bikepacking, the durability a mountain bike offers will work wonders. Don’t feel like you have to drop thousands on a carbon-light frame, especially for your first season. Prioritize the journey, and you won’t worry about how fast you are going.
An important consideration to selecting a bike is to know your destination. If you’re near high-elevation trails with steep inclines, a large range of gears will serve you best, while more flat or forested trails will require a sturdy build and comfortable seating.
2. A Saddle
This would be the one piece of gear you may want to put money into right away. A comfortable riding seat is intimately connected with your overall comfort and enjoyment of the bikepacking trip. You’ll thank yourself when you come off the trail after 8+ hours of biking and aren’t feeling stiff.
3. Cargo Bags
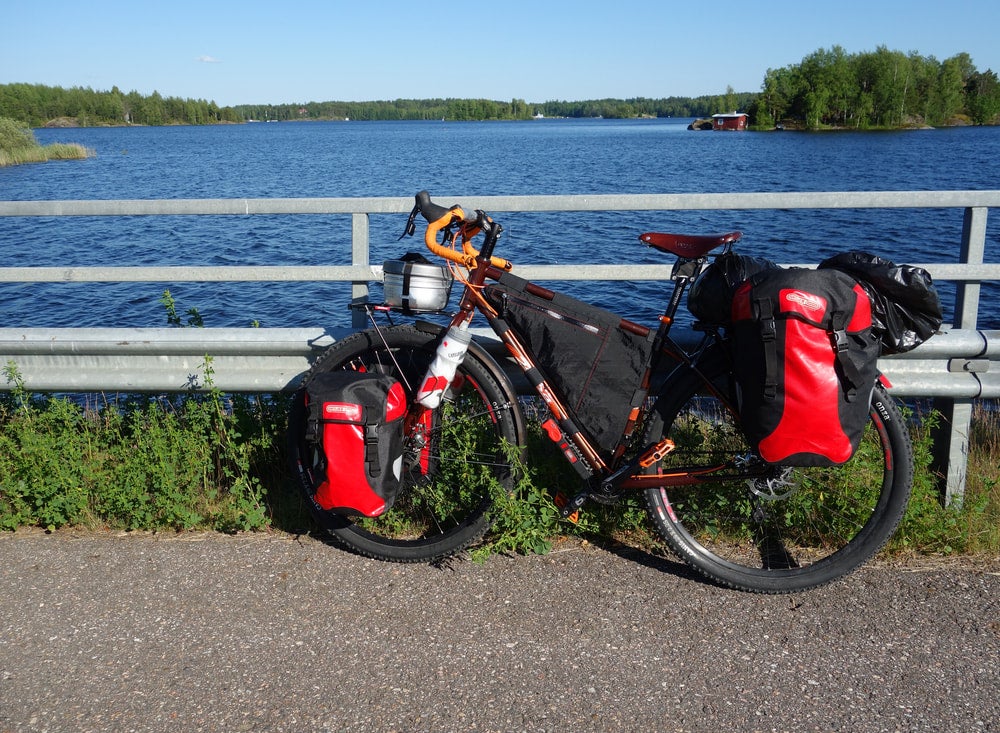
It’s important to keep the weight as low on the bike as possible. Wearing all the gear on your back is not a good plan—this places your center of gravity way too high. If you have a sturdy daypack, dry bags, or even waterproof messenger bags, these can be secured to different parts of the bike. The width of your gear bags is also important to plan for, depending on the trail sizes you’ll ride to your campsite.
4. Backpacking Camping Gear
Approach a bikepacking gear checklist the same way that you would a backpacking gear checklist—prioritize light, minimalist and essential gear. Items like bivvy tents, whisperlite-style stoves, multi-use layers and rain jackets will all come in handy just the same when you’re off the trail and at the campsite.
5. Bike Repair Gear
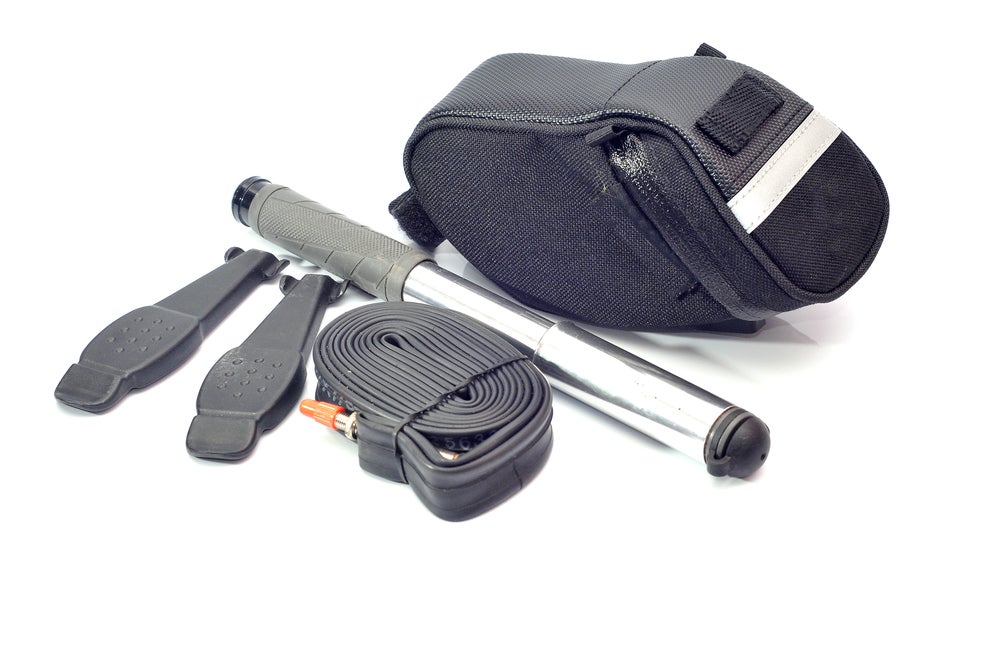
Bicycle repair gear is high priority when packing for your bikepacking trip—especially if it’s your first. You will need to make sure a patch kit, spare tubes, and basic bike tools will fit in your cargo bag.
6. Analog Navigation
Bring maps and a compass on any bikepacking trip—and learn how to use them. Cell phone reception is often spotty in the backcountry, and cold temperatures can sap your battery life quickly.
7. Water Storage
Water storage methods apply the same on bikepacking and backcountry hiking trips, and are as crucial to the success of both. Hydration packs and water bladders on your back are an excellent way to make sure you can drink water without sacrificing your forward momentum.
8. First Aid Kit
Due to the nature of the sport, make sure you load your first aid kit with extra wound cleaning, gauze, butterfly strips and bandaids/bandages. A first aid kit will be your best friend when you’re sitting on the trail cleaning a skinned knee.
How to Approach Your First Bikepacking Trip
Most experienced bikepackers recommend starting with a one-night, out-and-back trip. Don’t be too ambitious, because your first trip will invariably involve many stops for adjusting your setup. You’ll find yourself shifting bags and tightening straps, changing the height of your seatpost, or re-arranging the weight distribution. These are all good things, and will make your second trip out much more efficient, but don’t expect to have it all right the first time.
Remember, you have everything you need to survive on your bike, so even if you don’t make it to the exact place you hoped, that’s okay! Pitch a tent, drink lots of water, stretch, and ride home the next day.
Another way of planning your first bikepacking trip is to bikepack your way to a campsite, and establish a sort of “basecamp” from which you can take day rides around the area. Again, pick an achievable goal for your campsite, where you can ride in one day and set up camp. Then the next day, strip the heavy gear off and shred the trails in the area, coming back to camp for a second night. In the morning, it’s time to load it up and ride back.
Be sure to consider elevation gain and the ruggedness of your approach, and do not over-extend yourself so much that you cannot complete the next day’s journey.
Learn the Necessary Skills Before Hitting the Road
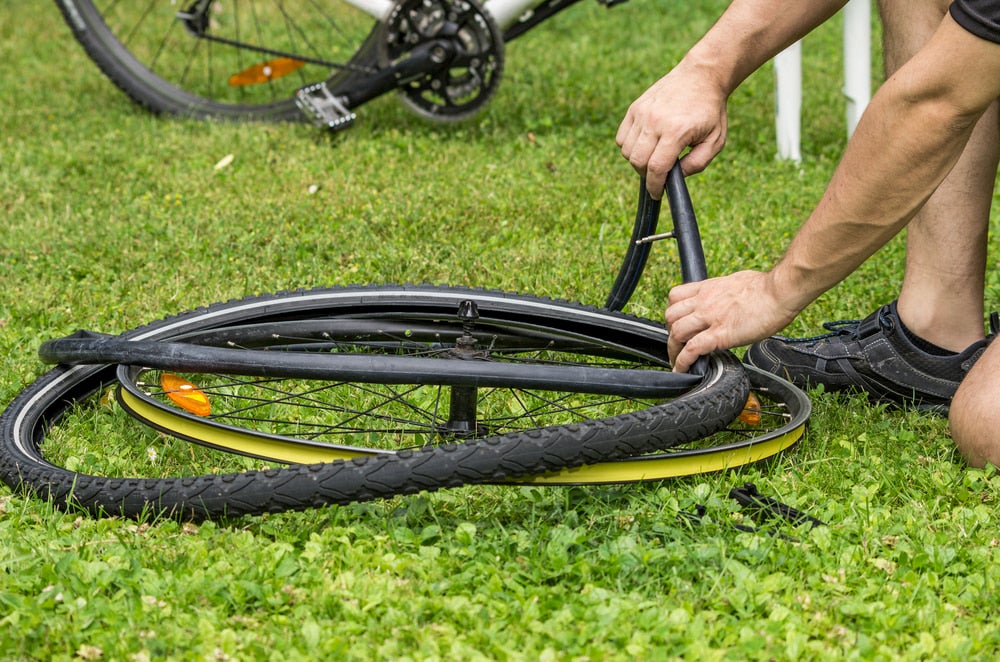
Before you head off into the backcountry, one of the most crucial ways to prepare yourself is to understand your skills. This includes necessary knowledge for long-distance biking, like the ability to fix your bike when—not if—something breaks. At minimum, you need to know how to do the following things, and carry the appropriate tools with you at all times.
- Change a flat tire
- Replace and patch a tube
- Change your brake pads
- Replace a spoke and true a wheel
- Adjust your derailleur
- Inspect and fix your chain
If you aren’t sure how to do these things, look around for your local bike non-profit. Many towns and most major cities have a group that provides free “how to” clinics to teach these skills. Not only should you learn these skills, but also physically practice them on your bike beforehand. You’ll be thankful that you can change a tire in minutes during a downpour on the trail.
Getting (and Staying) in Shape for Bikepacking
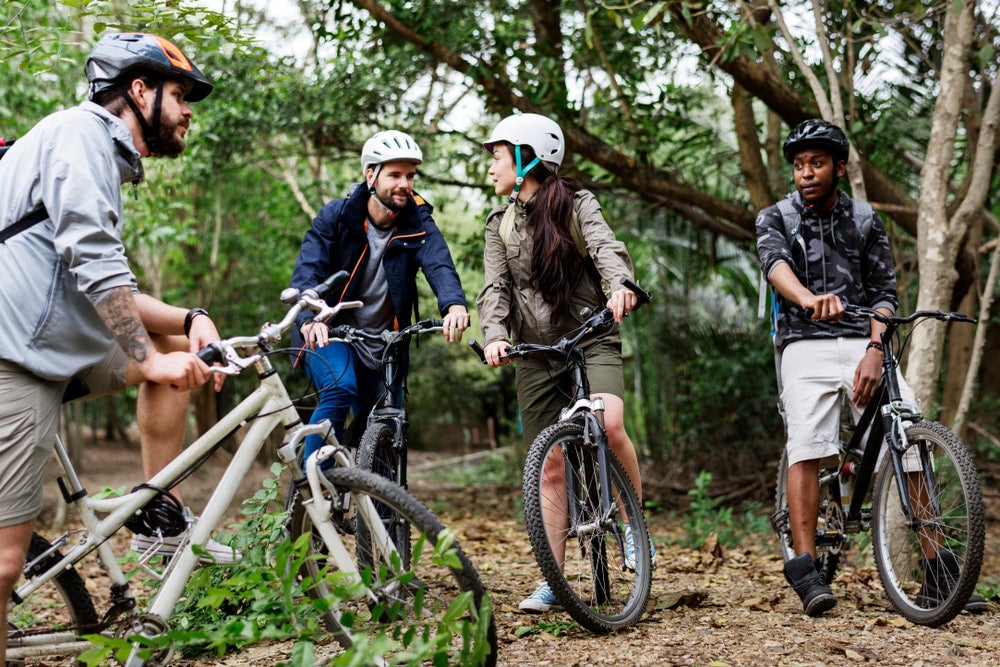
The best way to stay in shape for bikepacking is to just ride. On top of that, aerobic workouts will keep you riding for longer, and core strength will help with balance. Your exercise focus depends on the sort of bikepacking you’re going to do; some bikepackers complete extreme long-distance enduro races, while others just want to be able to comfortably reach that high-elevation meadow.
Group rides (or having a dedicated riding partner) are almost essential when trying to meet your fitness goals. Unless you plan to be one of the world elites, self-motivation can be tricky. Yet commitments, much like in any form of exercise, are key to encouraging workouts. Local bike shops are a great place to meet these like-minded individuals, and the techs there may be able to point you in the direction of clinics or training programs aimed specifically at the biking community.
Try Bike Touring for Flat-Land Fun
Looking to stay on a paved trail, or interested in taking your start into bikepacking slower? Bike touring is a great way to prepare yourself for bikepacking, but requires some unique gear considerations.
Because bike touring generally stays on the beaten path (or at least the paved roads), the gear you can use is a little different. Bike touring fanatics love to cover the miles on service roads, rails-to-trails, and even highway shoulders. The bikes tend to be lighter with no suspension in order to maximize efficiency over distance. An average hardtail bike will work in this capacity. Again, make sure you have a range of gears for those windy days and uphill sections.
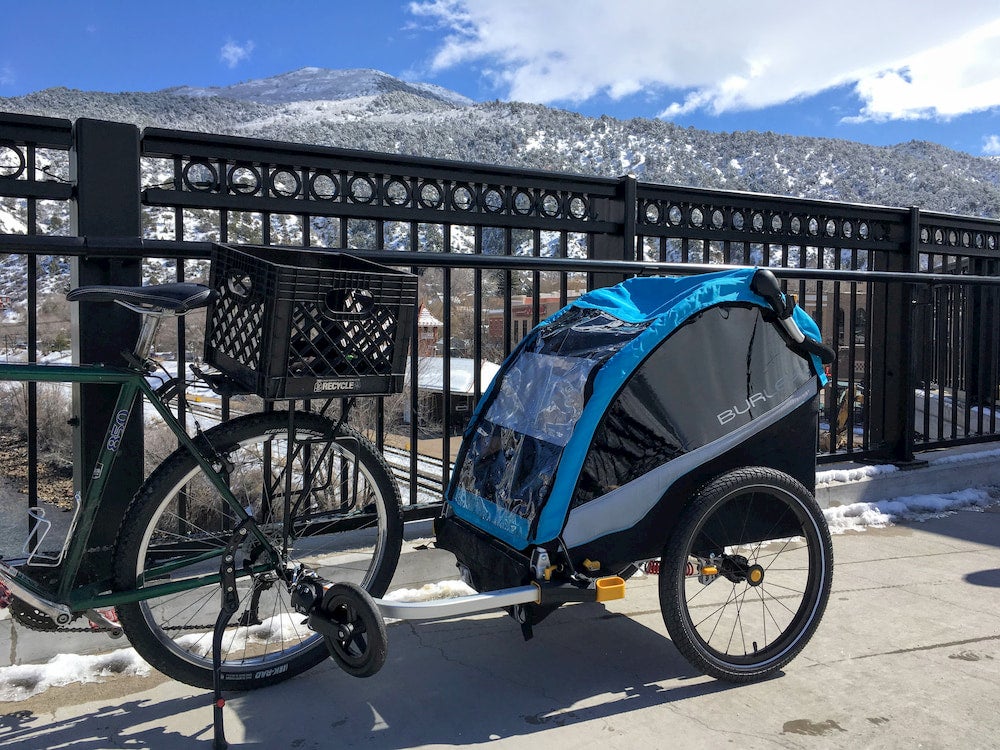
For a first-timer not willing to drop a couple thousand on a new bike, however, the biggest difference is the trailer. Instead of loading gear onto the bike itself in order to travel over rough ground, towing a trailer makes the most sense for bike touring.
If you do have kids, bike touring is great for the same reason. Kids can ride in the trailer, or pedal with a tag-a-long style extension. You will end up bringing more gear, of course, but an overnight bike touring trip is a great choice for adventurous families.
A child’s trailer, like the new Burley D’Lite X, is a great option whether or not you have kids. Pack the trailer (with gear or kids) to balance weight over the wheels, and then pull the cover down tight to minimize wind-resistance.
Upgrade your Bikepacking Experience
If you are hooked after your first couple trips, then it might be time to invest some more time and money into the sport. A full season of bikepacking will give you a clearer idea about your priorities for bikes, bags and other gear—and with the growing popularity of bikepacking, new gear innovations are popping up to make your ride easier. Local, sustainable companies are getting into the industry, too, like small-town startup Defiant Pack, which offers a variety of storage solutions for bikepacking trips.
The Dyrt is the only camping app with all of the public and private campgrounds, RV parks, and free camping locations in the United States. Download now for iOS and Android.Popular Articles:
Articles on The Dyrt Magazine may contain links to affiliate websites. The Dyrt receives an affiliate commission for any purchases made by using such links at no additional cost to you the consumer.

