If you’re squeamish about human waste, you might not want to read this. I’m going deep into the motorhome’s black water tank; a dreaded place that holds not only what you’d expect—but also some mystery.
When I first pondered the idea of an RV adventure across the country, I pictured cookouts, sleeping under a canopy of stars, and listening to zen tunes as I drove open stretches of highway. I certainly wasn’t thinking about how to manage my poop.
The realities of RV ownership include getting to know and understand your grey and black water tanks. And as much as I wanted to avoid the topic, learning about my black water tank made it much less scary.
In order to keep things flowing smoothly, there are some important details you’ll need to know about the function, use, and maintenance of your RV’s black water tank. Some of the newer RV models are equipped with interior tank cleaning features, but my 2010 Gulfstream Conquest wasn’t; I was the cleaner of the tank. And it’s a bit more labor intensive than flipping a switch.
Once you’re feeling confident about managing your black water tank, make sure you’re feeling confident about where you’re heading on your next adventure. Download The Dyrt Pro to search offline for campgrounds, maps and photos so you can live spontaneously.
What is a Black Water Tank and What Does It Do?
The black tank collects the waste from the toilet. It’s located under the RV carriage, positioned next to the grey tank which holds the water run-off from sinks and showers. The black tank should only contain the biodegradable enzymatic product of your choice, your solid and liquid waste, and septic safe toilet paper—nothing else. No tissues, Q-tips, wet-wipes, hygiene products, diapers, etc.
Some people choose to put their used toilet paper in a bin rather than have it potentially clog in the tank. Others choose not to use their RV toilet for solid waste, opting for the campground lavatory or other facilities. Personally, I loved having the convenience of my own bathroom. And of course, that meant dealing with my . . . stuff.
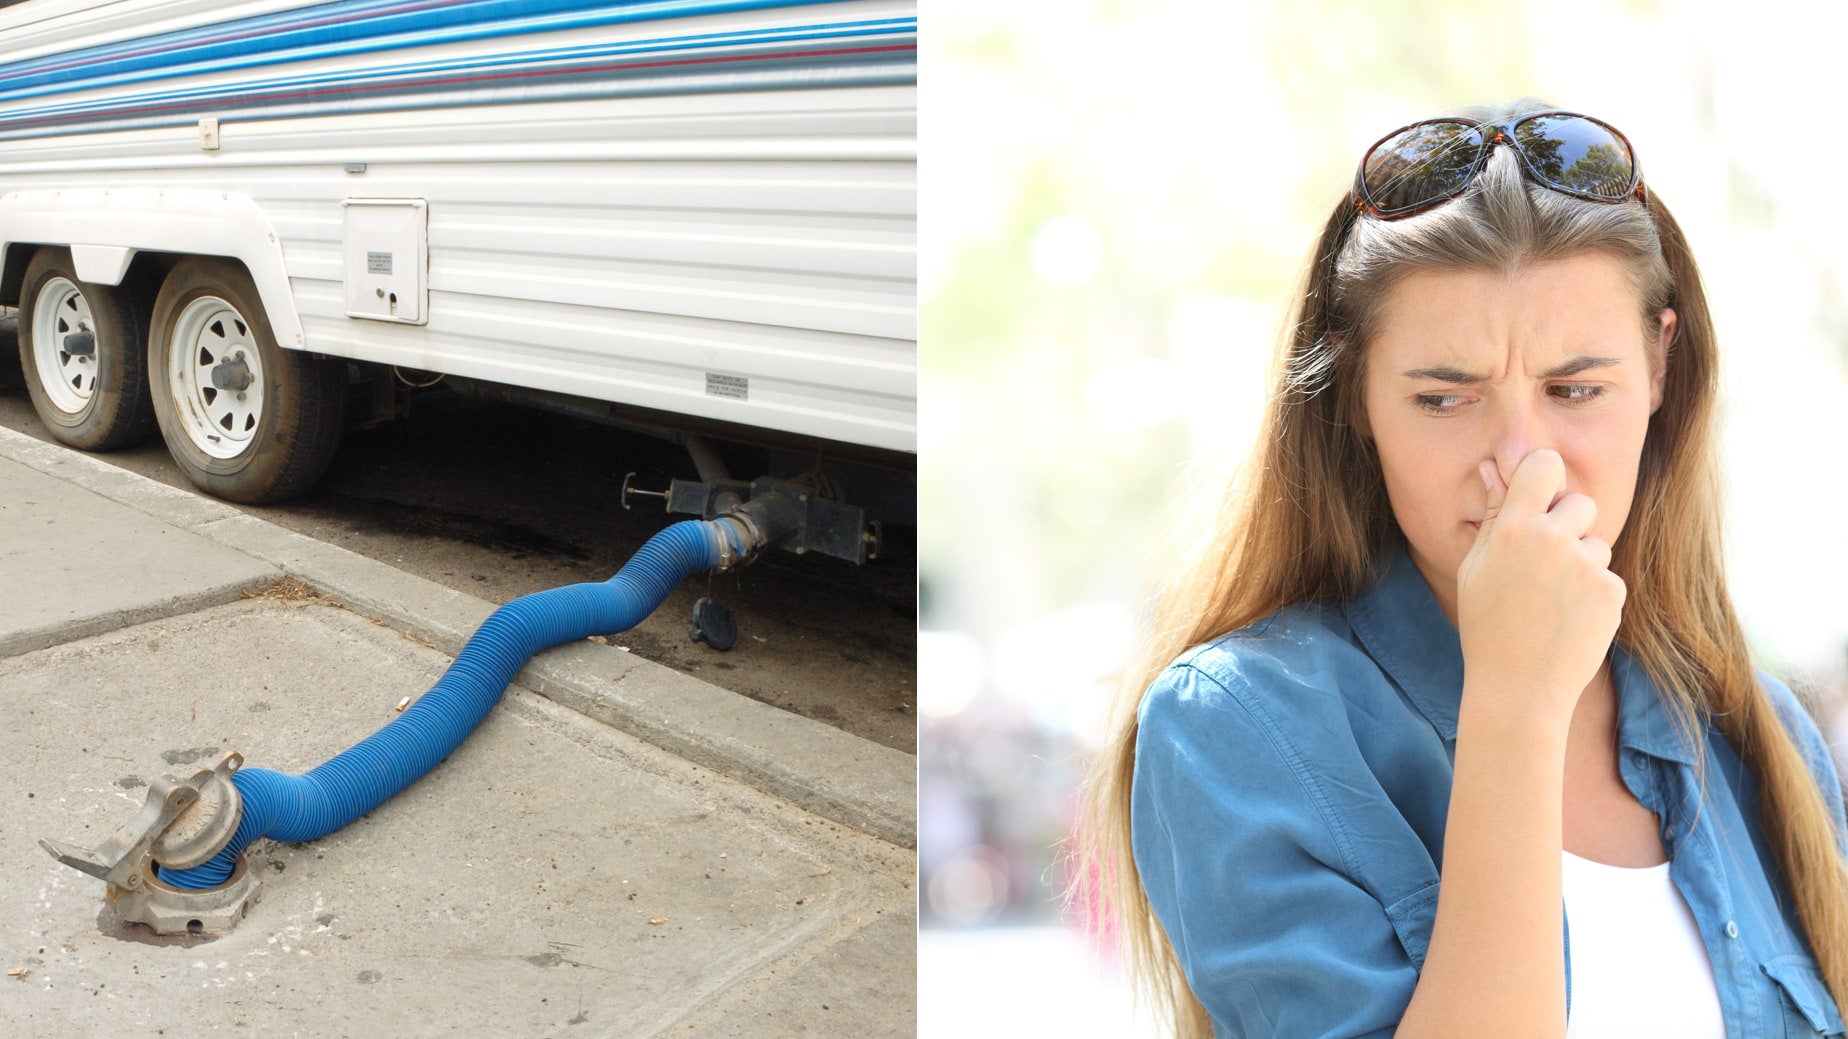
The function of the tank is to hold the waste until you hook up the sewer hose, likely stored in the RV’s rear bumper and sealed with two end caps that often wiggle loose and disappear somewhere on the road. I replaced mine with a pair that had an accordion-like feature to keep them in place. I’ve even seen magnetic rubber end-caps advertised.
Ensure A Fresh Start with Your Black Water Tank
I’ll share some advice I was given; invest in a clear elbow that attaches onto the end of the sewer hose and fits into the sewer drain.
Why do you want a window into that world? So you can see when the tank flushes clean.
I was surprised on a few occasions when I thought I’d given a thorough tank cleaning only to find more waste water flow through even after two cleaning cycles.
Start your travel journey with a freshly cleaned tank and add at least two gallons of water with the appropriate amount of chemicals, which are environmentally friendly, biodegradable and work with enzymatic magic to break down solids.
Isn’t Adding Water a Waste of Space in the Tank?
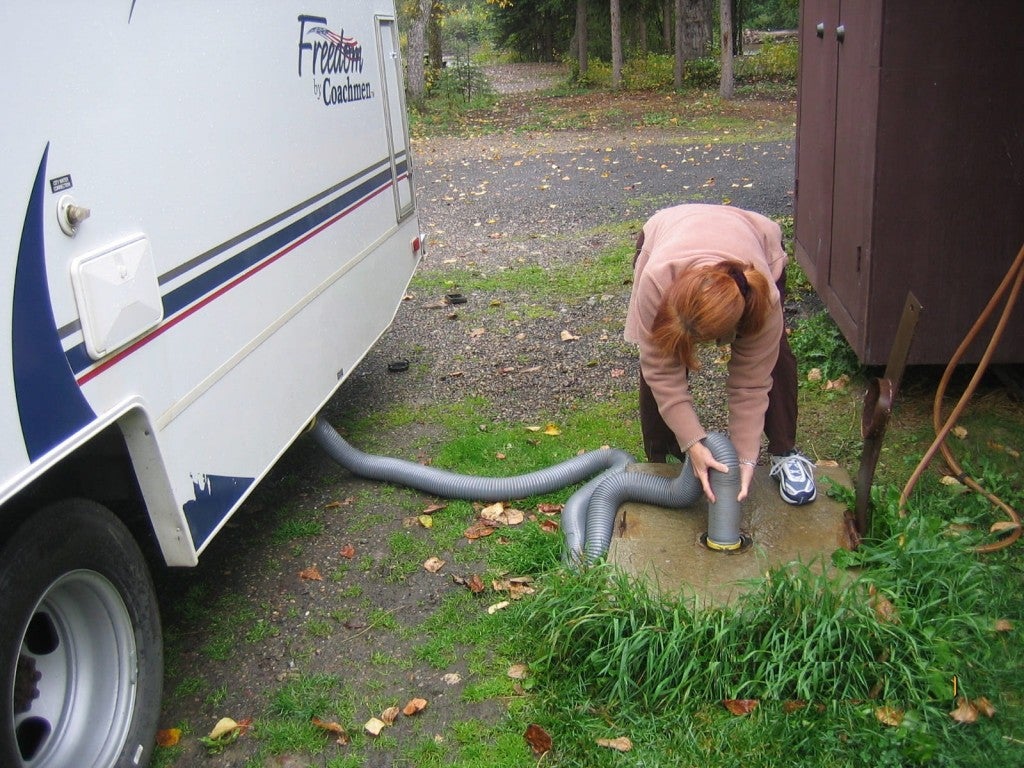
Image from Mandruss on Wikimedia Commons—CC BY S.A. 3.0
Old timers I met along my journey told me of a mountain no RVer ever wants to visit; the mountain of poop. This happens when you don’t add water to your tank. You want to maintain a swishy environment so that no solids build a mountain, cling to the walls of the tank, or harden over the tank sensor.
The few ounces of chemicals not only degrade the material but also prevent odors from seeping up through the toilet valve. You’ll find how often you need to flush your tank through your personal use, depending upon how many people are using the toilet, etc.
The Dyrt PRO solves the annoyances that come with trip planning and last-minute cancellations. Our new app connects you to hundreds of thousands of campsites and reviews across the U.S., all available without service.
How to Use the Toilet in Your Motorhome
You know how to use a toilet, of course. But RV toilets look different from the ones in our homes. Typically, you’ll find a lever either on the floor, like a pedal, or on the side of the toilet itself. You want to put a little water in the bowl before use to facilitate a clean flush.
I’d suggest cleaning the bowl with a product like Simple Green, which won’t disrupt the balance of the enzymes at work in the tank. Refrain from using bleach based products for regular cleaning because they’ll kill the good bacteria.
When you’re connected to a water source at a campground, you don’t need to have your water pump on—the pressure is typically sufficient. When you’re boondocking, you’ll be using the water pump to move the water from your fresh water tank into the toilet system for flushing.
Even when you’re settled in at a campground and connected to the sewer, you don’t want to leave your black tank valve open for two reasons; sewer odors and even living creatures can seep up into your tank and the tank needs to have enough content in order to drain properly.
I Have to Drive Around With a Full Tank of Poo?
No, no you don’t. There’s a happy middle ground about half-full where the tank won’t be too heavy as it would be if it were full to capacity, yet there’s sufficient fullness to create the proper gravitational swoosh.
It’s not as bad as you might fear.
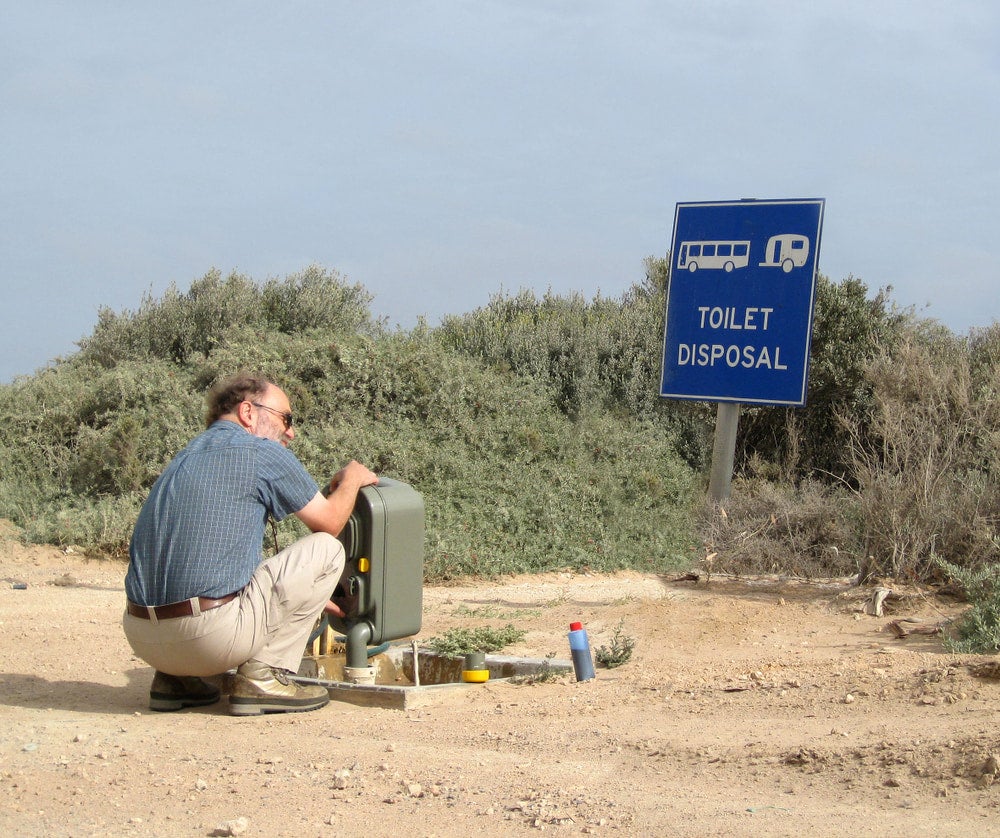
How to Drain Your Black Water Tank
Create a plan, pay attention, wear gloves, and don’t get distracted. Gross things happen when we’re not focused on what we’re doing; the black tank fiasco scene from the movie RV with Robin Williams comes to mind.
Attach the sewer hose securely to the tank valve after removing the valve cover. Then place the clear elbow into the sewer hole. Some may screw in; some may have a rock for you to place on top of your connector. This is advisable as you don’t want that line getting dislodged.
Double check secure hose attachments. Open the valve for the black tank to drain.
Now you want to close the black tank valve and fill the tank with fresh water for additional flushes until the water runs clear. This can be accomplished by using a long hose brought into the RV’s bathroom, pouring jugs of water into the toilet, or letting the tank fill slowly using the toilet’s flush handle, propped in the ‘on’ position for a steady flow of water.
Some people use this opportunity to drive a bit, letting the cleaner water slosh around to dislodge any remaining solids. I’ve also heard about people putting ice into the black tank to act as an agitator for cleaning.
Reconnect the sewer line, open the valve and if desired, use a bit of Simple Green, Pine Sol, or other mild cleanser to freshen the tank one last time.
At this point you can use a tank sensor cleanser if necessary. For a thorough cleaning, some people use a swivel head attachment, but I’ve found a regular hose sprayer to be sufficient.
Close the black tank valve and release the grey water tank valve. This flushes your sewer hose with cleaner water from the grey tank.
If your grey tank isn’t full, you can fill it with soapy water before draining.
I know this sounds like a lot of work, and yes, it’s more time consuming than cleaning a toilet at home, but proper planning, patience and going with the flow (so to speak) will help you maintain your black water tank like a pro.
The Dyrt is the only camping app with all of the public and private campgrounds, RV parks, and free camping locations in the United States. Download now for iOS and Android.Popular Articles:
Articles on The Dyrt Magazine may contain links to affiliate websites. The Dyrt receives an affiliate commission for any purchases made by using such links at no additional cost to you the consumer.