After a long day of hiking, fly-fishing, hanging around the campground, or mountain biking, the last thing you want to do is rustle through multiple camp bins in search of a frying pan, or olive oil, or the grill brush. You’re likely on the verge of hanger, or over the edge, and instead of cooking up that delicious vegan chili as planned, you instead resort to hot dogs (again), or decide to head into town for a meal you’ll probably pay too much for.
Enter: the organized camp bin
When you have a place for your things and all your things have a place, making dinner becomes less of a hassle and more of a joy. Our tips for building your camp kitchen and keeping it organized will help when planning, and executing, your next camping trip.
Stove and Fuel
One of the most essential camp kitchen items? Your stove. Without it, you’ll enjoy as many PB&J sandwiches as your heart desires.
There are a few different stove options to consider. What type of cooking do you do most at the campground? BBQ? Foil dinners over the fire? Do you stick to a similar diet as you eat at home?
Primus ©
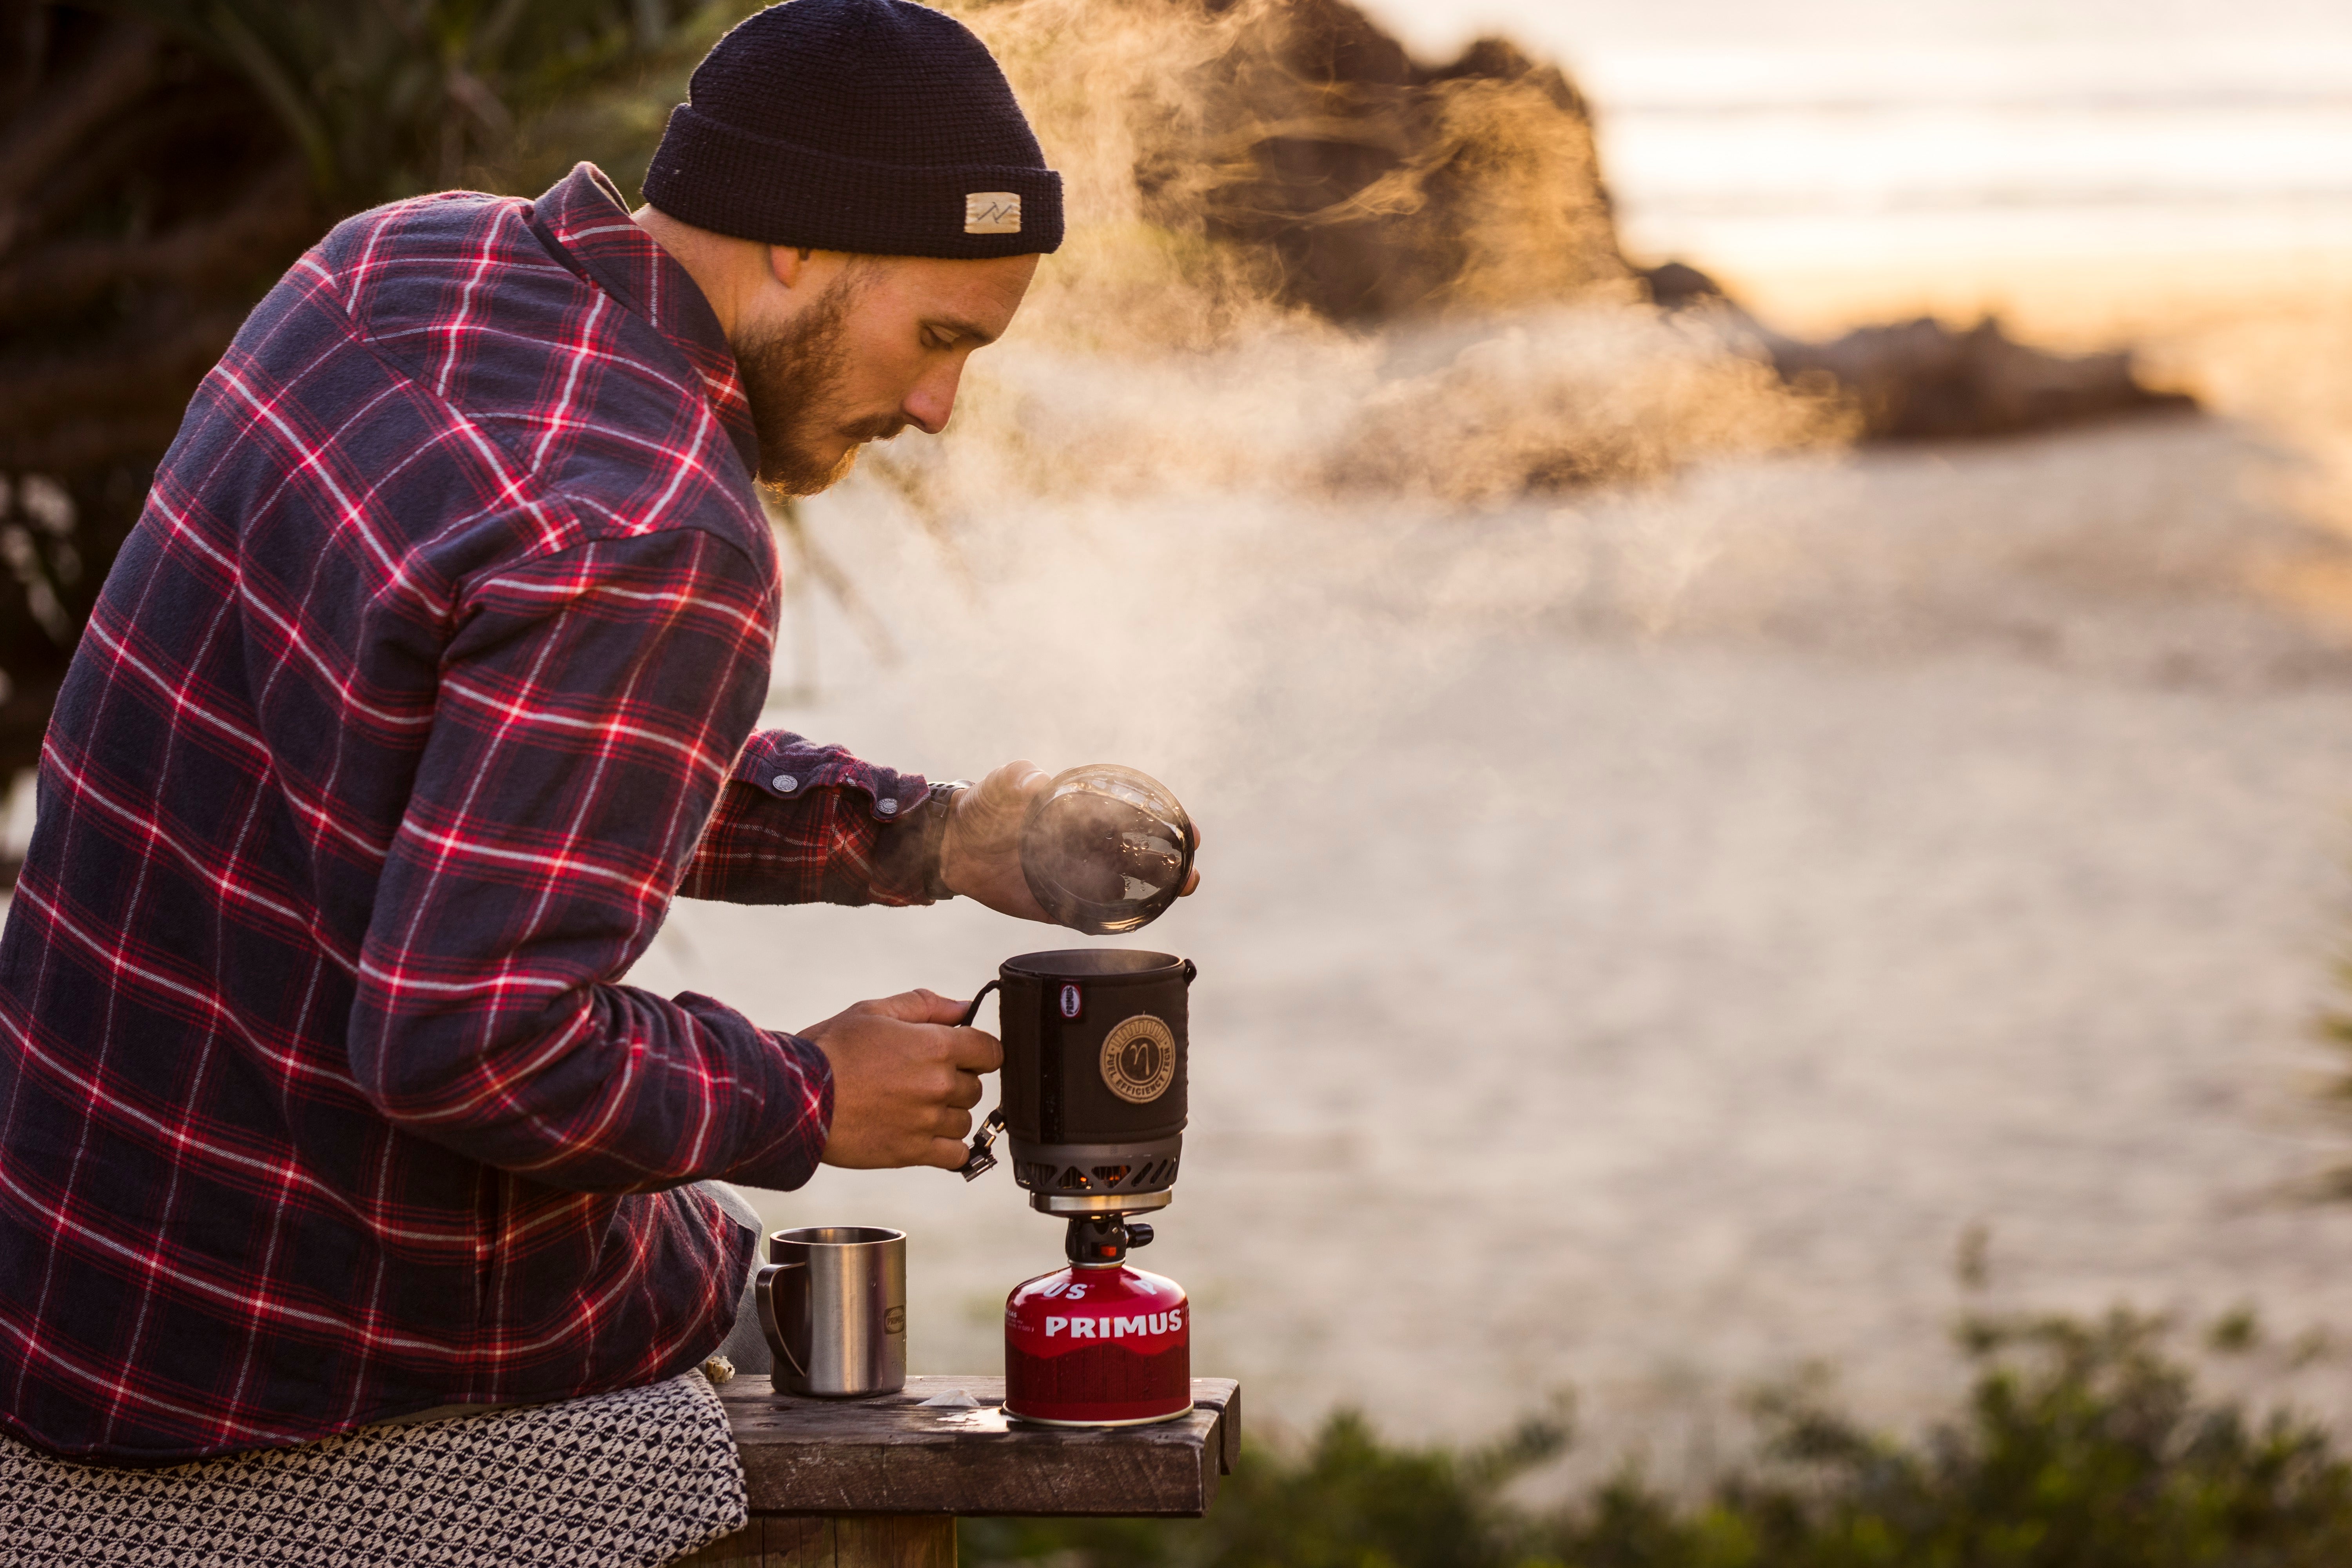
If you’re backpacking, a lightweight setup like the Omnifuel Stove from Primus operates on virtually any kind of gas (including aviation fuel!). Otherwise, a standard two burner like the Profile can handle almost any campground concoction.
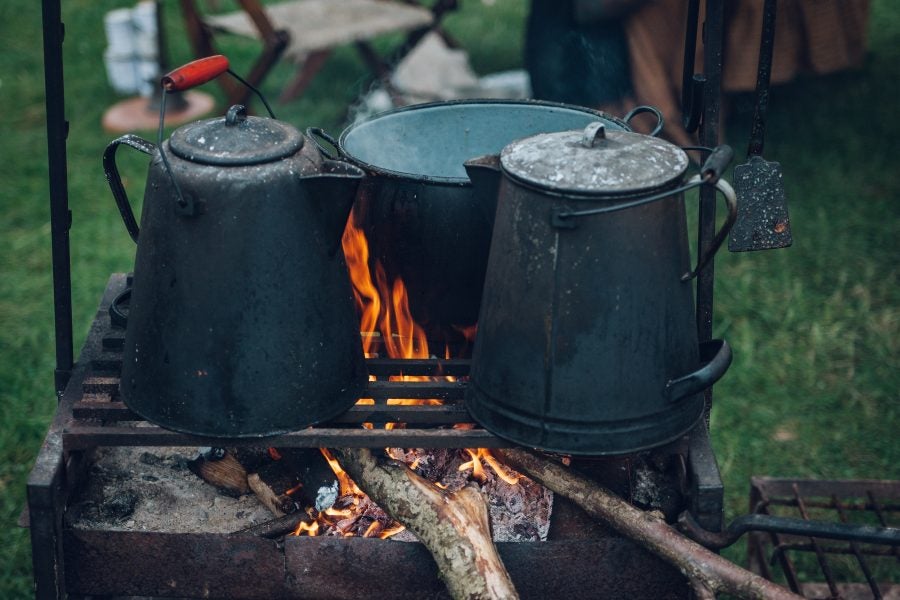
For those wanting to cook over the campfire, there are also plenty of options for open fire stoves and elevated skillets, to feel closer to the ground, and a little closer to nature.
For a lightweight setup, you can easily store your stove alongside other kitchen items in a plastic bin or tote. My husband and I pack our two burner camp stove on its own for easy access. You can also purchase a carrying case, like the Hotbox Hauler, to carry your camp stove, propane, cutting board, and other kitchen utensils.
Cookware
As with stoves, there are plenty of cookware options to build out your camp kitchen.
Titanium
Favored by many, titanium cookware is lighter than its competitors and preferred for long (or short) backpacking trips when weight matters. However, the price turns many away, and it doesn’t always conduct heat uniformly.
Aluminium
Aluminum may not last forever, but it still remains a crowd favorite. It has many similarities to titanium, however it is cheaper, and tends to break down faster. If you’re looking for an option that will last through a season or two, and you don’t want to invest, aluminum is the clear winner.
Stainless Steel
Stainless steel is tougher than aluminum and titanium, so you don’t have to worry about scratching or denting your pots or pans around the campsite. It’s heavier than the previous options, and like titanium, doesn’t always heat uniformly.
Cast Iron
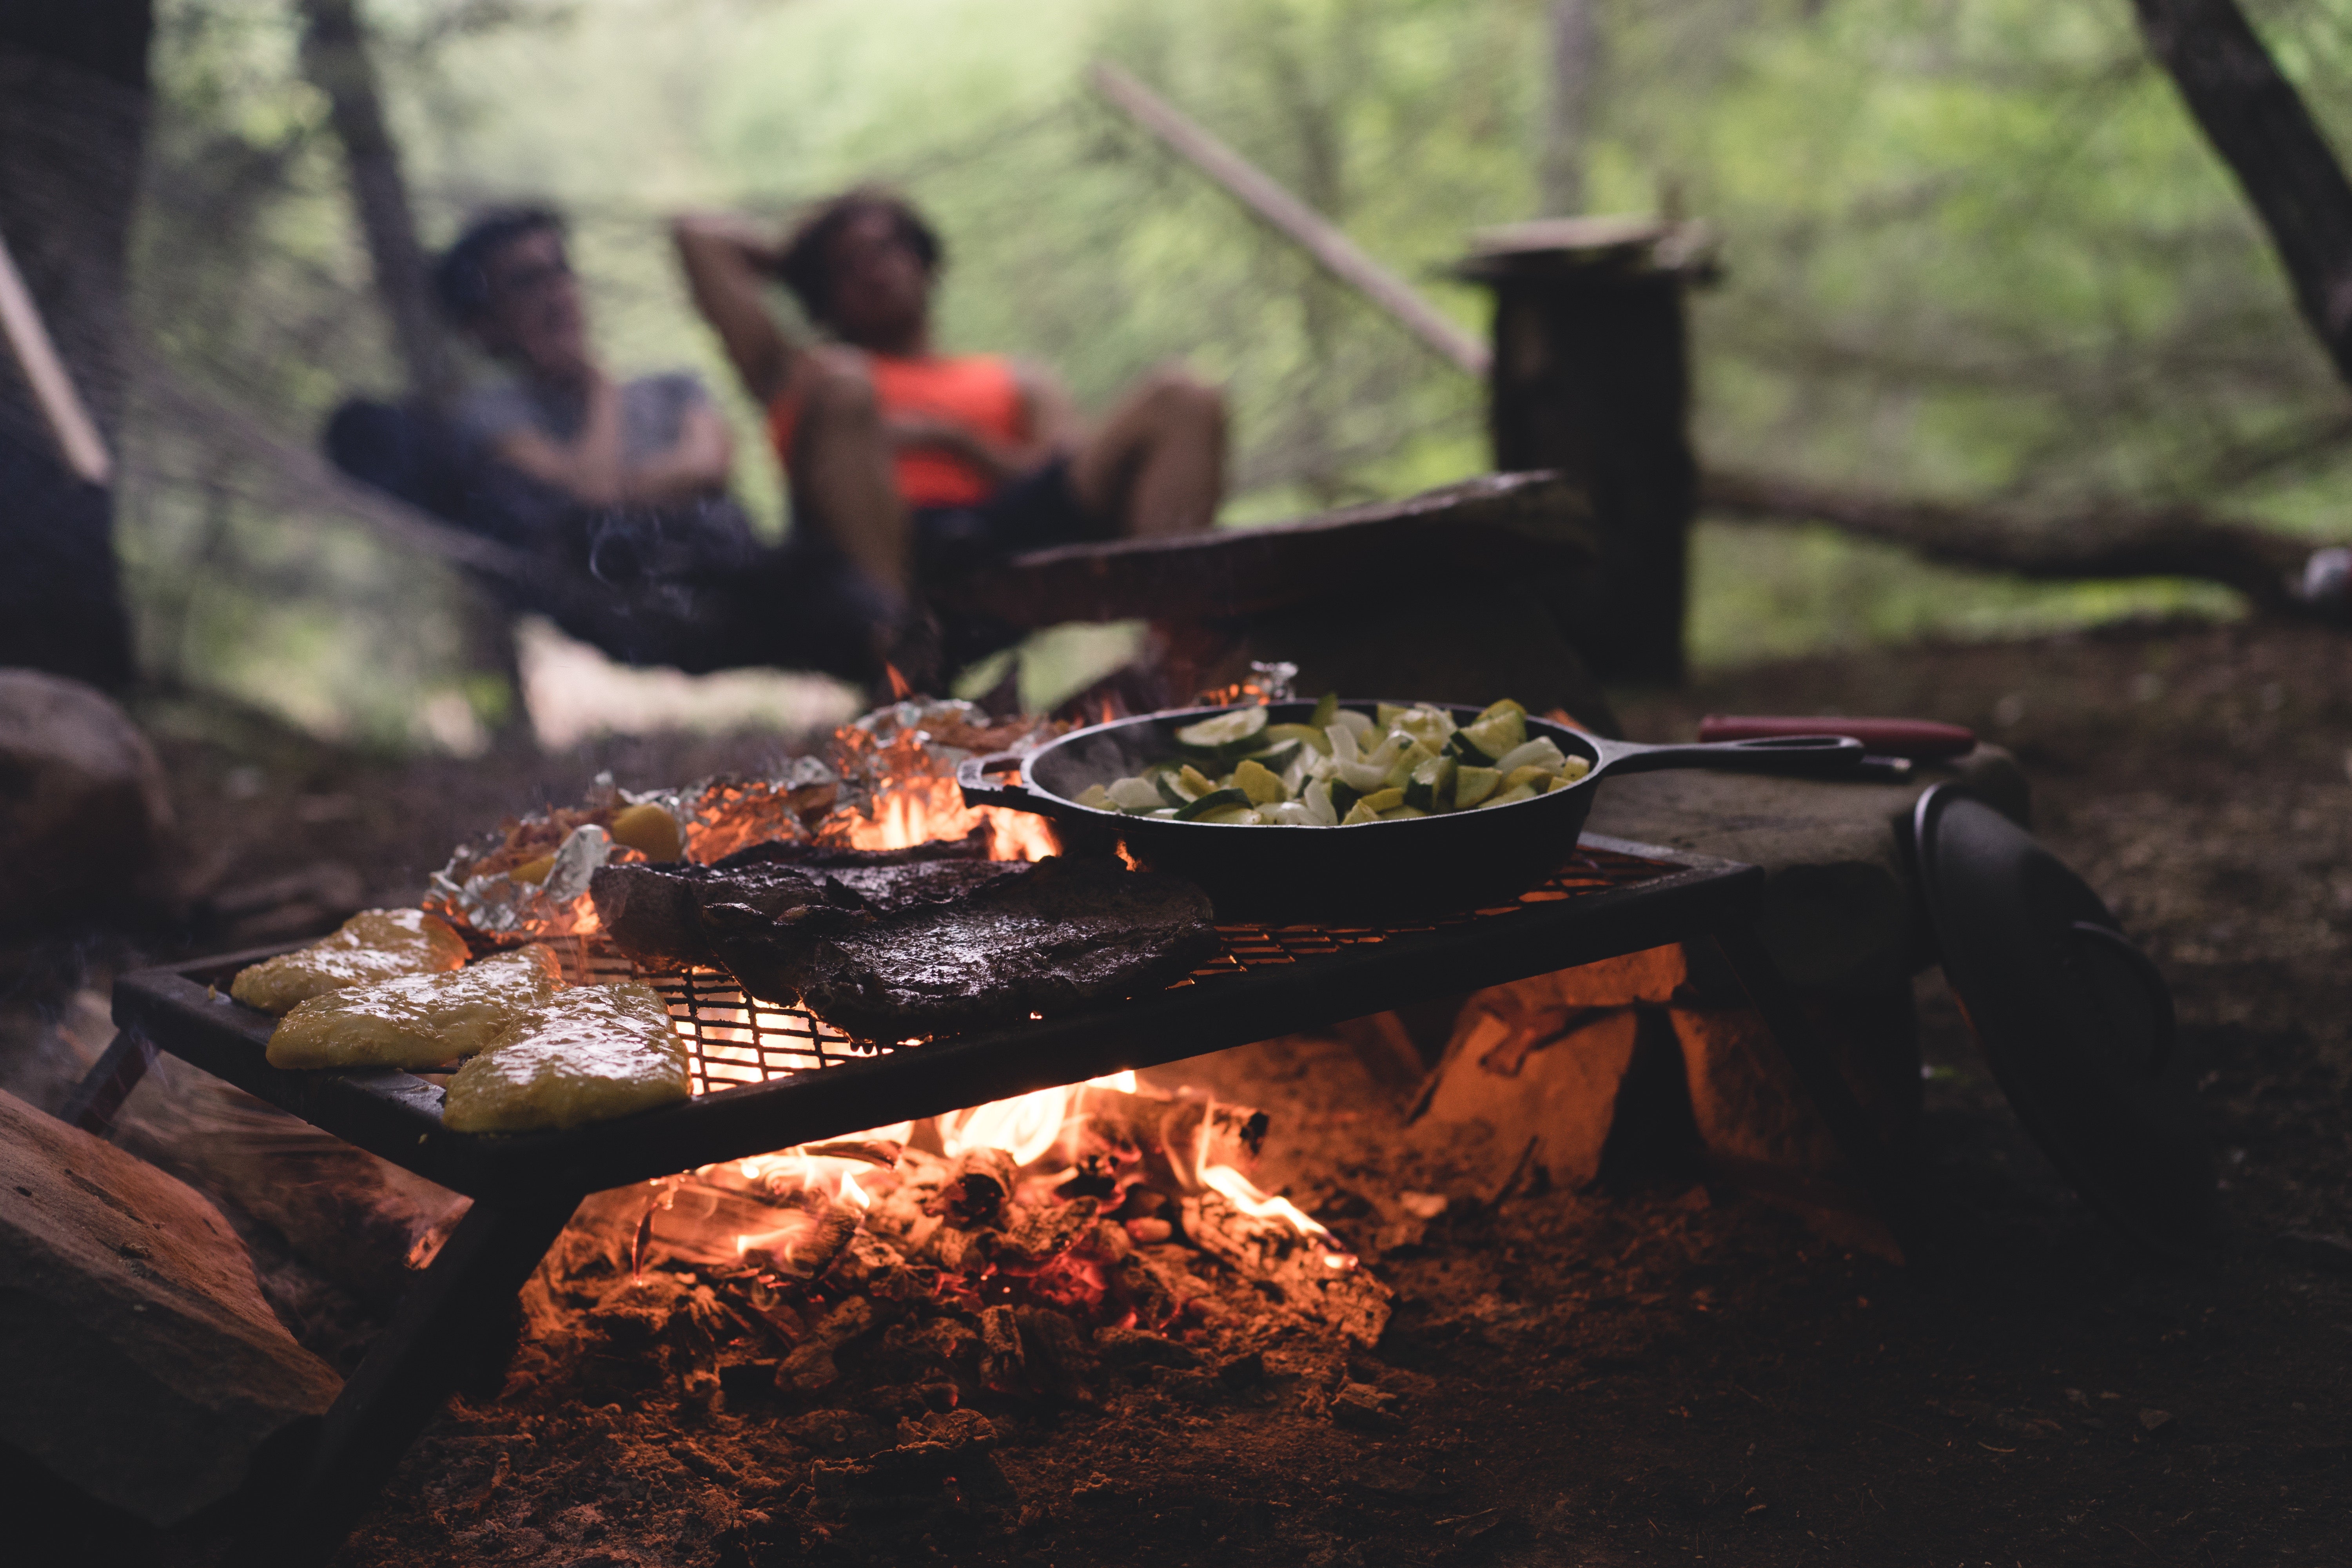
My personal favorite. Cast iron works well for campground cooking, especially over an open flame. However, they’re heavy and not used for backpacking. After each use, cast iron cookware must be seasoned and cleaned properly (never with soap), but it’s worth it.
Reusable Containers
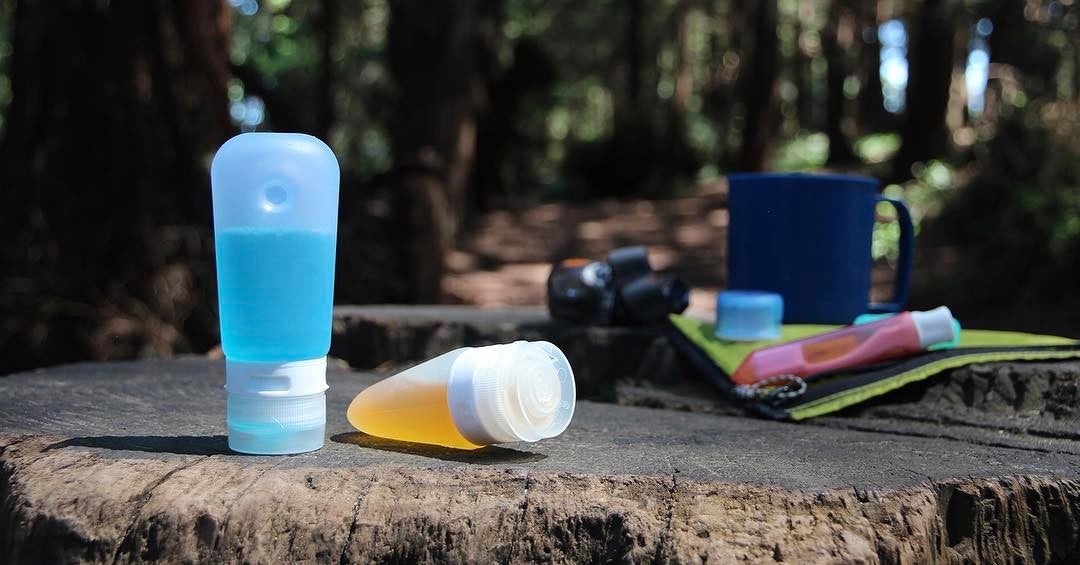
Leave the massive peanut butter jar at home. And the Costco size jug of olive oil. Transfer bulk items into reusable and manageable containers (like these GoToobs). Label the contents inside so they’re easy to identify, and when the camping trip is over, refill the containers and put them back in the “camp kitchen” tub.
humangear ©
Not only do reusable containers save space, they’re helpful for staying organized, and the GoToobs in particular won’t leak.
Cutting Board and Knives
There’s always something you think you’re forgetting, or don’t think you need until you don’t have it. The cutting board is that item. I’ve forgotten the cutting board too many times to count, and the lid of my plastic bins have the scars to show it. Keep the campsite clean, and bring a cutting board to prepare those kebab skewers and farmer’s market hash.
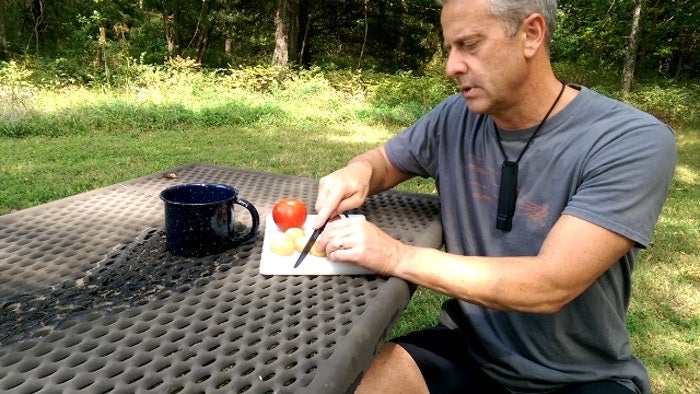
Image from The Dyrt user Tommie J.
You can never underestimate the power of a good knife at home or at camp. A dull knife may not seem like a big deal, until you’re trying to filet a fish or chop a sweet potato. Spend the extra money to upgrade your camping knife to one that’ll do the job.
Utensils
There are too many utensils to keep track of, and chances are, you might need a certain utensil for one camp meal and not another. Storing all utensils in a mesh bag makes them easy to locate, plus after you’re done doing the dishes, you can throw all the utensils into the bag, and hang them up around camp to dry.
Consider adding these utensils to your kitchen bin:
- Spatula
- Tongs
- Bottle opener
- Knife
- Scissors
- Ladle
Related Reading:
A Simple Guide to Camp Food, Plus 10 Easy Recipes
Spices
By far, spices are the most underrated camp kitchen essential. They bring life to your food at home, why not at the campground too? There are plenty of options for storing spices (like the GoTubb), plus many spices come in smaller containers at the grocery store. Stock up on some next time, and make them a permanent addition.
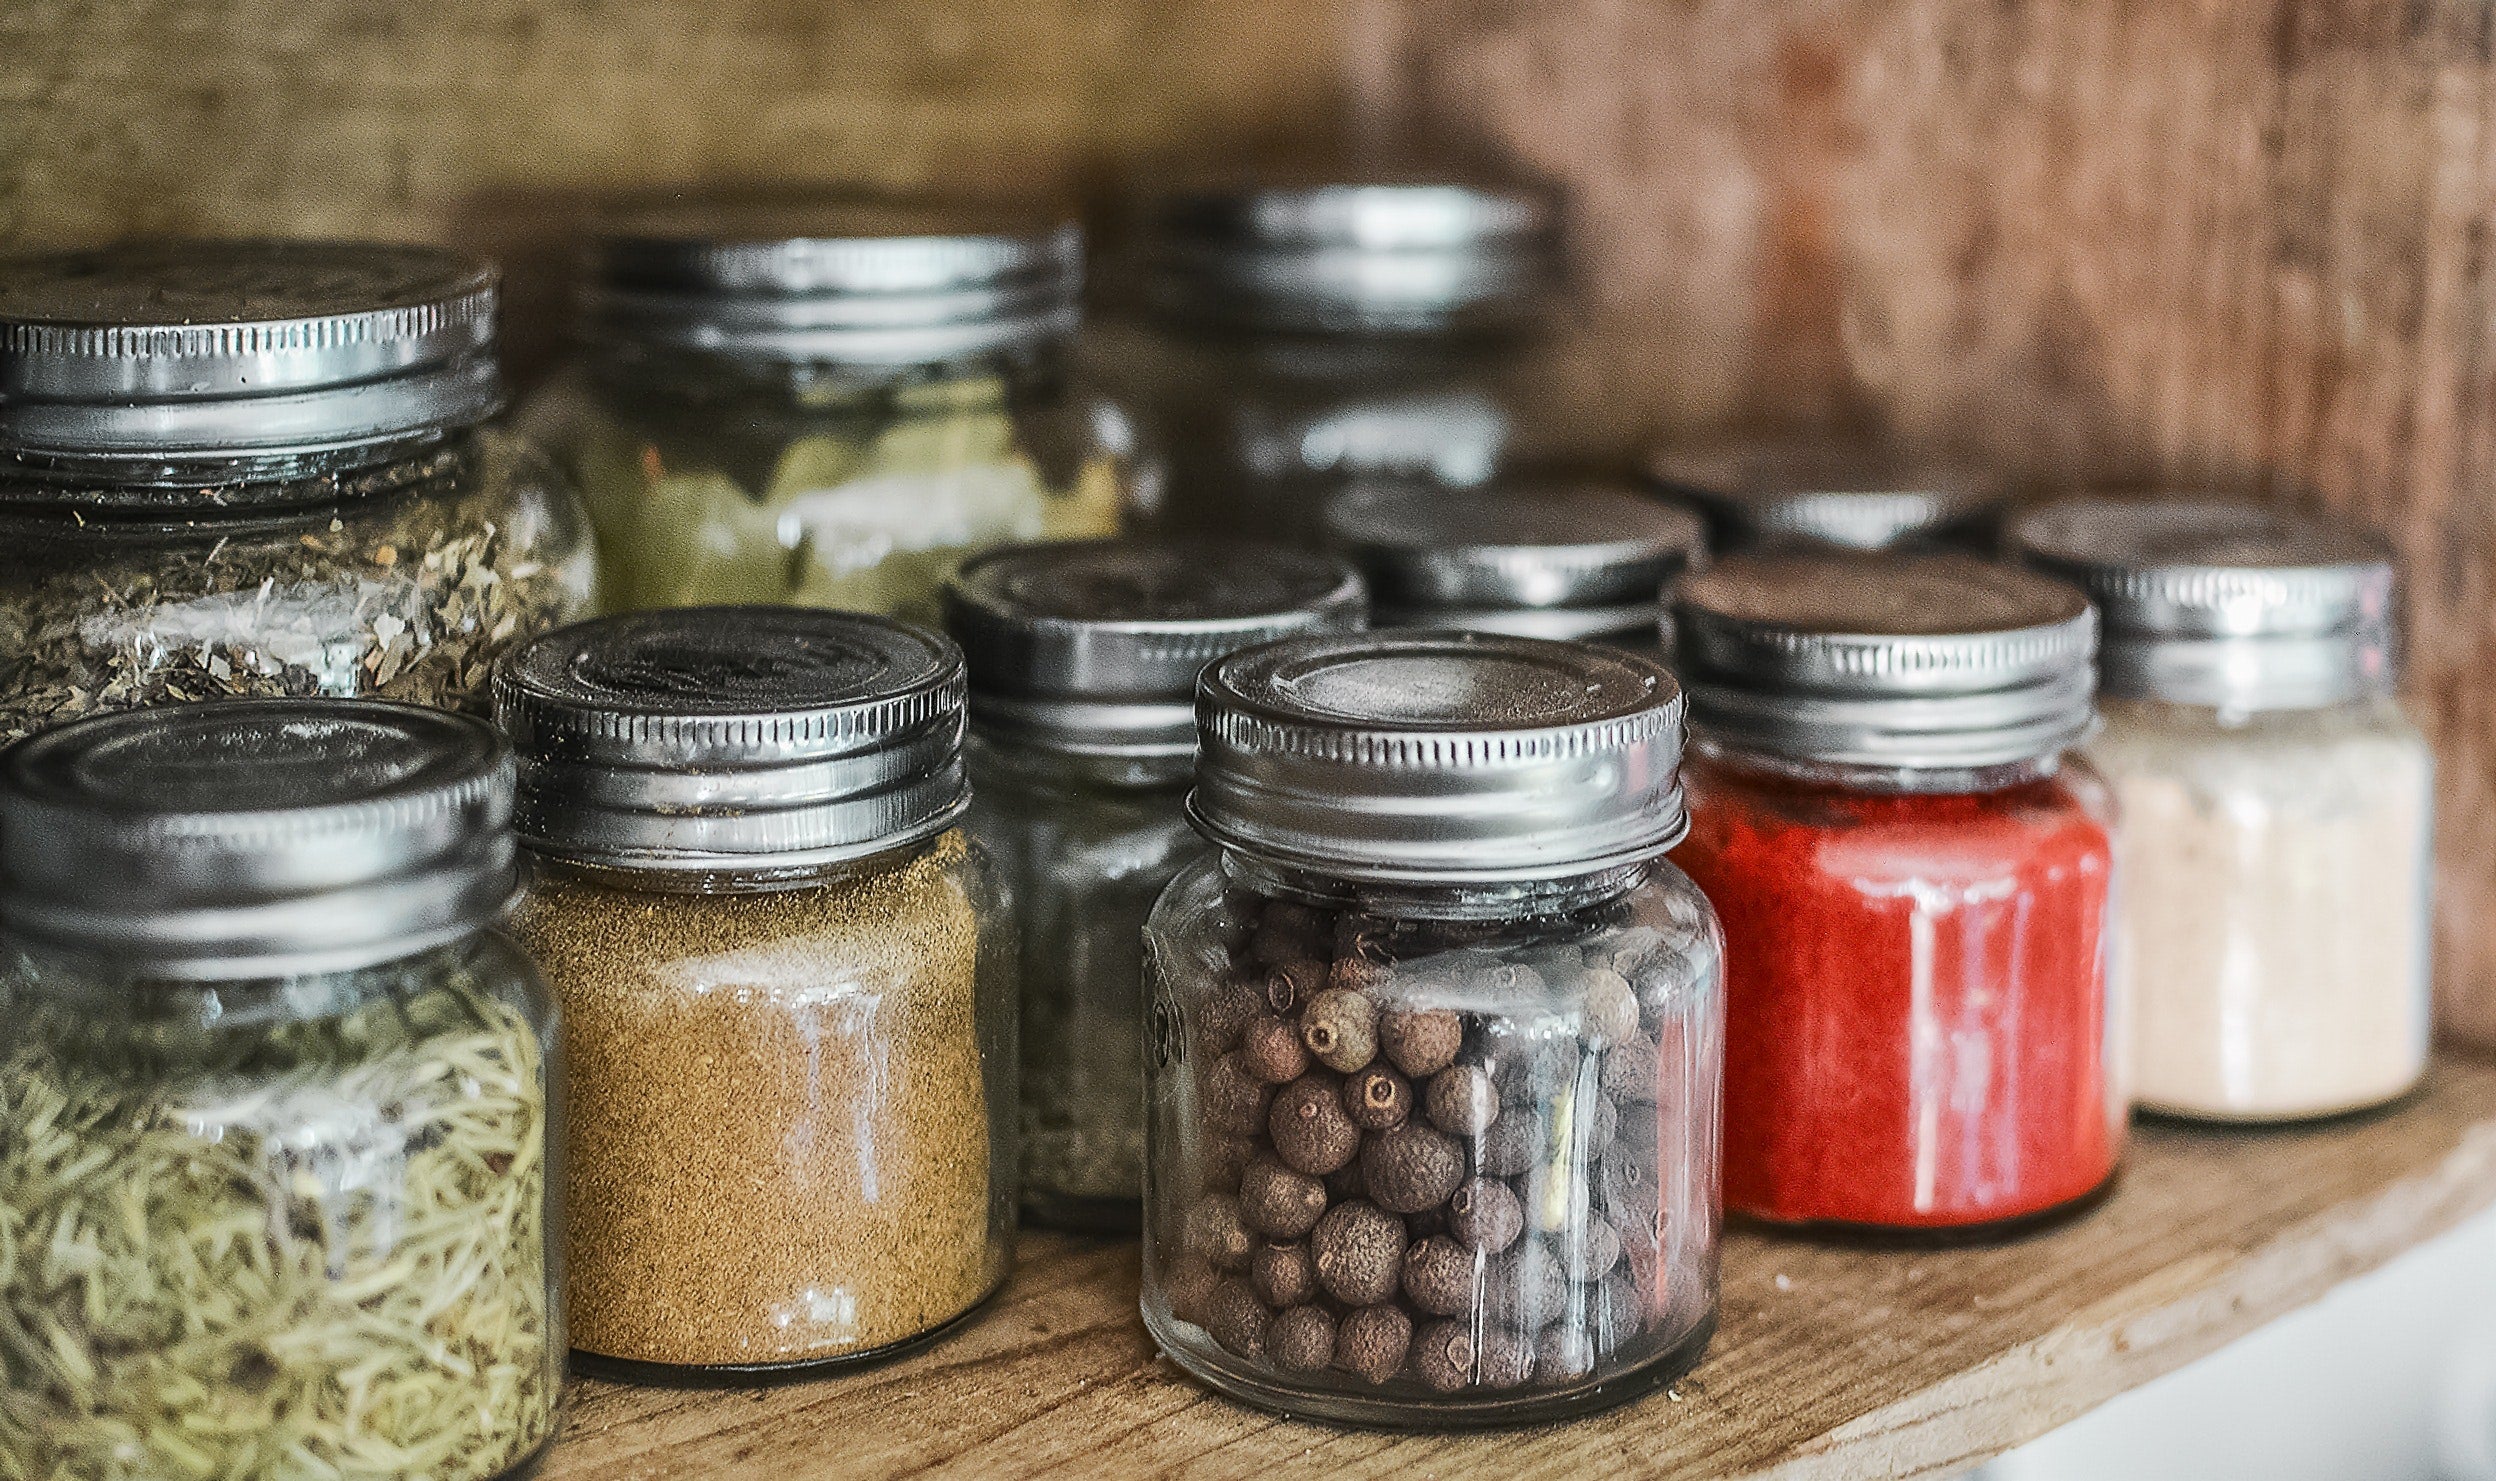
What spices should you bring? Salt, pepper, cayenne, seasoning salt, garlic powder, onion powder, dried herb blend. Any kind of rub to add to meat will do the trick.
If you feel like being extra prepared, measure out spices from each recipe ahead of time into their own container, so when its time to cook, you can just dump the spices out into the pot without having to measure and portion out at the campsite.
Freeze Dried Meals
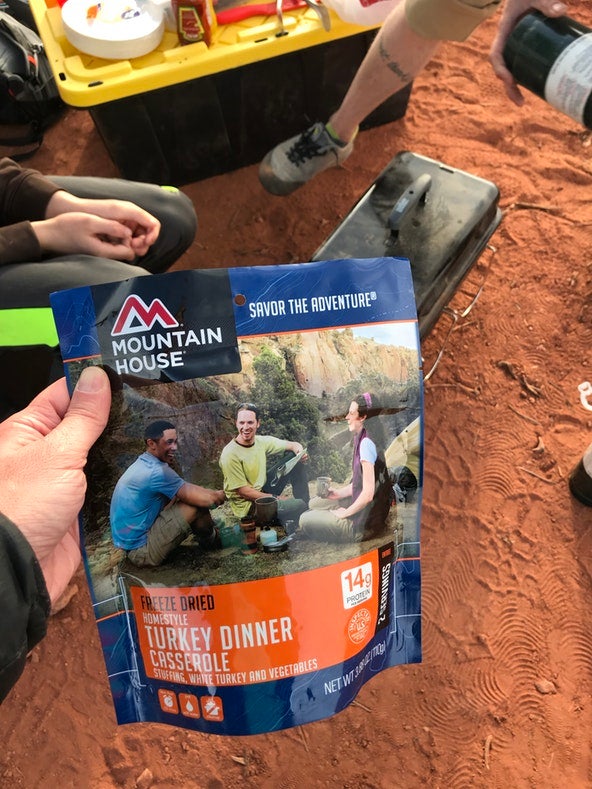
Image from The Dyrt user Carrie C.
Let’s face it, sometimes you rock up to the campground after a long day of hiking or fishing and the last thing you want to do is fire up the camp stove and whip up a five course meal. That’s where freeze dried meals come in. Most take less than 15 minutes to make, and they’re delicious.
My husband and I always keep freeze dried deserts (like the Cheesecake Bites from Mountain House) on hand for a nice treat after a long day on the trails.
Freeze dried meals are also a good backup plan if you run out of oil or other important ingredients.
The Dyrt is the only camping app with all of the public and private campgrounds, RV parks, and free camping locations in the United States. Download now for iOS and Android.Popular Articles:
Articles on The Dyrt Magazine may contain links to affiliate websites. The Dyrt receives an affiliate commission for any purchases made by using such links at no additional cost to you the consumer.

